GRUB Customizer is not available in the official package repository of Ubuntu 17.10 Artful Aardvark. But it is available in the PPA.
In this article, I will show you how to install GRUB Customizer on Ubuntu 17.10 Artful Aardvark and use it. Let's get started.
Installing GRUB Customizer
First add the PPA of GRUB Customizer to your Ubuntu 17.10 machine with the following command:
$ sudo add-apt-repository ppa:danielrichter2007/grub-customizer
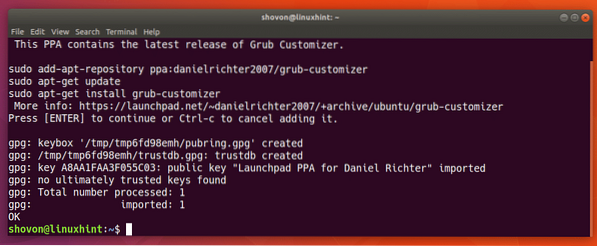
Now press
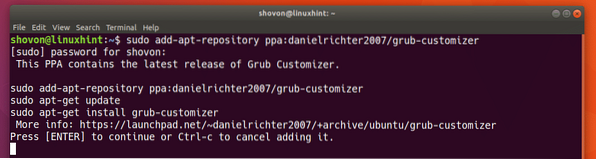
The GRUB Customizer PPA should be added to your Ubuntu 17.10 machine.
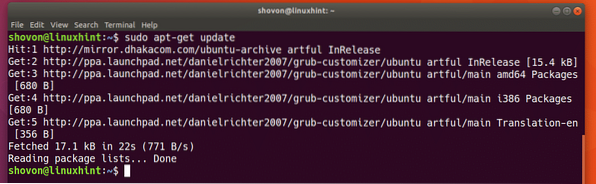
Now update the package repository cache of your Ubuntu 17.10 machine with the following command:
$ sudo apt-get update
The package repository cache should be updated.
Now to install Grub Customizer, run the following command:
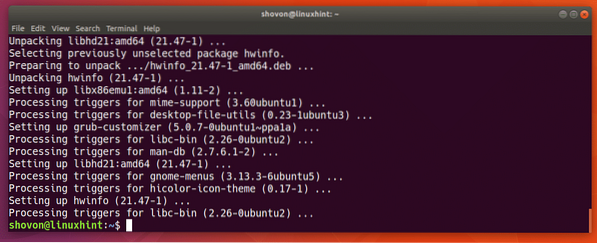
$ sudo apt-get install grub-customizer
Press 'y' and then press
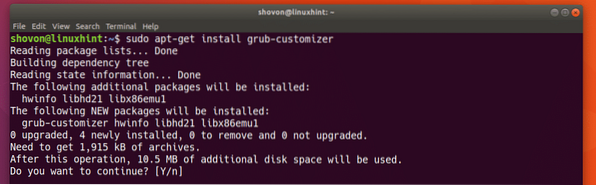
GRUB Customizer should be installed.
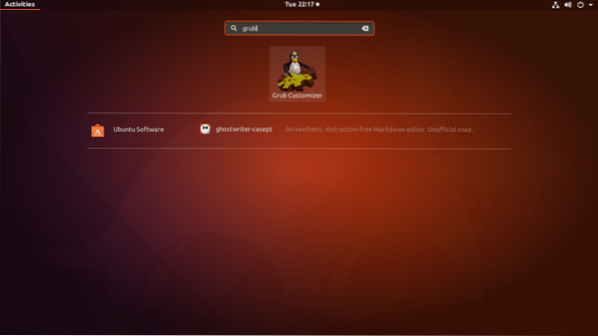
Now you can go to your Application Menu or Activities in GNOME 3 and look for GRUB Customizer. You should be able to see an icon of GRUB Customizer as shown in the screenshot below.
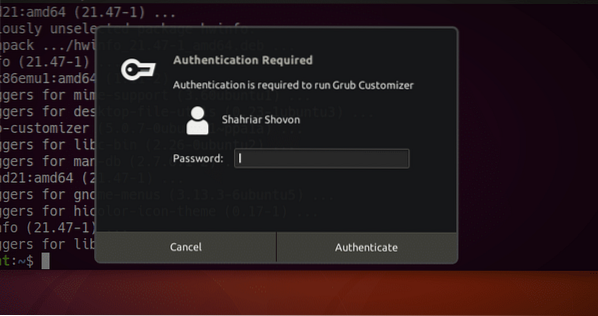
Once you click on the GRUB Customizer icon, it should ask you for the sudo password. Enter the sudo password and click on Authenticate.
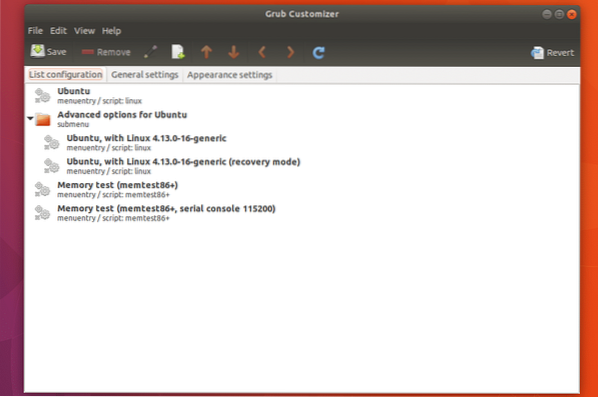
GRUB Customizer should open up as shown in the screenshot below.
Using GRUB Customizer
In this section, I will show you how to use Grub Customizer to do the most common tasks on Ubuntu 17.10.
Moving an Entry
You can select an entry from the GRUB Customizer's list and move it up and down.
To move an entry up, select an entry from the list and click on the marked icon as shown in the screenshot below.
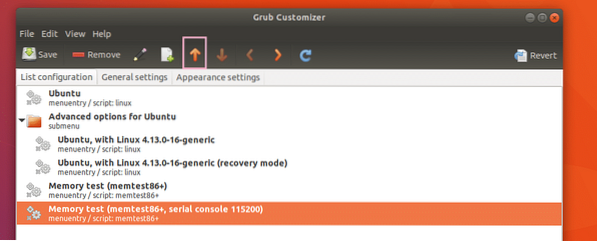
As you can see the entry is moved up.
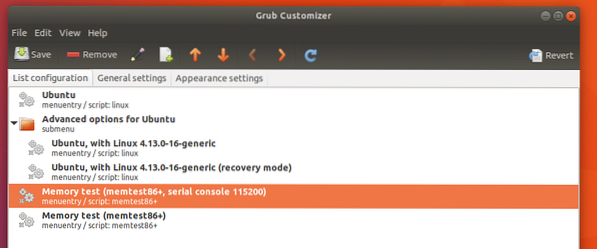
Moving an entry down is the same, you just select an entry and click on  icon instead.
Once you're done, click on the  icon and the changes should be saved.
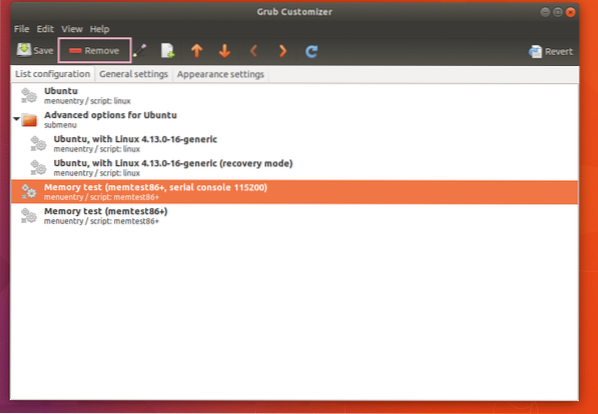
Removing an Entry or Submenu
You can remove an entry or submenu from the list as well. Just select an entry or a submenu and click on the Remove icon as shown in the screenshot below. The entry or submenu should be removed.
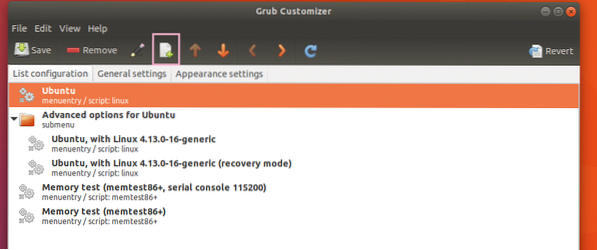
Creating a new GRUB Entry
You can also create a new GRUB entry with GRUB Customizer.
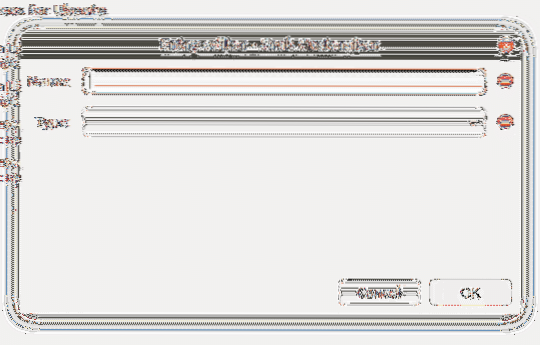
First click on the icon as marked on the screenshot below.
You should see an Entry Editor with as shown in the screenshot below.
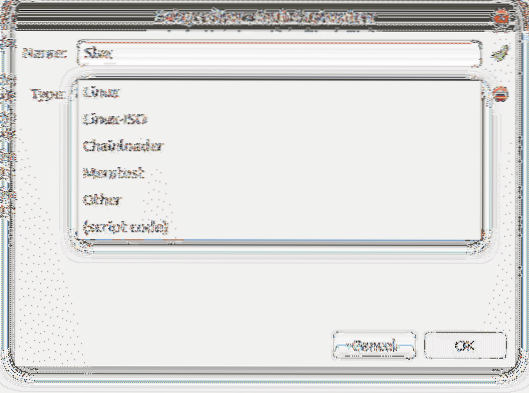
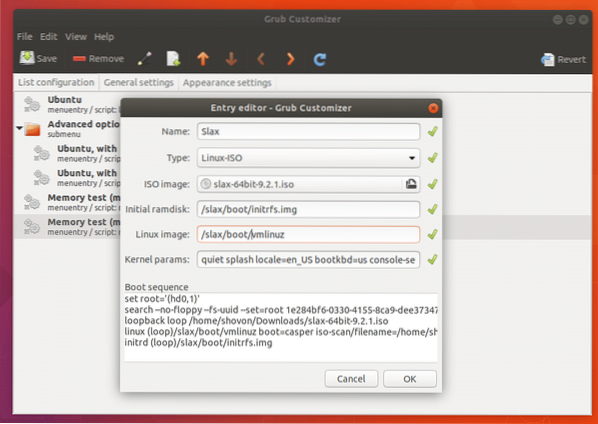
Just type in the Name of the GRUB entry and click on the Type selector. You should be able to see a lot of options as shown in the screenshot below. I will select Linux-ISO as I would like to boot from a Linux bootable CD. The distro I am selecting is called Slax.
Once you select an option from the list, some more options should appear as shown in the screenshot below.
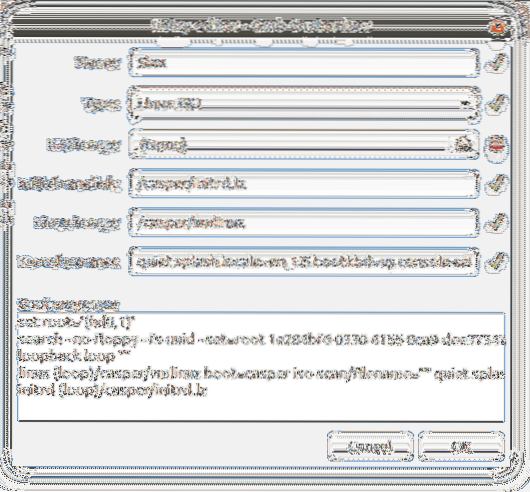
Now click on the following section and select an ISO image from the file selector window.
Adjust the rest of the parameters as required. Different Linux Bootable images requires different parameters for Initial ramdisk and Linux image and Kernel params field. These are the optimal settings for Slax ISO CD. Once you're done, click on “OK”.
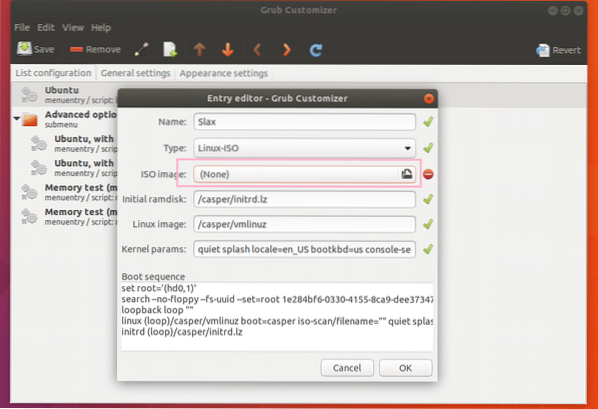
A Menu entry for Slax should be created.
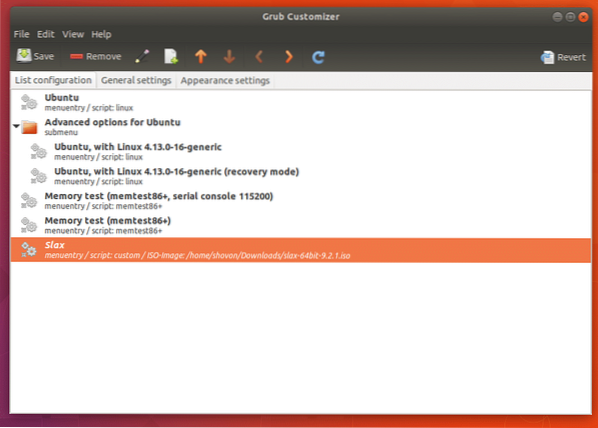
Now move the Menu Entry to the top by clicking the marked icon a few times.

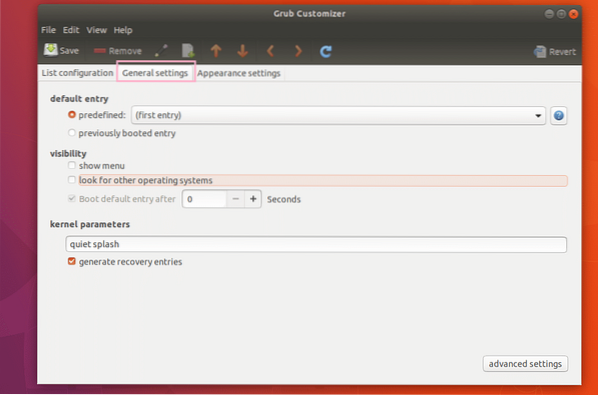
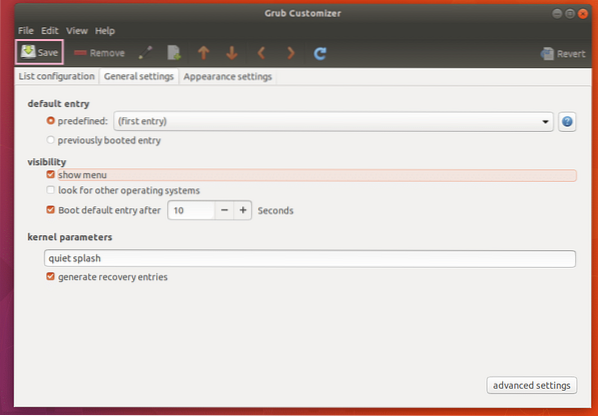
Now go to the General settings tab.
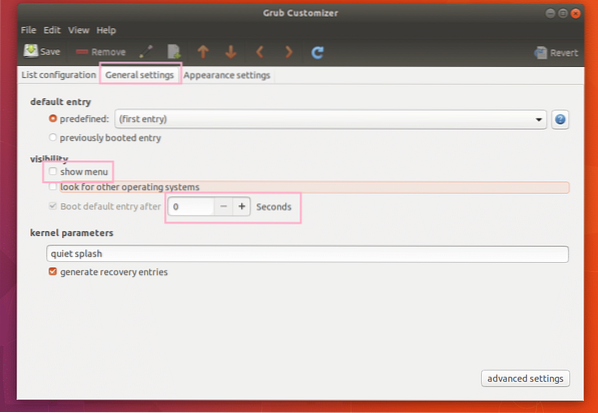
Now mark the show menu checkbox and then set the Boot default entry after field to 10 seconds as marked in the screenshot below.
Once you're done, save the configuration by clicking the marked icon as shown in the screenshot below.
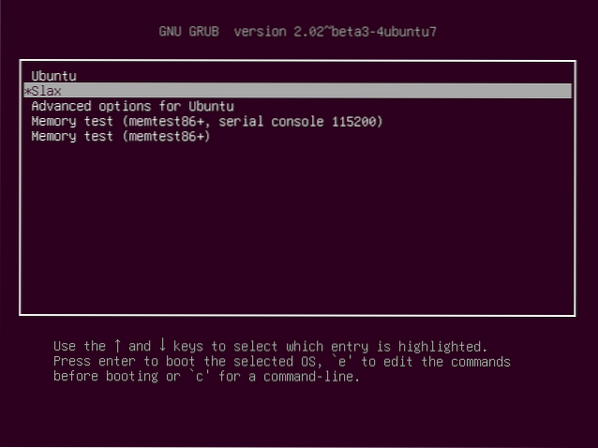
Now if you restart your computer, you should see a new GRUB entry as shown in the screenshot below.
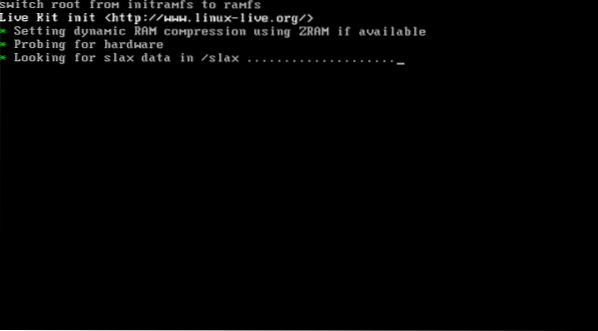
Selecting and pressing
That's how you install and use GRUB Customizer on Ubuntu 17.10. Thanks for reading this article.


