In this article, I will show you how to install and configure CLion C/C++ IDE on Ubuntu. So, let's get started.
Downloading CLion:
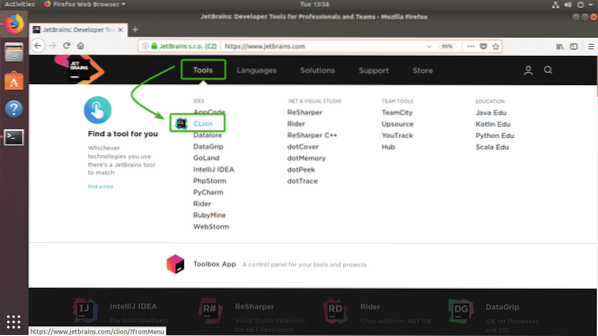
To download CLion, visit the official website of JetBrains at https://www.jetbrains.com from your favorite web browser and go to Tools > CLion.
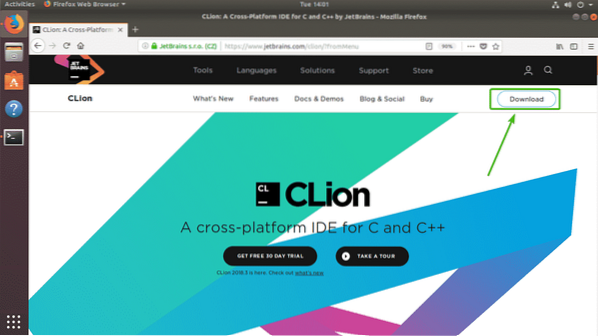
Now, click on Download.
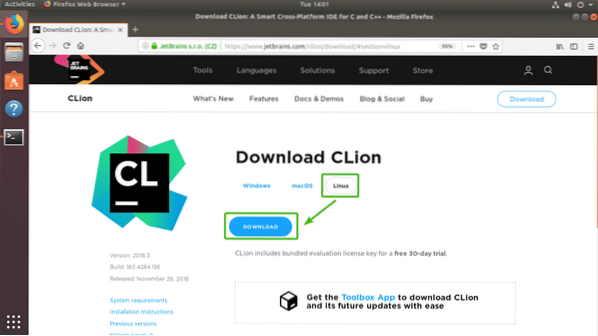
Now, make sure Linux is selected. Then, click on DOWNLOAD.
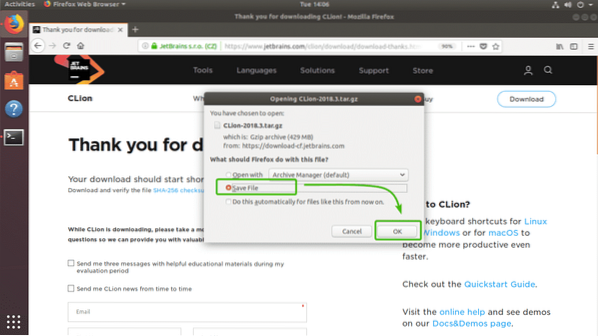
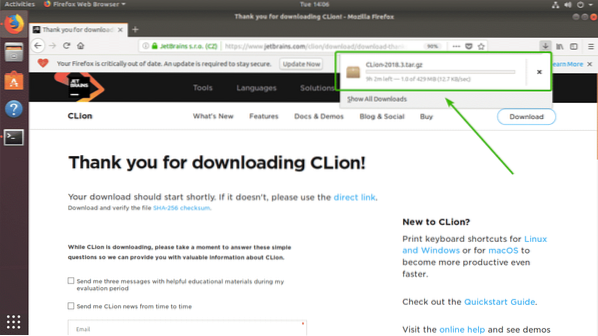
Your browser should prompt you to save the file. Just select Save File and click on OK.
As you can see, the CLion archive is being downloaded.
Installing C/C++ Build Tools:
In this section, I will show you how to install C/C++ build tools on Ubuntu. So, we will be able to compile C/C++ programs on CLion once we get it installed.
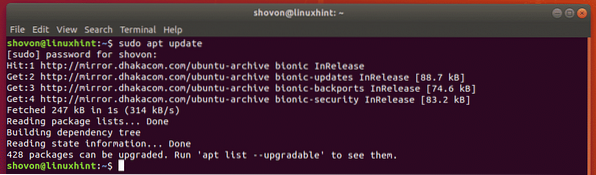
First, update the APT package repository cache with the following command:
$ sudo apt update
The APT package repository cache should be updated.
Now, install C/C++ development tools with the following command:
$ sudo apt install build-essential
Now, press y and then press
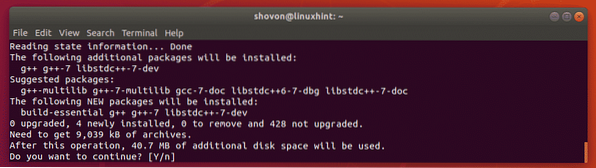
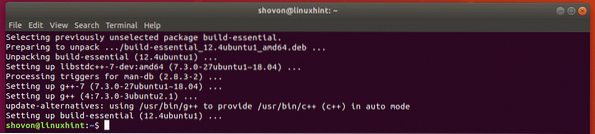
C/C++ build tools should be installed.
Installing CLion:
In this section, I will show you how to install CLion on Ubuntu. Let's get started.
First, navigate to the ~/Downloads directory with the following command:
$ cd ~/Downloads
As you can see, the CLion archive file I just downloaded is here. Remember the filename.

Now, run the following command to extract the contents of the archive to the /opt directory.
$ sudo tar xzf CLion-2018.3.tar.gz -C /opt
Once the archive is extracted, a new directory should be created inside the /opt directory as you can see in the screenshot below. Note the directory name.

Now, run CLion with the following command:
$ /opt/clion-2018.3/bin/clion.sh
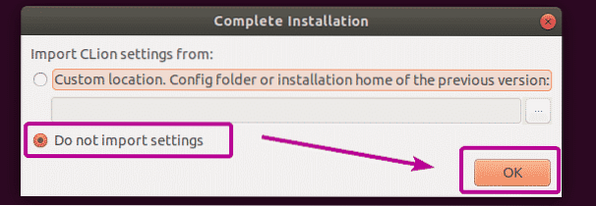
As you're running CLion for the first time, you will have to do some initial configuration. Once you see the following window, click on Do not import settings and click on OK.
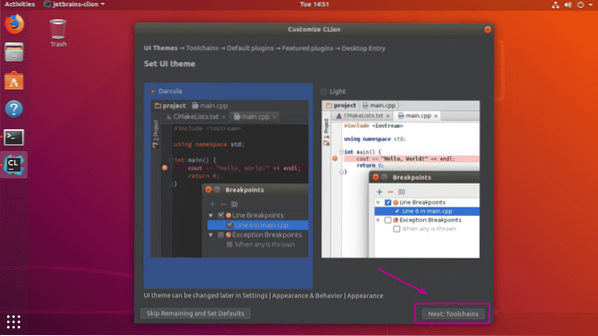
Now, select either the Dark theme Darcula or the Light theme. Then, click on Next: Toolchains as marked in the screenshot below.
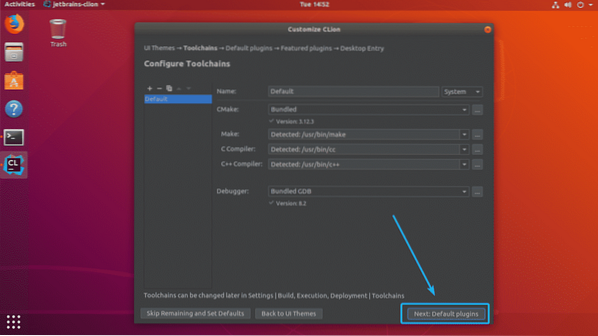
As you can see, all the C/C++ development tools are automatically detected. Now, click on Next: Default plugins.
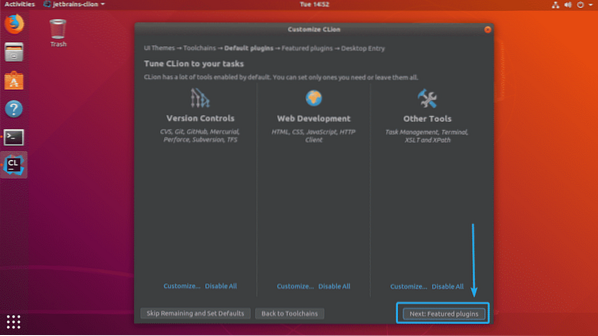
Now, you will be asked to tune CLion depending on what you do. For example, if you do web development along with C/C++, then you can keep the Web Development tools. If you don't need it, just click on Disable All, and web development functionalities will be disabled.
Once you're done, click on Next: Featured plugins.
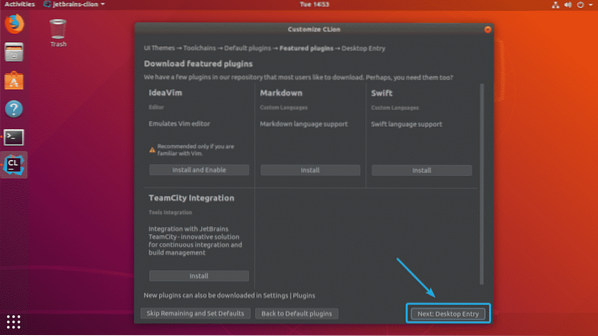
Now, CLion will suggest you some popular plugins that you can install to add more functionalities to CLion. For example, if you work with GitHub, then the Markdown plugin is very important for you. So, you can click on Install to install it as CLion plugin. Once you're done, click on Next: Desktop Entry.
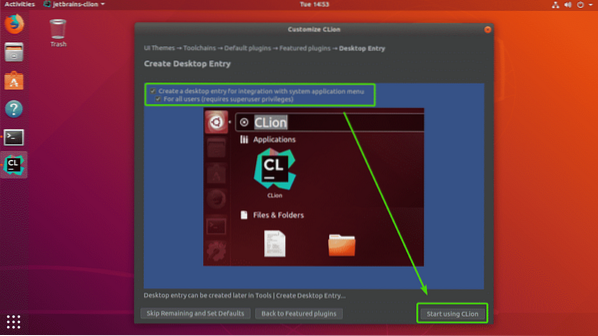
Now, make sure both of the checkboxes are checked. Then, click on Start using CLion as marked in the screenshot below.
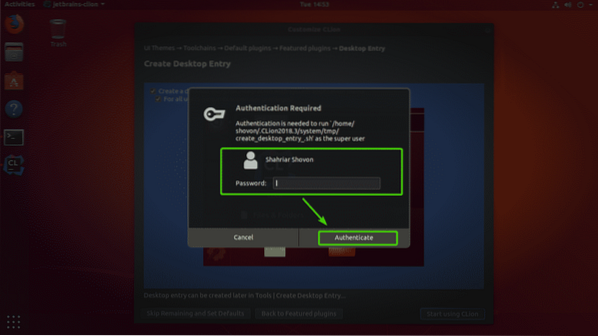
Now, type in your login user's password and click on Authenticate.
CLion will create desktop icons so that you will be able to launch CLion from the Application Menu of Ubuntu. You don't have to start it from the command line ever again.
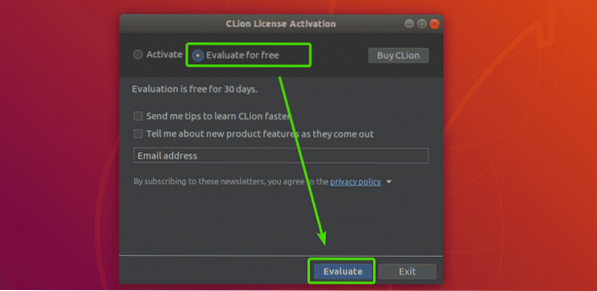
Now, you have to activate CLion. CLion is not free to use. You will have to buy a license from JetBrains in order to use CLion. You can activate CLion from here if you have valid license.
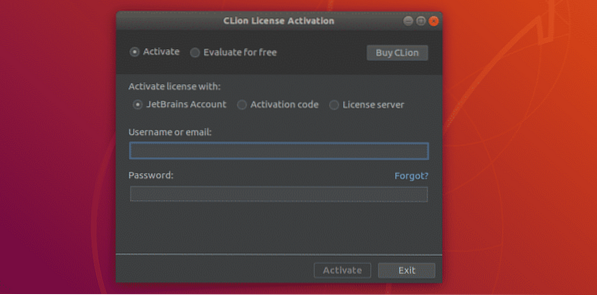
If you want to try out CLion before you buy the license, then select Evaluate for free and click on Evaluate.
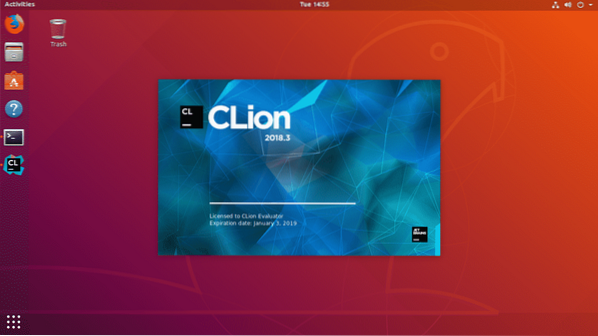
CLion splash screen should show up.
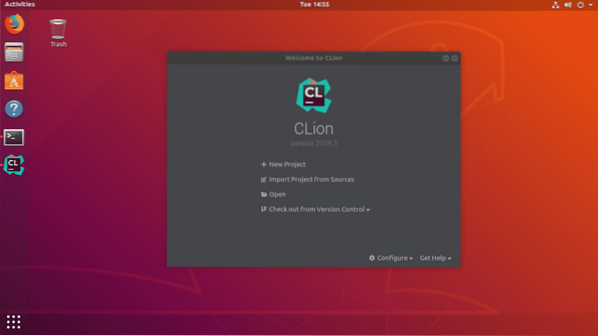
After a while, you will see the CLion dashboard. From here, you can create, import and manage your existing projects. The initial configuration is complete.
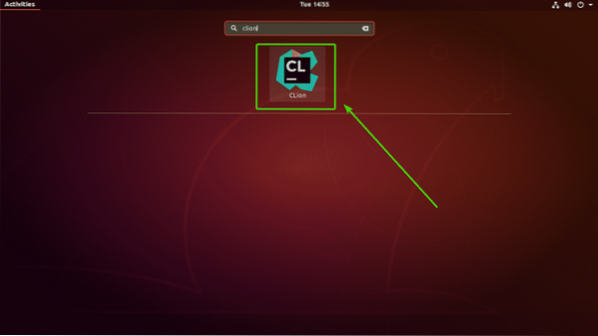
Now, you can easily start CLion from the Application Menu of Ubuntu.
Creating a New C/C++ Project with CLion:
In this section, I will show you how to create a new C++ project with CLion and run your first program.
First, start CLion and click on New Project from the dashboard.
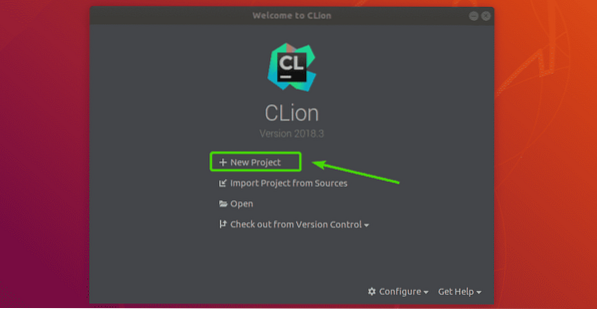
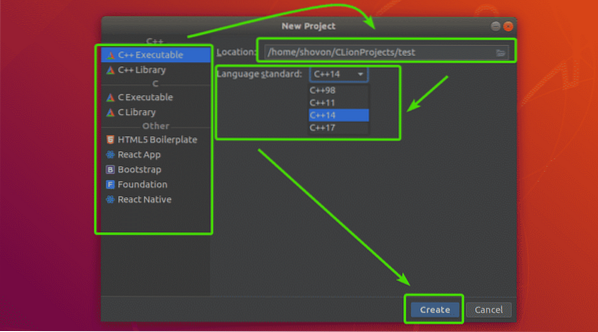
Now, you should see the project creation wizard. From here, select what type of project you want to create. Then, select a location on your filesystem where you want to save the new project. You can also select the C/C++ language standard if you need to. Once you're done, click on Create.
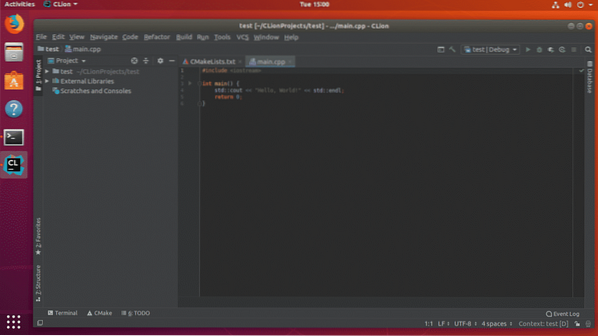
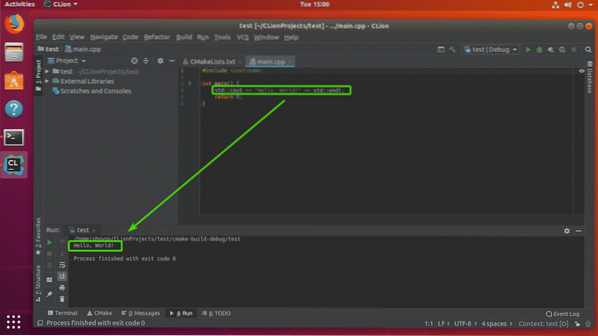
As you can see, I have a hello world C++ program in my project directory by default as I selected C++ Executable project.
Now, to run the program, click on the Play button as marked in the screenshot below.
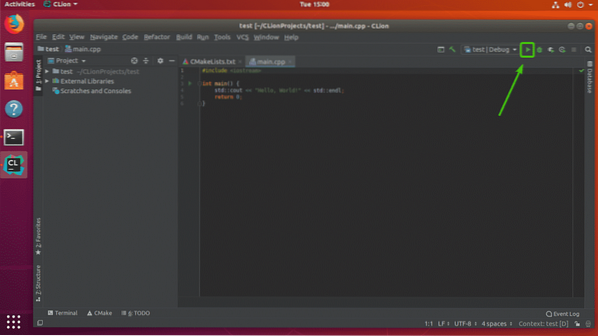
As you can see, the output is as expected. You can now compile C/C++ programs as much as you want.
So, that's how you install and configure CLion on Ubuntu. Thanks for reading this article.


