
Grub Customizer is a useful UI tool for modifying the default Grub boot loader settings. By using this tool, you can add, remove, and re-arrange boot menu entries. You can edit kernel parameters and also choose to change the time delay at boot, in order to boot from the default entry. The software also lets you make cosmetic configurations like changing the text color and background image.
In this article, we will explain how to install, launch and remove the software from your Ubuntu system. We have run the commands and procedures mentioned in this article on a Ubuntu 18.04 LTS system.
How to Install Grub Customizer
Step 1: Open the Terminal application
Open your Ubuntu command line, the Terminal, either through the system Dash or the Ctrl+Alt+T shortcut.
Step 2: Add Grub Customizer PPA repository to your system
Enter the following command in order to add the Grub Customizer PPA repository to your system. This will help you in installing the required software, and also enable your system to fetch upgrades and updates from the added repository in the future.
$ sudo add-apt-repository ppa:danielrichter2007/grub-customizer
Tip: Instead of typing the command, you can copy it from here and paste in the Terminal by using the Ctrl+Shift+V, or by using the Paste option from the right-click menu.

Please note that only an authorized user can add, remove and configure software on Ubuntu. Enter the password for sudo, after which the PPA repository will be added to your system.
Step 3: Upgrade your system's Repository Index
The next step is to update your system's repository index through the following command:
$ sudo apt-get update
This helps you in installing the latest available version of a software from the Internet.

Step 4: Install Grub Customizer
Now that you are done with all the prerequisites required to install the Grub Customizer, use the following command as sudo in order to install it on your system:
$ sudo apt-get install grub-customizer
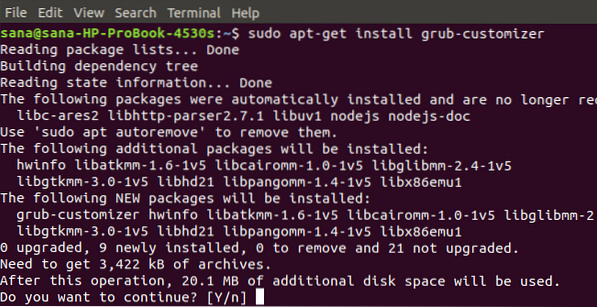
The system will prompt you with a Y/n option to proceed with the installation procedure. Enter Y to continue after which the software will be installed on your system.
Step 5: Verify Grub Customizer Installation
After you have installed the Grub Customizer, you can use one of the following two options to ensure that it is indeed installed on your system:
$ grub-customizer --version
$ grub-customizer -v

The above output shows that Grub Customizer version 5.1.0, which is the latest version of the software, is installed on my system.
Launch Grub Customizer
You can launch the Grub Customizer through the command line by entering the following command:
$ grub-customizer
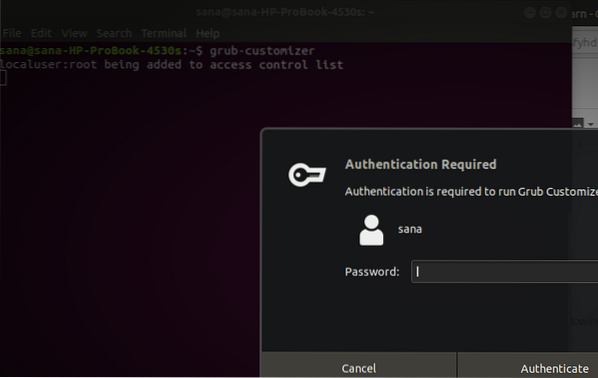
The software requires root access to run the software as only an authorized user can make configurations to the system Grub.
Enter the password for root and click the Authenticate button after which the Grub Customizer's UI will launch on your system.
Alternatively, you can launch the software through the system Dash search results as follows:
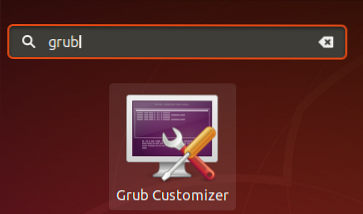
This is how the Grub Customizer UI looks like:

How to Uninstall?
If you ever want to remove the Grub Customizer from your system, you can do so by entering the following command in your Ubuntu Terminal:
$ sudo apt-get remove grub-customizer
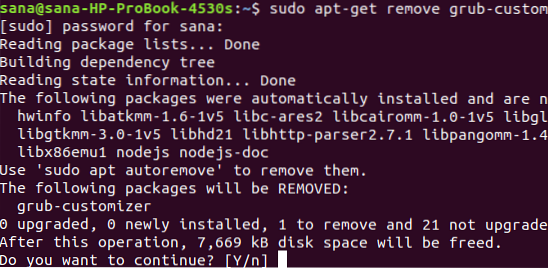
The system will prompt you with a Y/n option to proceed with the uninstall procedure. Enter Y to continue after which the software will be removed from your system.
If you no longer want to keep the PPA repository that you had used to install the Grub Customizer, you can remove it by using the following command:
$ sudo rm /etc/apt/sources.list.d/danielrichter2007-ubuntu-grub-customizer-bionic.list

Alternatively, you can use Software & Updates utility from the GUI in order to remove the PPA.
You can explore the true potential of the Grub Installer by installing it and giving a new look, feel, and behavior to your Grub boot loader.


