
Every time we deal with images in a command line, we need to install or use any of the command line tools. Few of them include GraphicsMagick, Scrot, Feh, Exiv2 etc. These tools allow us to convert, also help us to resize, compare, animate, and view the images. Each tool has its own usage. In this tutorial, we will learn how to do the basic editing of pictures from Linux command line when needed. We will be using ImageMagick for this purpose which is most commonly used.
Resize an image on Linux command line
In order to resize an image in Linux terminal, you need to follow the following steps.
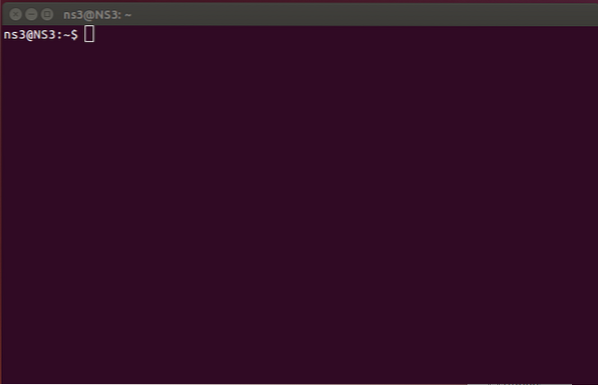
Step 1: First of all, open Terminal by clicking on Ubuntu launcher and search for Terminal.

Step 2: Now click on the Terminal and wait for the terminal to open.


Step 3: Once the terminal is opened, you will have a screen like this:
Step 4:
Next, once the terminal has been opened, we need to install ImageMagick to proceed further with the resizing, the command used to this purpose is “sudo apt-get install ImageMagick”.

Enter the required credentials to proceed further.

The installation will begin and your screen will be displayed as shown below.
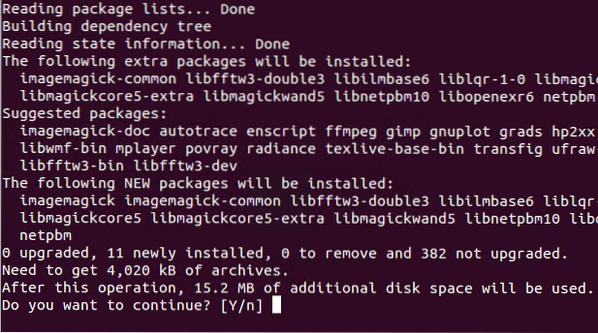
In order to continue the installation further, type Y.
After the final installation, this is the display on the command line. 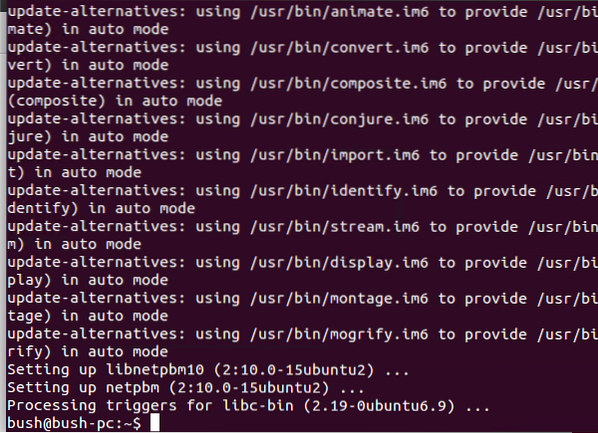
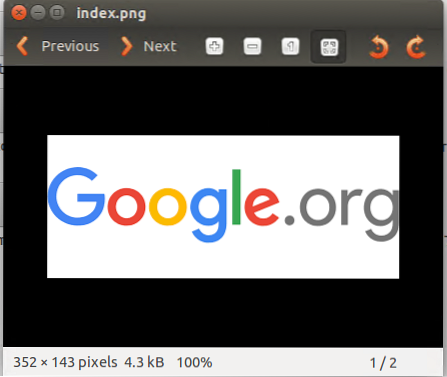
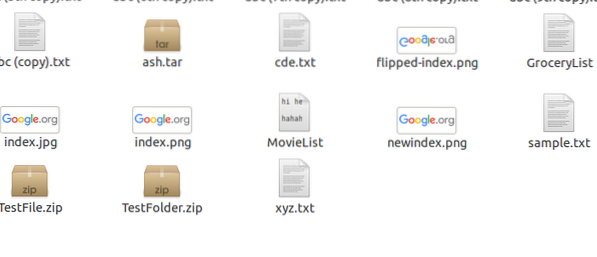
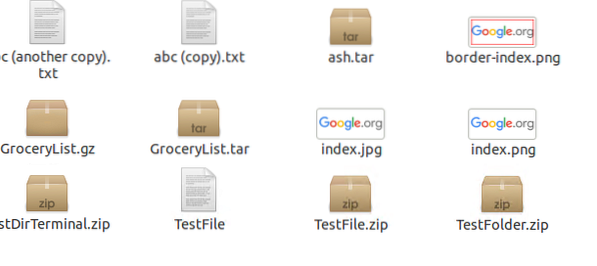
Now, we want to resize the image. It is currently located at the Desktop with a name index.png

We will move our current directory to the Desktop, where our image is located.

The image we want to resize is index.png so we write a command, with the original name of the image and then we will right the percentage to which we want the resize to happen and then, we will store it in a new file name with .png extension.

Here the new image that is resized by 60% is created named newindex.png


The two images show the different sizes of the same index.png which we have resized using the command.

Convert the file type
Since the above image file was in png and we want to convert into.jpg Now, we will enter the command to do so by using convert command and writing the type of file next to the type we want to convert to.


So, the file has now been converted into another type that is .jpg
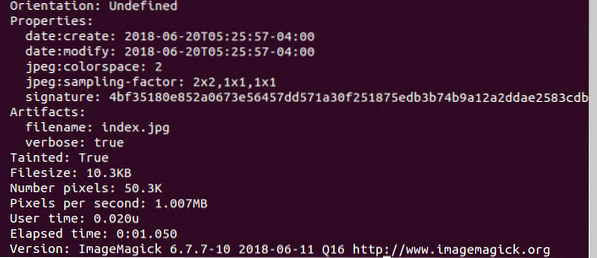
Get Information about the particular image
If you want to obtain any sort of information about an image, run simply the command.
identify -ping imageName.jpg

All of the information about the image is revealed.

For further details, we simply type this command.

The outcome which we will be getting is.
Flipping an image
If we plan to flip an image in the command line of Linux, it is not a difficult thing to do rather, just write covert -flip imageName.jpg FlippedImageName.png. This will let us achieve the desired outcome.

The new image named Flipped-index on the Desktop can be seen.

This is the flipped image once we opened it. As you can see it is the image we desired to get. Our image has been flipped by 90 degrees as the following figure also shows the same.
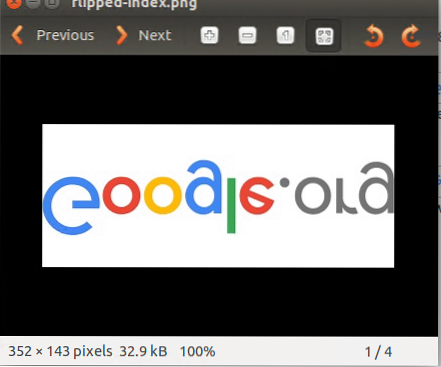
This is how we can flip our images using the command line.
Color list
To know all colors used in an image, issue we use a simple command that will help us in knowing the colors that are involved in composing an image.

The output will be a display of a list of colors we have for our index image.
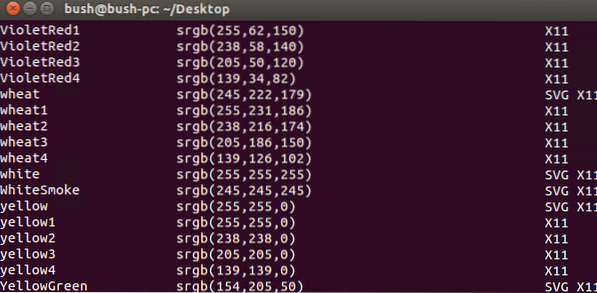
So, this is how we get the color list of any particular image we want.
Conversion of the colored image into Black and White
We can also convert a colored image into black and white by using the Linux Command Line. The command is

Addition of a border to an image
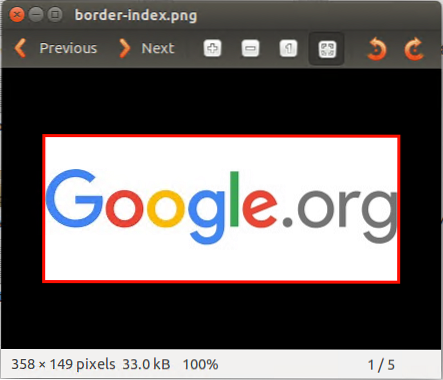
We can also add the border to any image we want to and it could be of any color as in our example we have added the red border. The command used for this is

The border-index is the border added image.

The image once opened, has a border to it which is red in color, the following figure shows the same.
Negated image
We can also negate any image whenever we want to by using the following command:

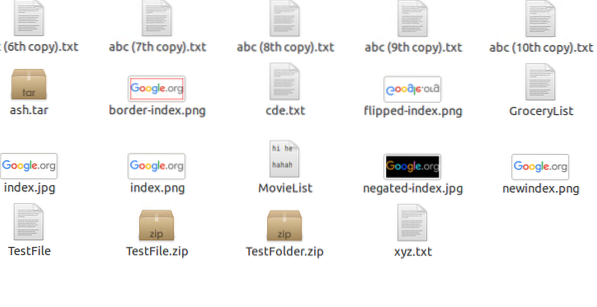
The negated-index is created on the Desktop.

The negated image is as follows:
Conversion of an image into pdf
Any image can be converted into pdf by using the command.

Where we just write convert imageName*.* FileName.pdf.
A new pdf will be created for that particular image as displayed on the Desktop of our system.
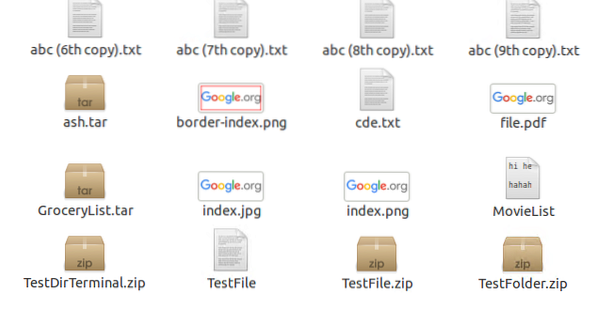

Thus the image has been saved in the pdf versions as shown below:
Display
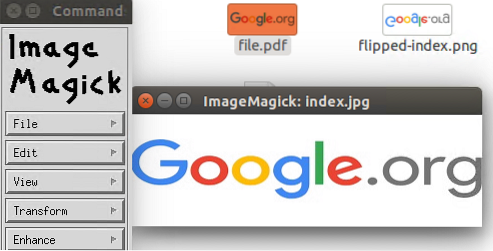
At last, we will see the command if you want to edit an image on your own using GUI of ImageMagick, run the following command.

So, the GUI will eventually appear, allowing you to make changes.
Conclusion
In this tutorial, we have discussed many interesting ways to edit an image. The most common method used for editing is ImageMagick so in this tutorial, we have also used the same and done its installation first. Then we saw many applications and actions we can perform using ImageMagick. First, we did the resizing of an image, then we learned how to change the file type as per our need, after that we saw how to display the information of an image, then we saw how do we flip an image, then we saw the ways to see colors in an image. Then we saw a technique to convert an image that is colored into black and white, then we added a border (colored) to an image. Later we converted the image into a pdf file. At last, we saw how can we display the GUI so that we can use ImageMagick. These are the basic but necessary commands helpful for a Linux user to learn for editing an image in Linux.

