Building Slackware's kernel
Sometimes the operating system does not support our hardware by default, or we just want to remove support of hardware we don't need. Lately Linux users forgot about this post installation task which once was very usual.
After learning to install Slackware now we'll see how to build Slackware's kernel.
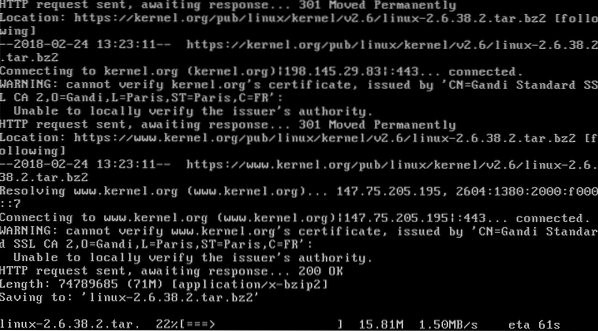
First of all lets download the kernel by running:
wget --no-check-certificate http://kernel.org/pub/linux/kernel/v2.6/linux-2.6.38.2.tar.bz2
Then we extract in the /usr/src directory:
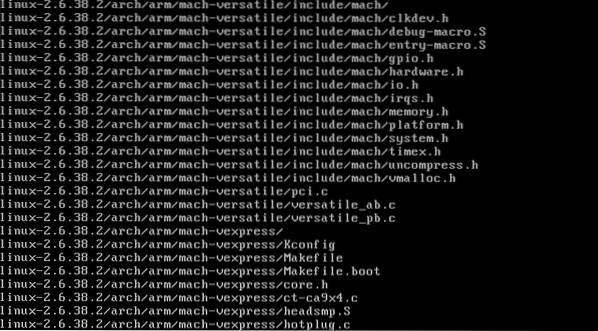
tar -C /usr/src -jxvf linux-2.6.38.2.tar.bz2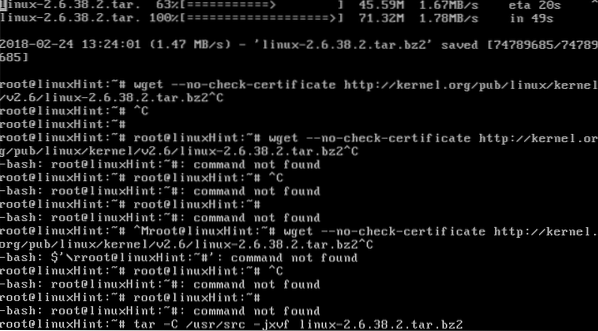
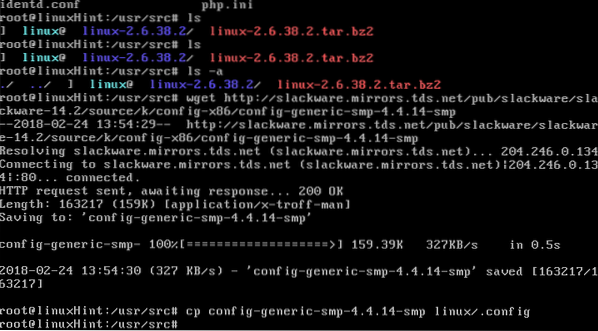
We create a symbolic link to our new kernel sources:
ln -s linux-2.6.38.2 linux
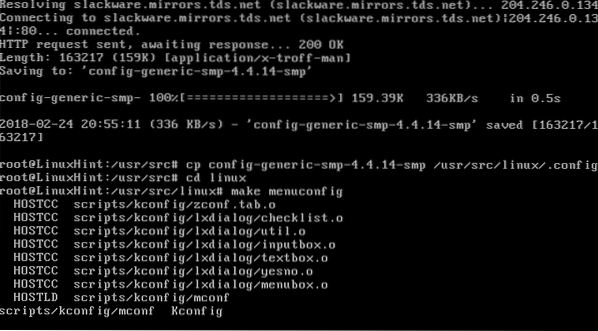
Now we'll download the headers:
wget http://slackware.mirrors.tds.net/pub/slackware/slackware-14.2/source/k/config-x86/config-generic-smp-4.4.14-smp

To start selecting and removing modules run:
cd linuxmake menuconfig
You can alternatively to “make menuconfig” run “make oldconfig” or “make xconfig”.

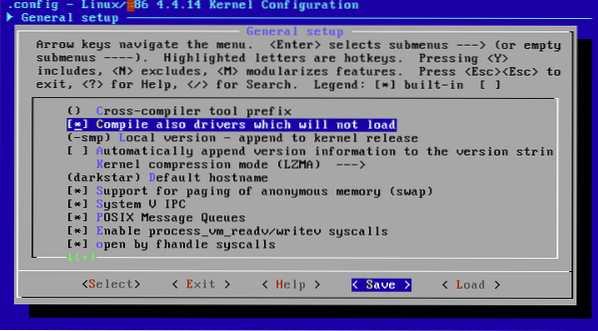
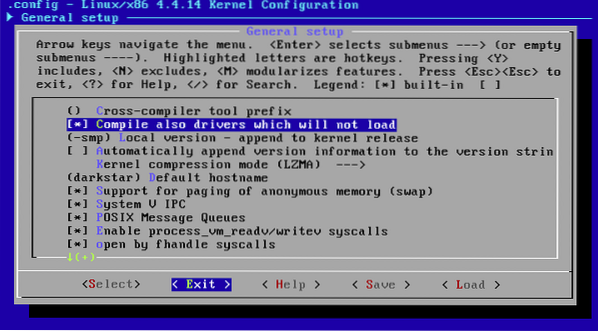
When the grey and blue screen starts (if you have chosen menuconfig instead of xconfig and oldconfig) its time to pay special attention to every move. A wrong choice in this step may result in a kernel crash.
Start checking all options and suboptions carefully, you can uncheck support for hardware you are sure you aren't using, for example, if you aren't using a Lenovo computer, you can uncheck the options for such devices, you can disable processors of a different type from the one you are using, wireless cards you don't need but the most important thing is to add support for hardware you need. Usually that's what people build kernels for.
Carefully we'll review all options, with the space key we'll select modules to load by default, by pressing M we'll load them as disabled modules.
Check the filesystems, ram,device drivers, firmware, processor, networking, all options and don't try to save time in this step.
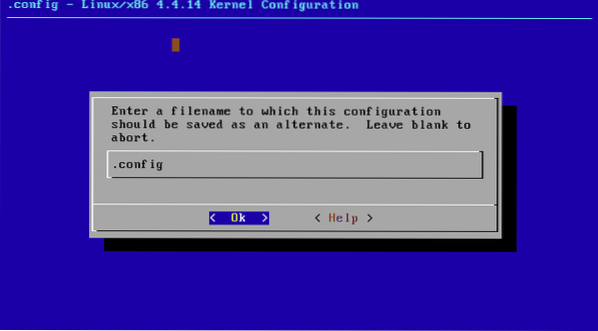
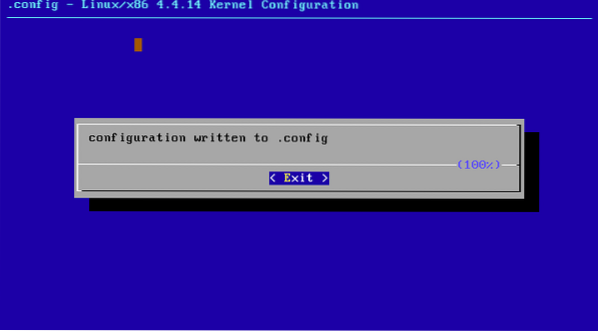
Once you finished, go to SAVE and press ENTER. Then press OK and twice on EXIT.
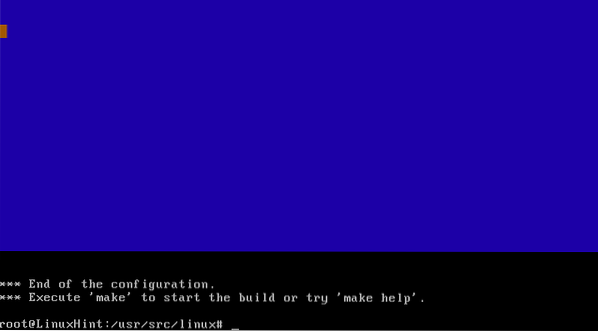
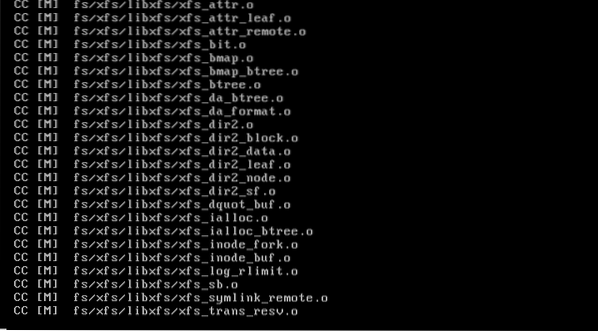
Now lets compile the modules by running the following command (this process may last a long time):
make bzImage modules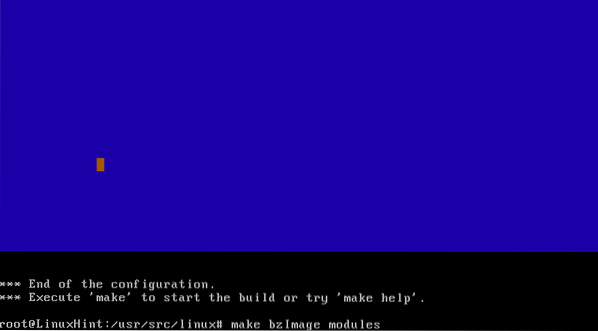
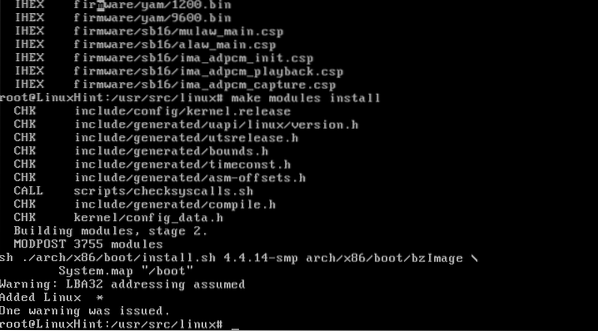
In order to install the modules run
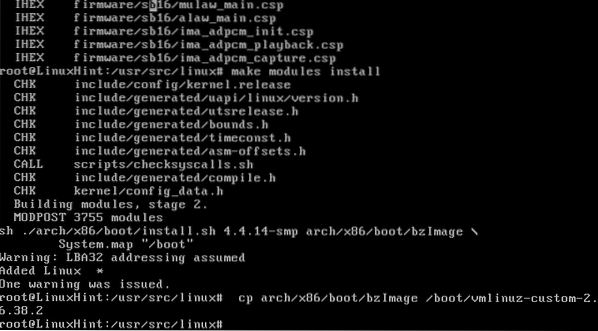
make modules install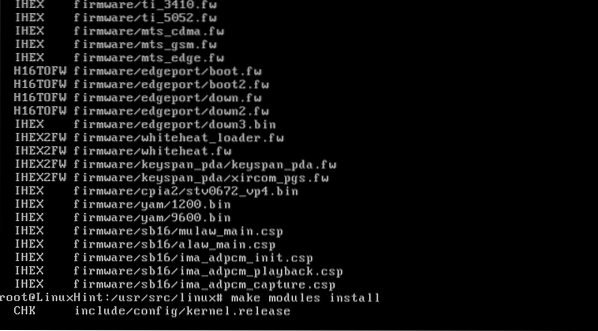
We can prevent the lba32 warning by adding it to Lilo, we'll do it later.
Now run:
Now lets run the final commands to continue later with lilo:
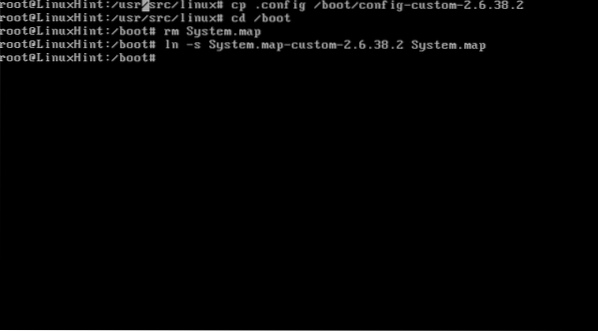
cp .config /boot/config-custom-2.6.38.2cd /boot
rm System.map
ln -s System.map-custom-2.6.38.2 System.map
Now lets fix lilo by running:
nano /etc/lilo.confBy pressing CTRL+W we'll search the word “override” and we'll see “change rules” with the option “reset” below, lets add “lba32” to prevent the Lilo's warning we saw before
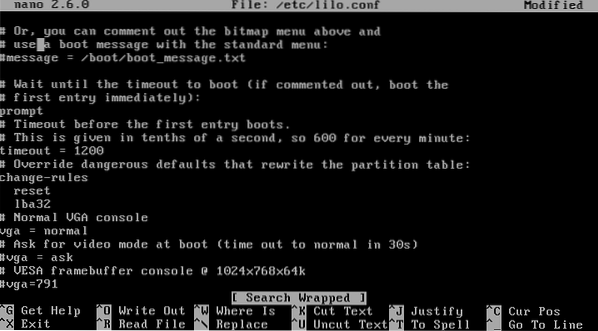
After that go the bottom of the screen and add the new kernel.
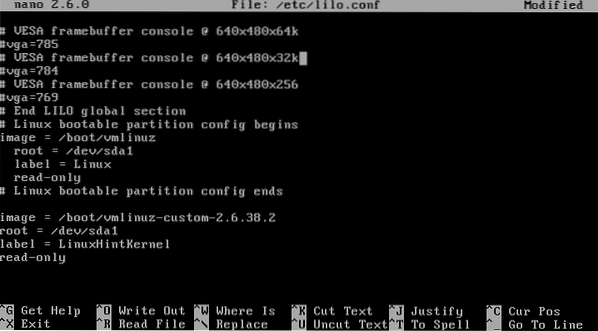
Once the changes were carefully done, press CTRL+X and then Y to exit lilo, and run lilo:
lilo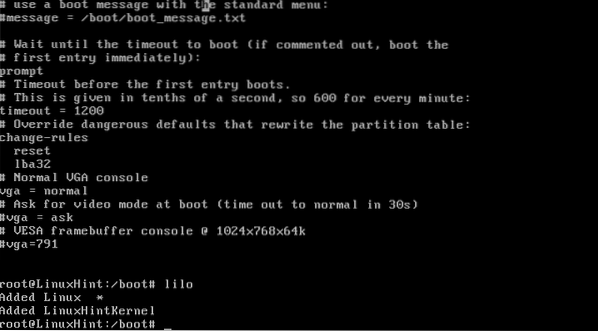
We can see it added a new kernel and this time didn't return errors or warnings. Now restart your device and when booting select the new kernel:
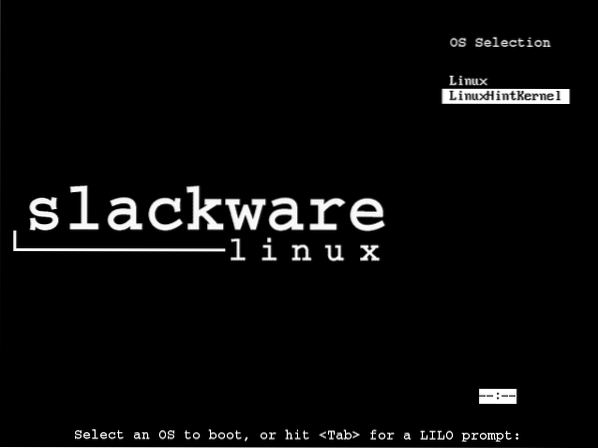
Try your new kernel, if it boots properly, then edit lilo again changing the default kernel for the new one.


