Needless to say, all the binaries, SDKs, frameworks and debuggers are going to pollute your filesystem with lots and lots of files, logs and other miscellaneous objects. An efficient work around for this is installing Android on your VirtualBox which takes away one of the sluggiest aspect of Android development - The device emulator. You can use this VM to run your test application or just fiddle with Android's internals. So without further ado let's set on up!
Getting Started
To get started we will need to have VirtualBox installed on our system, you can get a copy for Windows, macOS or any major distro of Linux here. Next you would need a copy of Android meant to run on x86 hardware, because that's what VirtualBox is going to offer to a Virtual Machine an x86 or an x86_64 (a.k.a AMD64) platform to run.
While most Android devices run on ARM, we can take help of the project Android on x86. These fine folks have ported Android to run on x86 hardware (both real and virtual) and we can get a copy of the latest release candidate (Android 7.1) for our purposes. You may prefer using a more stable release but in that case Android 6.0 is about as latest as you can get, at the time of this writing.
Creating VM
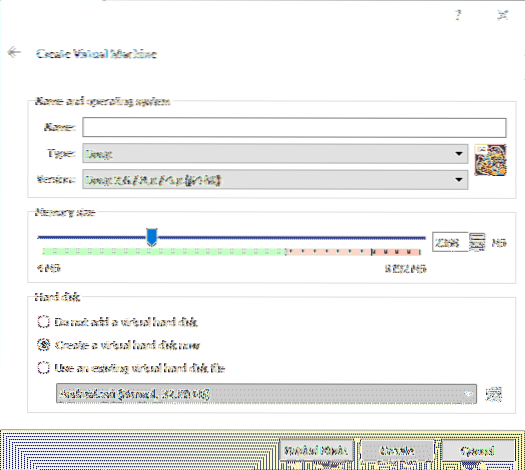
Open VirtualBox and click on “New” (top-left corner) and in the Create Virtual Machine window select the type to be Linux and version Linux 2.6 / 3.x /4.x (64-bit) or (32-bit) depending upon whether the ISO you downloaded was x86_64 or x86 respectively.
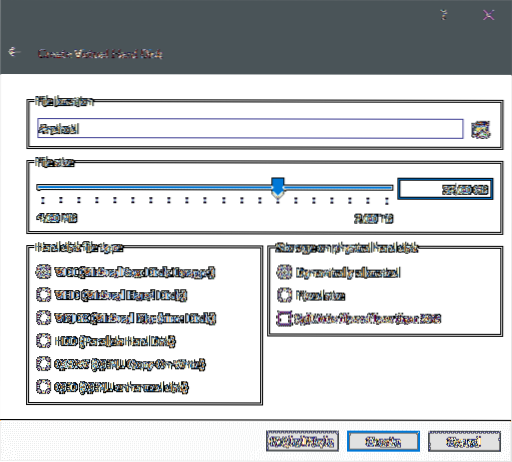
RAM size could be anywhere from 2 GB to as much as your system resources can allow. Although if you want to emulate real world devices you should allocate upto 6GB for memory and 32GB for disk size which are typical in Android devices.
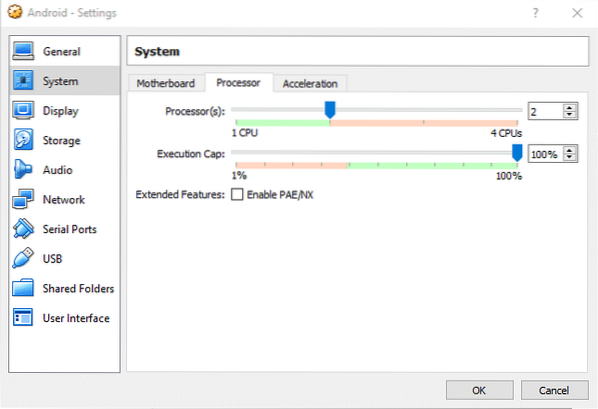
Upon creation, you might want to tweak a few additional settings, add in an additional processor core and improve display memory for starters. To do this, right-click on the VM and open up settings. In the Settings → System → Processor section you can allocate a few more cores if your desktop can pull it off.
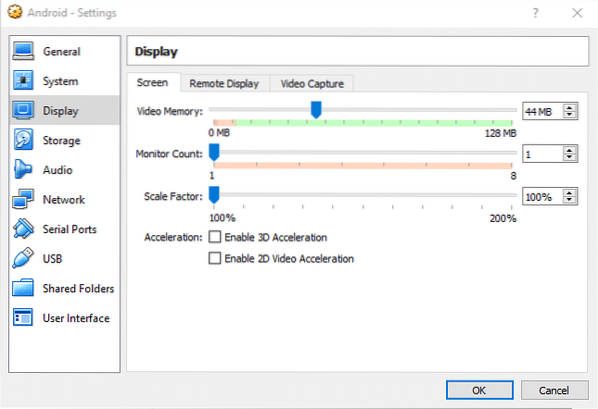
And in Settings → Display → Video Memory you can allocate a decent chunk of memory and enable 3D acceleration for a more responsive experience.
Now we are ready to boot the VM.
Installing Android
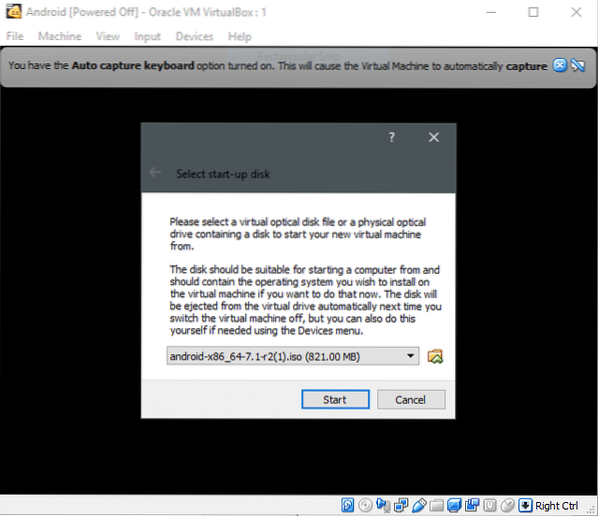
Starting the VM for the first time, VirtualBox will insist you to supply it with a bootable media. Select the Android iso that you previously downloaded to boot the machine of with.
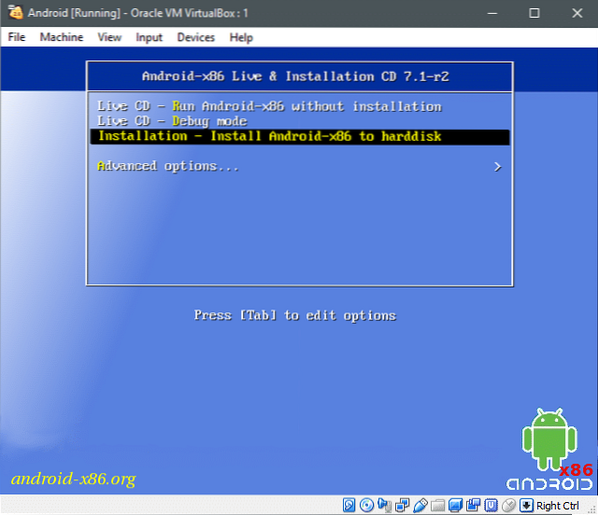
Next, select the Installation option if you wish to install Android on the VM for a long term use, otherwise feel free to log into the live media and play around with the environment.
Hit
Partitioning the Drive
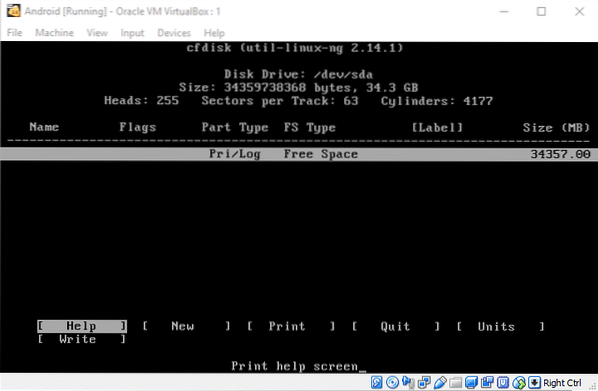
Partitioning is done using a textual interface, which means we don't get the niceties of a GUI and we will have to use the follow careful at what is being shown on the screen. For example, in the first screen when no partition has been created and just a raw (virtual) disk is detected you will see the following.
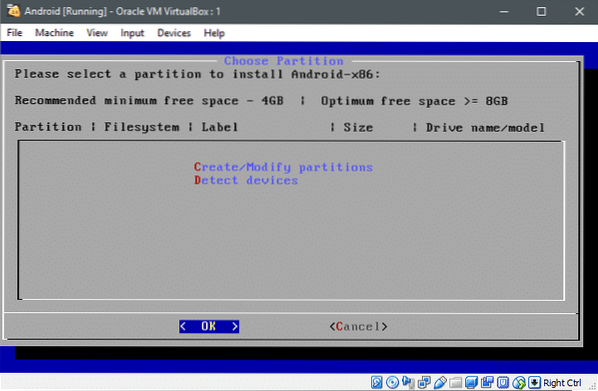
The red lettered C and D indicates that if you hit the key C you can create or modify partitions and D will detect additional devices. You can press D and the live media will detect the disks attached, but that is optional since it did a check during the boot.
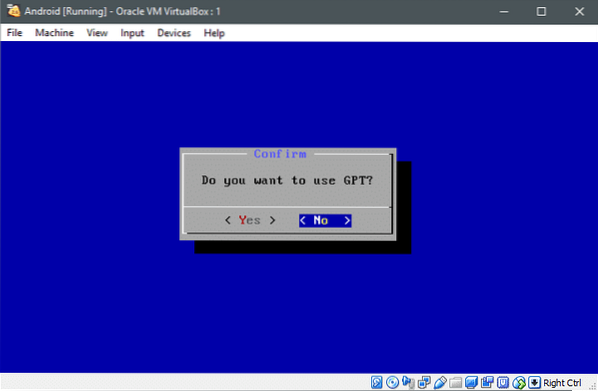
Let's hit C and create partitions in the virtual disk. The offical page recommends against using GPT so we will not use that scheme. Select No using the arrow keys and hit
And now you will be ushered into the fdisk utility.
We will create just a single giant partition so as to keep things simple. Using arrow keys navigate to the New option and hit
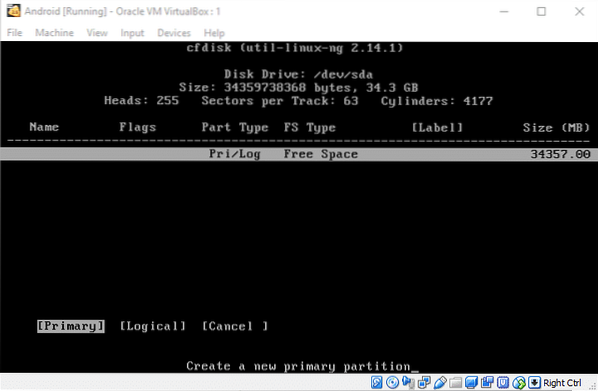
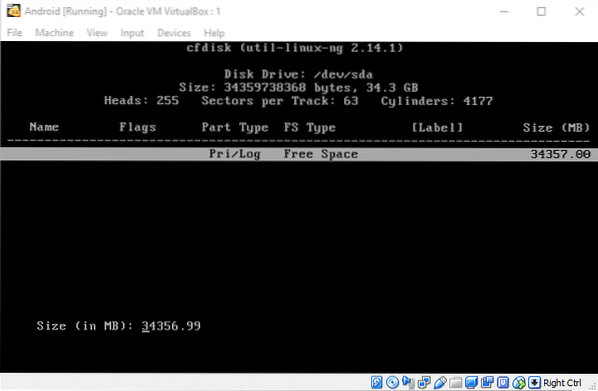
The maximum size will already be selected for you, hit
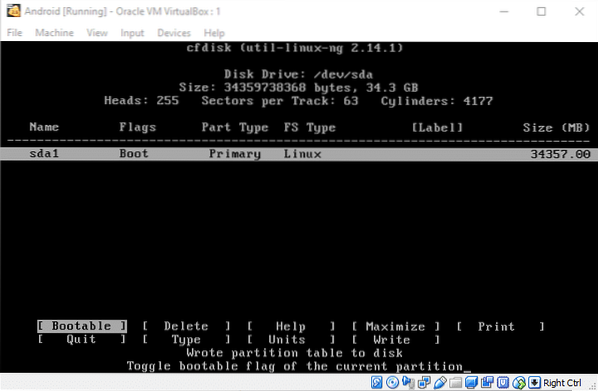
This partition is where Android OS will reside, so of course we want it to be bootable. So select Bootable and hit enter (Boot will appear in the flags section in the table above) and then you can navigate to the Write section and hit
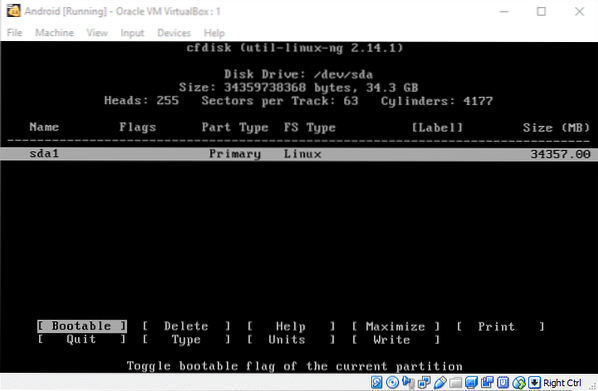
Then you can Quit the partitioning utility and move on with the installation.
Formatting with Ext4 and installing Android
A new partition will come in the Choose Partition menu where we were before we down the partitioning digression. Let's select this partition and hit OK.
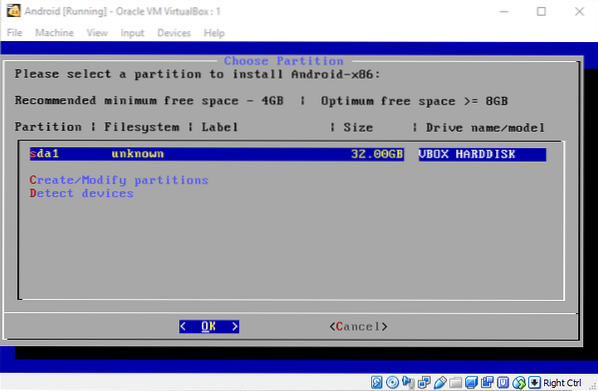
Select ext4 as the de facto file system in the next menu. Confirm the changes in the next window by selecting Yes and the formatting will begin. When asked, say Yes to the GRUB boot loader installation. Similarly, say Yes to allowing read-write operations on the /system directory. Now the installation will begin.
Once it is installed, you can safely reboot the system when prompted to reboot. You may have to power down the machine before the next reboot happens, go to Settings → Storage and remove the android iso if it is still attached to the VM.
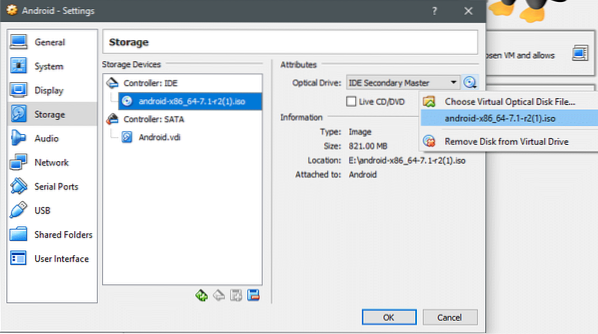
Remove the media and save the changes, before starting up the VM.
Running Android
In the GRUB menu you will get options for running the OS in debug mode or the normal way. Let's take a tour of Android in a VM using the default option, as shown below:
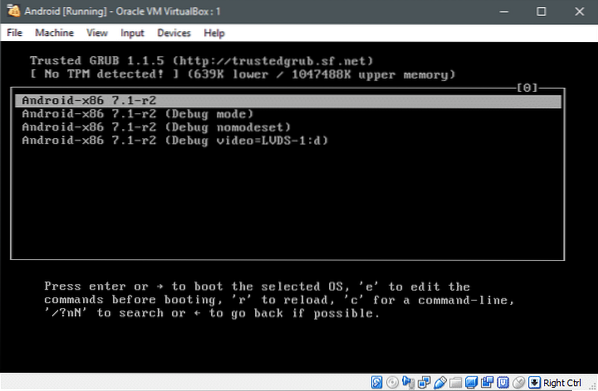
And if everything works fine, you will see this:
Now Android uses touch screen as an interface instead of a mouse, as far as its normal use is concerned. While the x86 port does come with a mouse point-and-click support you may have to use arrow keys a lot in the beginning.
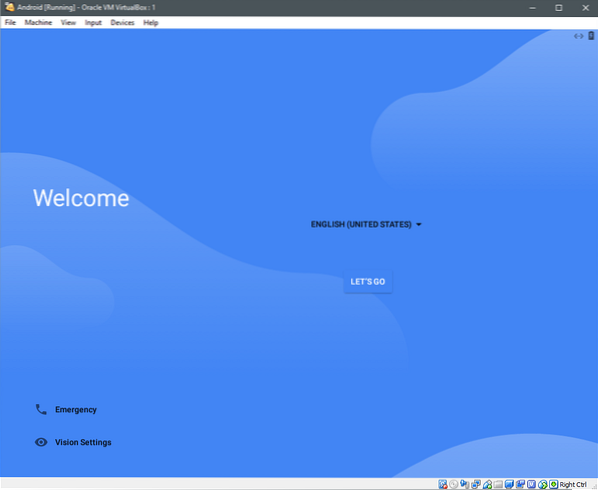
Navigate to let's go, and hit enter, if you are using arrow keys and then select Setup as New.
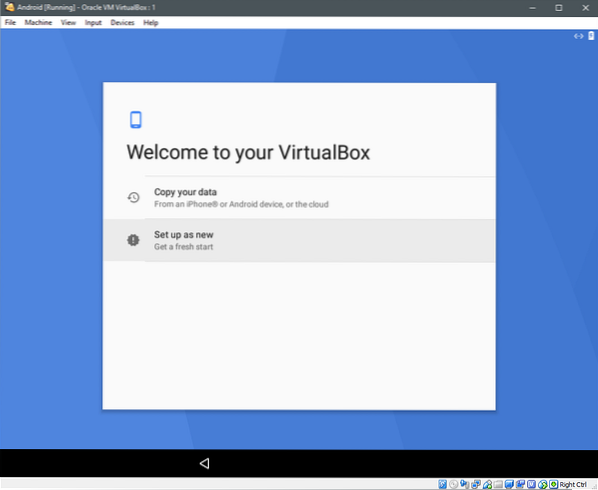
It will check for updates and device info, before asking you to sign in using a Google account. You can skip this if you want and move on to setting up Data and Time and give your username to the device after that.
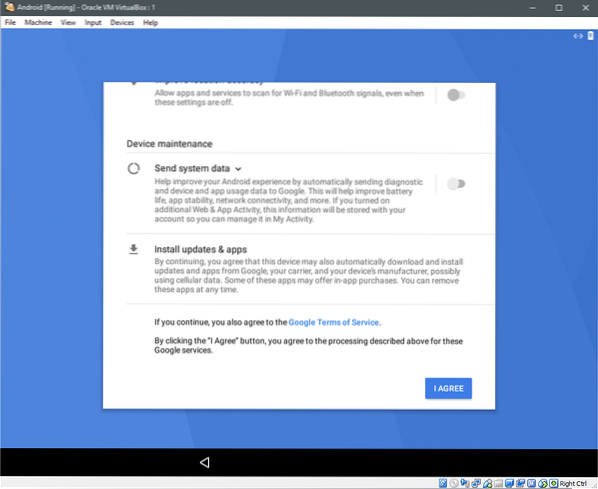
A few other options would be presented, similar to the options you see when setting up a new Android device. Select appropriate options for privacy, updates, etc and of course Terms of Service, which we might have to Agree to.
After this, it may ask you to add another email account or set up “On-body detection” since it is a VM, neither of the options are of much use to us and we can click on “All Set”
It would ask you to select Home App after that, which is upto you to decide, as it is a matter of Preference and you will finally be in a virtualized Android system.

You may benefit greatly from a touch screen laptop if you desire to do some intensive testing on this VM, since that would emulate a real world use case much closely.
Hope you have found this tutorial useful in case, you have any other similar request for us to write about, please feel free to reach out to us.


