A well-known hypervisor is VirtualBox, which has been used in our previous installation guides. Hyper-V is a Windows exclusive hypervisor by Microsoft which is used not only by individuals but also by organizations for their cloud computing infrastructure. It is available on select versions of Windows 8.1, Windows 10 Pro edition, Enterprise edition and on Windows Servers 2008 and beyond.
To enable it on your Windows desktop press the Windows Key, then type “Turn Windows Features on or off” and you will get the Windows service that lets you enable or disable a variety of Windows features. In here, check the box which has “Hyper-V” written next to it and make sure that both its subcomponents are selected as well, as shown below, then click OK.
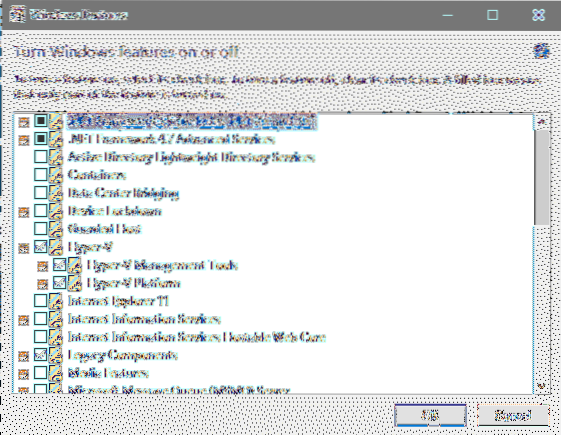
Windows would then fetch necessary files and would automatically install and enable Hyper-V for you (It would require a system restart.)
Upon restart, you can search in your Start Menu for Hyper-V manager and we can create our first new Virtual machine, but first let's answer the following questions.
Note: If you are here just for the Ubuntu installation you can skip the two sections below and go directly over to Creating a VM section.
Why use Hyper-V?
If you are a going to use a hypervisor why not go with VirtualBox? You can use it on Mac, Windows and most Linux distributions and, if you are already familiar with it, you won't have to struggle with an entirely new GUI and a whole different set of terminologies.
You will be correct to make that argument. But there are two main reasons why you would want to use Hyper-V.
First, unlike VirtualBox, Hyper-V is extensively used on servers. It is what we call, a Type-1 hypervisor. It is used on servers from small businesses to large scale Cloud deployment. By Type-1 we mean that Hyper-V takes over soon after the BIOS finishes its routine and everything (including your main Windows installation) gets provisioned on top of Hyper-V. You will see an entry for your Windows 10 'host' system in Hyper-V menu as well.
Second reason to use Hyper-V is because it is needed for running Docker on Windows. This is the strongest reason. The support for Linux containers as well as Windows containers makes room for developers to work on a very, very wide range of platforms. What's more is that Docker for Windows is now Kubernetes certified, indicating that the corporations are taking it very seriously and you would have very low hindrance in testing your deployments locally.
It makes sense to use the same hypervisor for your local virtual machines and for production environment. So you can connect them via the same virtual network and test your applications easily.
Why not to use Hyper-V?
Now Hyper-V does take its toll on you and your system. One of the major demerits is the usability. Designed for large scale data centers Hyper-V does have an overwhelming number of knobs and dials that may distract you from your task.
On top of that, you can't use VirtualBox alongside Hyper-V, on the same host, without having complications. Remember, Hyper-V is type-1 hypervisor.If you do install VirtualBox on a system which already has Hyper-V enabled you will get support for only 32-bit operating systems on VirtualBox and you are stuck with Hyper-V for 64-bit OSes.
Okay, enough with the Hyper-V technicalities, let's get started with Ubuntu 18.04 installation.
Creating VM
You can get your copy of Ubuntu 18.04 official installation media from here, if you want the desktop edition. Once the download is finished open Hyper-V manager (you can search for it from the start menu).
The first thing you will notice is that your host system will show up in the menu under Hyper-V Manager (in my case, the name is set to ANGMAR).

Now on the right hand column you can see an option to which say New. Click on it and select Virtual Machine… from here on it is a simple setup wizard which most PC users are familiar with.
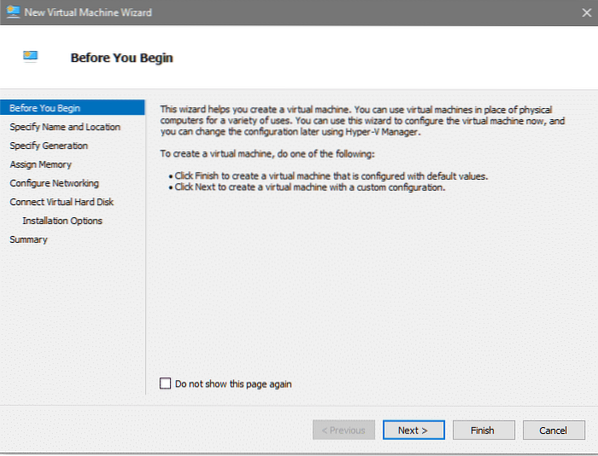
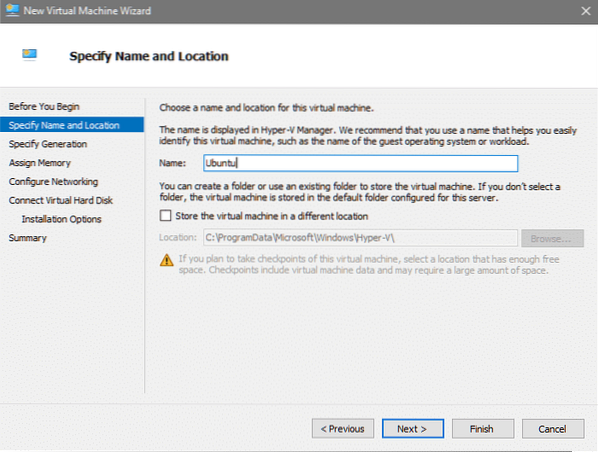
Since we will not be using the Default options, let's click on Next. Now give your VM a name and the location where you want to store it (we will let it stay at it's default value) and click Next.
Next we have to select whether the machine is of Generation 1 or 2. Selecting Generation 1 will cover the widest possible use cases, so let's stick to that.

For memory, we can go with 2048MB. If you have a larger RAM, consider allocating more memory.

The next step is to configure networking, you get two options, Not Connected and Default Switch. Because we intend on running updates, and downloading new packages, we will go with the Default Switch option and click on Next.
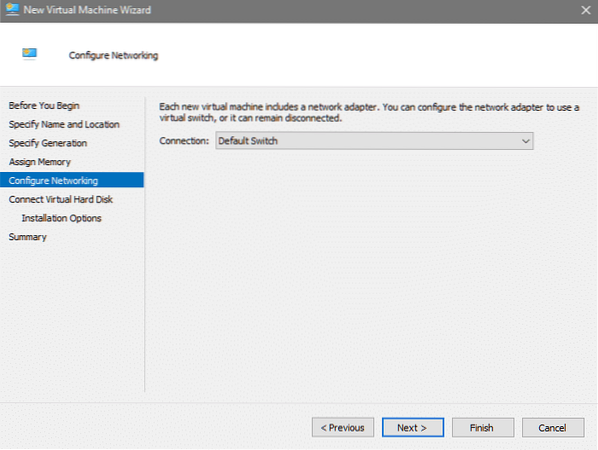
For those who are interested, the Default Switch offers your VM internet connectivity by using the host connection via NAT.
The next step is to connect a virtual hard disk. Here, the default values would work just fine. Although Ubuntu desktop can run on disks as small as 25GB.

The last step is to connect the installation media (the Ubuntu .iso file that we downloaded earlier). Select the option which says “Install an operating system from a bootable CD/DVD-ROM” and then select the Image file suboption, and using the browse option locate the .iso file for Ubuntu installation in your filesystem.

Click next to review your configurations one last time and then Finish to finalize your settings.
Starting and Accessing Your VM
You can now see the newly created VM called Ubuntu in the list of VMs.

Simply right-click on it and select the Start option to start the VM. You will notice that the Hyper-V manager would start showing up the VM's resource utilization (CPU and memory usage). But no Window would pop up showing the Ubuntu live CD booting.
To attach a virtual console to this VM, you need to right-click on it again and select Connect. This will connect you with the VM and you can now proceed with the main Ubuntu installation guide from here on.
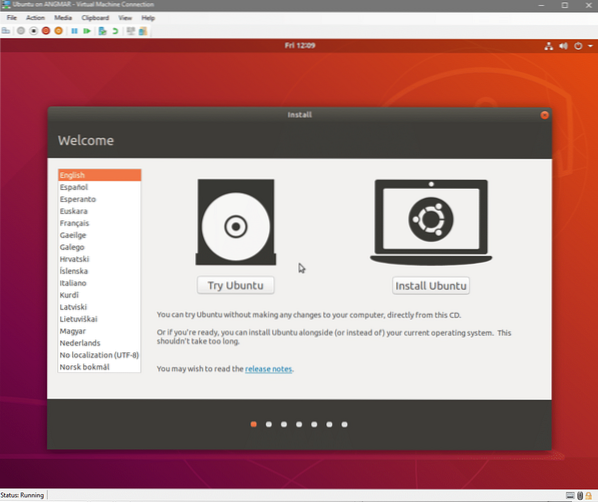
If you need further guidance with Ubuntu 18.04 installation, you can check out this guide where the installation is done on VirtualBox. You can skip the intro and VirtualBox specific parts and go ahead to Step 3 and follow from there. Hope you love this new release from Canonical.
Click the notification icon to stay up-to-date with the latest and greatest news and innovations in the world of tech!


