PyCharm is widely used for developing any type of Python project. It is easy to use and is full of powerful options. This is the reason why Python professional developers love to develop Python projects using PyCharm. It has the following two editions:
- Community Edition
- Professional Edition
To begin with, the PyCharm community edition has limited features but is free to use. On the other hand, the PyCharm professional edition is bundled with many powerful features, however, to use the PyCharm professional edition, you got to purchase its license.
The PyCharm can be easily installed on major operating systems.
Install PyCharm on Ubuntu 20.04
You can install PyCharm on Ubuntu 20.04 using the following three ways:
- Install PyCharm using snap
- Install PyCharm from Ubuntu Software Center
- Install PyCharm manually from JetBrains official website
Let's discuss all three installation methods, one by one.
1. Install PyCharm using snap
Snap is a software package manager for Linux based operating systems. It comes pre-installed in Ubuntu 20.04. We can install the PyCharm community and professional edition using snap.
Before installing any software package or application, it is suggested to update the apt cache using the following command:
$ sudo apt update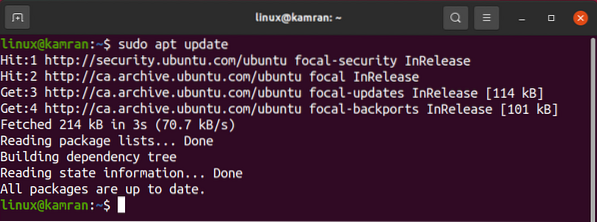
The apt cache will be updated successfully.
The PyCharm professional version can be installed on Ubuntu 20.04 using snap as follows:
$ sudo snap install pycharm-professional --classic
To install the PyCharm community version on Ubuntu 20.04 using snap, run the following command:
$ sudo snap install pycharm-community --classic
For demonstration purposes, we are going to download and work with the PyCharm community version.

The PyCharm community edition is successfully installed on my Ubuntu 20.04.
After the successful installation, open the Application Menu and search for the PyCharm application.
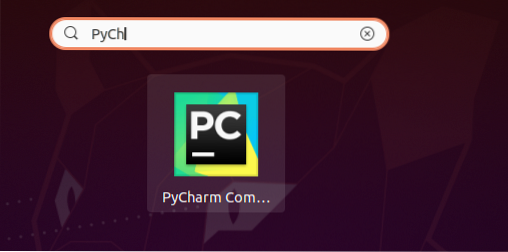
Click on the PyCharm application icon, and it will be opened. Upon the first launch, you will be required to perform some configurations.
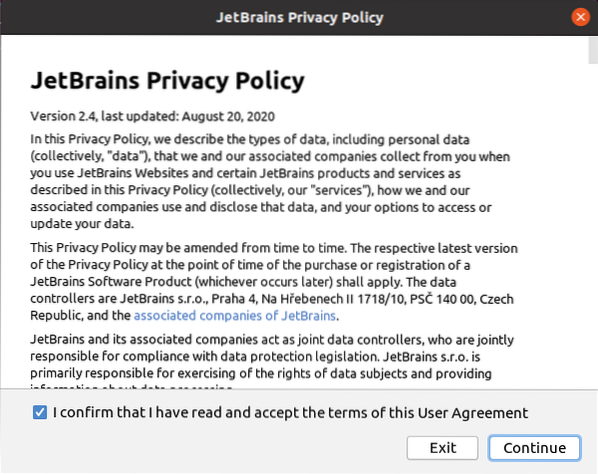
Carefully read the JetBrains privacy policy and confirm it if you agree to the privacy policy and click on 'Continue'.
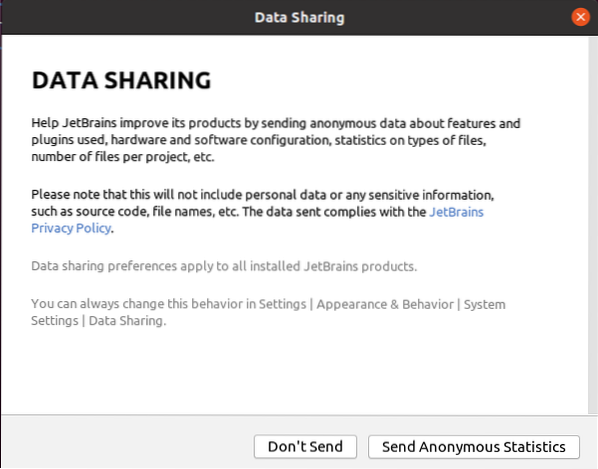
Next, choose the data sharing policy as per your choice.
PyCharm is loading.
 Note: In the case of the PyCharm professional version, you need to activate the PyCharm by purchasing the license.
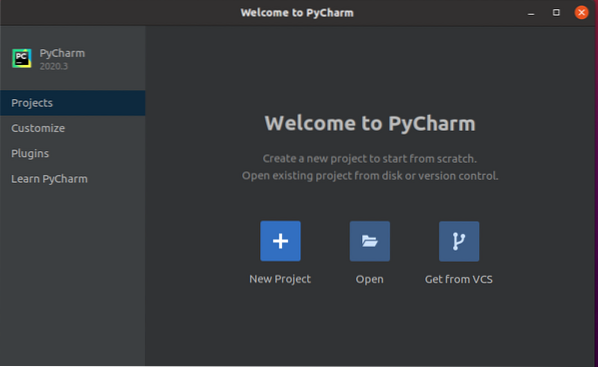
Next, the PyCharm dashboard will appear.
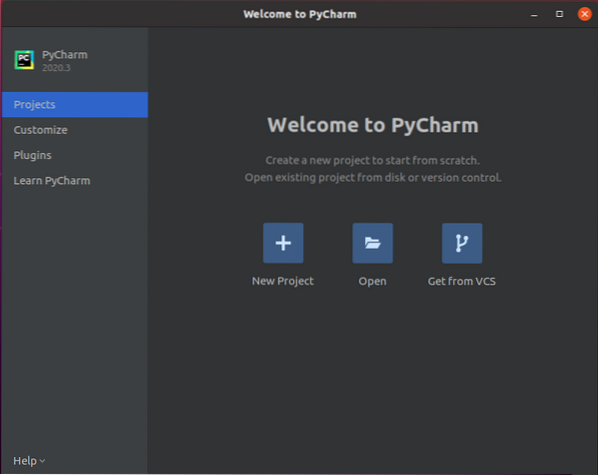
Multiple options are available on the Dashboard. Additionally, you can customize the PyCharm, install the required plugins, and learn about it.
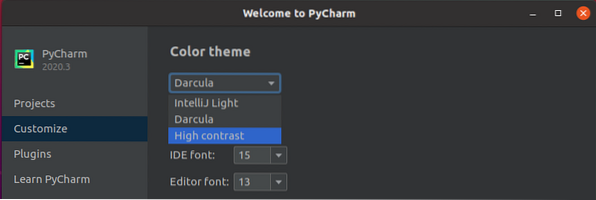
For instance, if you want to change the PyCharm theme, then click on the 'Customize' option, and from the color theme section, select the appropriate theme as per your choice.
Similarly, to install the required plugin(s), click on the 'Plugins' option. It will show a list of plugins, and you can search for any plugin by writing down the plugin name in the search bar.
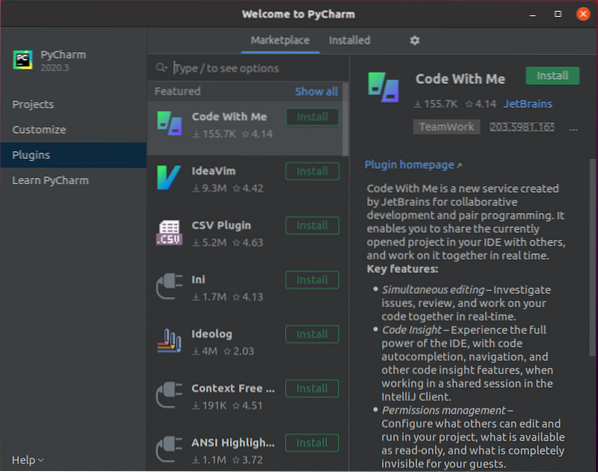
Pick a plugin and click on the button 'Install'.
2. Install PyCharm from Ubuntu Software Center
The other way to install PyCharm on Ubuntu 20.04 is through Ubuntu Software Center. To install PyCharm from Ubuntu Software Center, open the Application Menu and search for Ubuntu Software and open it up.
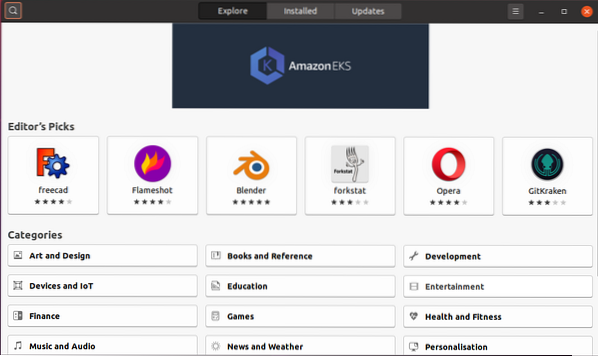
On the top left corner, click on the search icon and search for 'PyCharm'.
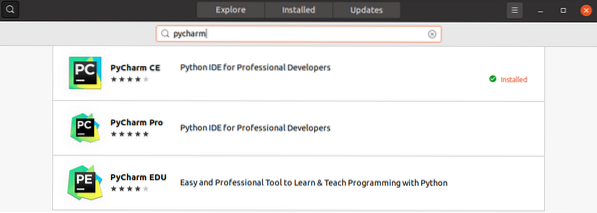
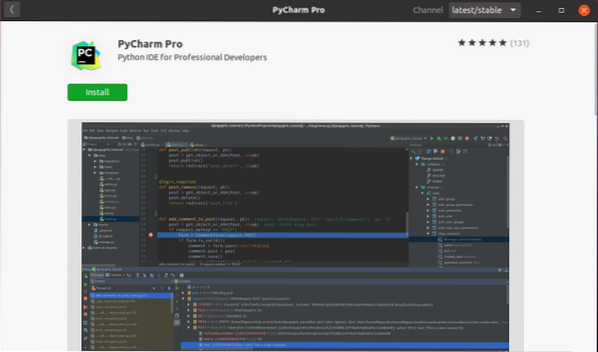
Select the 'PyCharm' application and click on the 'Install' button. The PyCharm will be successfully installed.
3. Install PyCharm manually from JetBrains official website
The latest version of PyCharm can be installed from JetBrains' official website (https://www.jetbrains.com/).
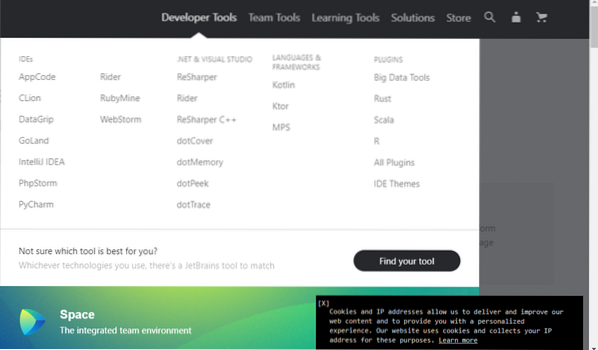
To install PyCharm manually from the JetBrains website, visit the JetBrains official website.

Click on the 'Developer Tools' option and select PyCharm.
Now, click on the 'Download' button.
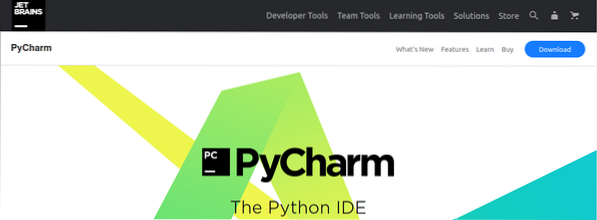
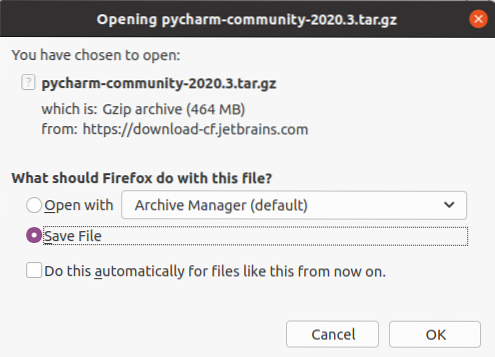
The PyCharm professional and community version can be downloaded. Select one out of the two versions.

Select 'Save file' and click on 'OK'. The PyCharm will be download in your relevant directory, most probably in the 'downloads'.
Once PyCharm is downloaded, navigate to the “Downloads” directory using the following command:
$ cd Downloads
Next, we need to create a new directory in $HOME/.local/ using:
$ mkdir -pv ~/.local/myapps
A new directory named 'myapps' is successfully created.
The PyCharm file is downloaded in the form of a tar file. We need to extract the PyCharm tar file in the myapps directory using the following command:
$ tar xvzf pycharm-community-2020.1.tar.gz -C ~/.local/apps/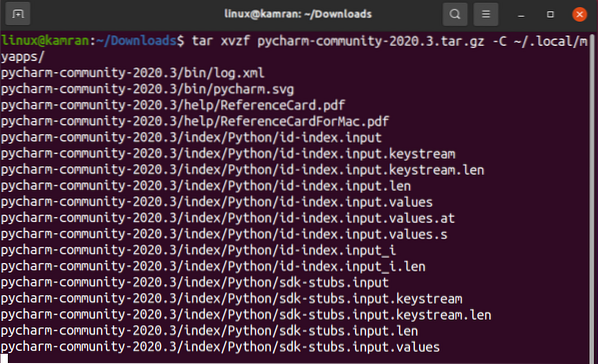
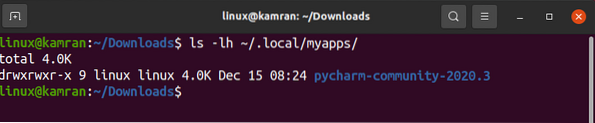
A new PyCharm directory is created in '~/.local/myapps/'. Verify the name of the PyCharm directory as follows:
Now we are ready to launch the PyCharm using following command:
$ ~/.local/myapps/pycharm-community-2020.3/bin/pycharm.sh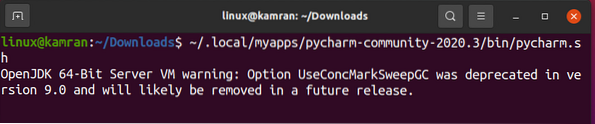
The PyCharm community version 2020.3 is successfully open on my Ubuntu 20.04.
Conclusion
PyCharm is a popular Python editor and is used by professional Python developers. This guide demonstrates three ways for installing PyCharm on Ubuntu 20.04.


