Creating your own Minecraft server comes with some benefits:
- The Minecraft world data will be saved on your Raspberry Pi system.
- You can play Minecraft with your friends on the LAN.
- You can get a public IP address and let anyone from anywhere join your Minecraft server.
- You can run any Minecraft mods you want.
- You will be the administrator.
- You can control the users playing Minecraft on your server.
- You can grant access to whomever you want, deny access to whomever you want, and kick anyone out of your server, anytime.
In short, you will have complete control over your Minecraft server.
As Raspberry Pi 4 is a low-cost single-board computer, building a Minecraft server with a Raspberry Pi 4 system can be very cost-effective. Raspberry Pi 4 is also a low-power device. You will not have to worry about electricity bills. You can use any power bank to power a Raspberry Pi 4 system.
This article shows you how to install your own Minecraft server in Raspberry Pi 4.
What You Will Need
If you want to set up a Minecraft server on your Raspberry Pi 4 system, you will need the following:
- A Raspberry Pi 4 single-board computer (the 4 GB version is recommended, but the 2 GB version will also work).
- A USB Type-C power adapter.
- A 16 GB or 32 GB microSD card with Raspberry Pi OS flashed. I recommend the Raspberry Pi OS Lite (without the graphical desktop environment), though the desktop version of Raspberry Pi OS will also work.
- Network connectivity on the Raspberry Pi 4 device.
- A laptop or desktop computer for VNC remote desktop access or SSH access to the Raspberry Pi 4 device.
If you need assistance with flashing the Raspberry Pi OS image on the microSD card, check out the article How to Install and Use Raspberry Pi Imager.
If you are a beginner at working with Raspberry Pi and need assistance with installing Raspberry Pi OS on your Raspberry Pi 4 device, check out the article How to Install Raspberry Pi OS on Raspberry Pi 4.
Also, if you need any assistance with the headless setup of Raspberry Pi 4, check out the article How to Install and Configure Raspberry Pi OS on Raspberry Pi 4 Without External Monitor.
Upgrading Raspberry Pi OS
Before getting started with installing a Minecraft server in Raspberry Pi 4, it is a good idea to upgrade all the existing packages of your Raspberry Pi OS.
First, update the APT package repository cache with the following command:
$ sudo apt update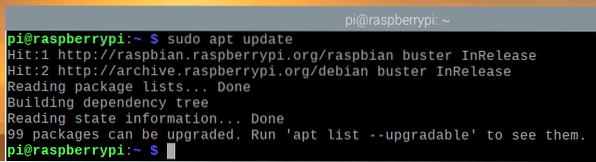
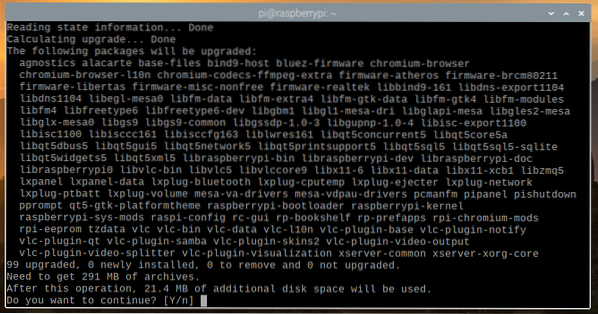
To upgrade all the existing packages in your Raspberry Pi OS, run the following command:
$ sudo apt full-upgrade
To confirm the installation, press Y and then press
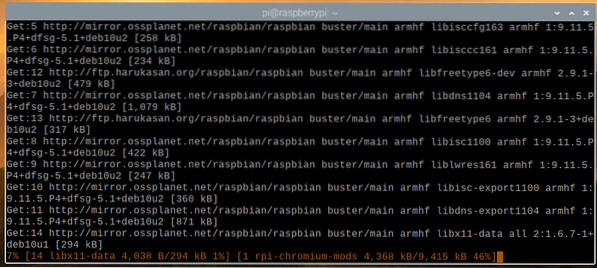
The APT package manager will download and install all the required packages from the Internet. This may take a while to complete.
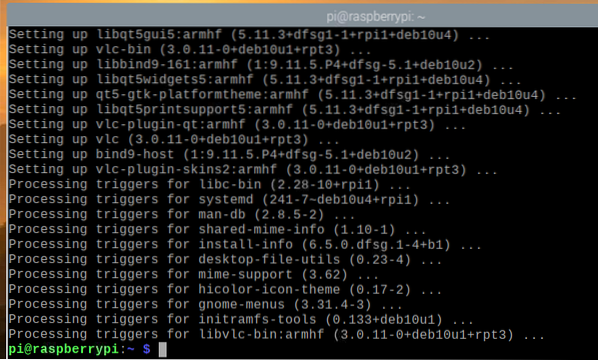
At this point, all the updates should be installed.
For the changes to take effect, reboot your Raspberry Pi 4 system with the following command:
$ sudo reboot
Installing the Java Development Kit
Minecraft servers are written in the Java programming language. So, you will need to have Java installed on your computer for the Minecraft server to work.
Luckily, Java Development Kit (JDK in short) is available in the official package repository of Raspberry Pi OS. So, it is easy to install Java Development Kit on the Raspberry Pi OS.
To install Java Development Kit onto your Raspberry Pi system, run the following command:
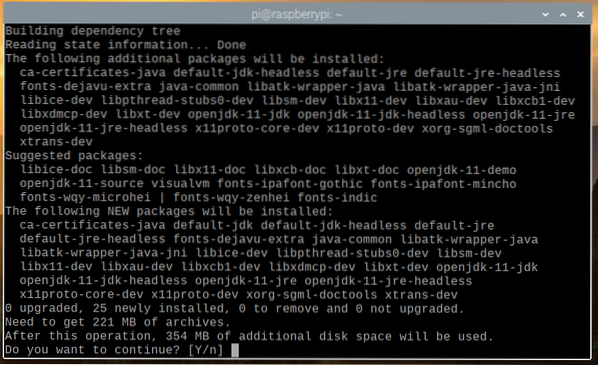
$ sudo apt install default-jdk
To confirm the installation, press Y and then press
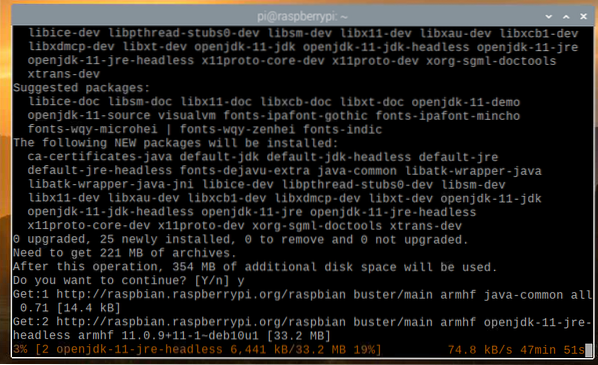
All the required packages will be downloaded from the Internet. This may take a while to complete.
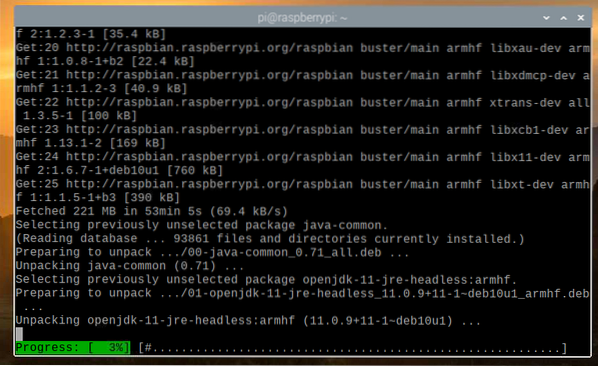
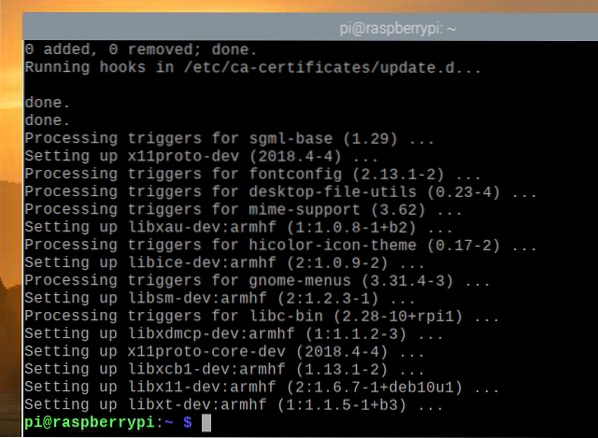
Once the required packages are downloaded from the Internet, they will be installed on the Raspberry Pi OS one by one. This may take a while to complete.
At this point, JDK should be installed.
Official vs. Papermc Minecraft Server
In this article, I have shown you how to install both the official and the Papermc Minecraft server.
The only difference between these two is that the official Minecraft server is closed-source, while the Papermc Minecraft server is maintained by the community and is open-source. In terms of performance, these two server types will have their differences.
You can install either the official Minecraft server or the Papermc Minecraft server. This choice depends on your personal preferences.
Installing an Official Minecraft Server
In this section, you will learn how to install an official Minecraft server on your Raspberry Pi OS.
First, create the new directory ~/minecraft-server with the following command:
$ mkdir -v ~/minecraft-server
Navigate to the newly created directory ~/minecraft-server with the following command:
$ cd ~/minecraft-server
Visit the official download page of the Minecraft server here.
Once the page loads, find the download link of the latest version of the Minecraft server, as you can see in the screenshot below.
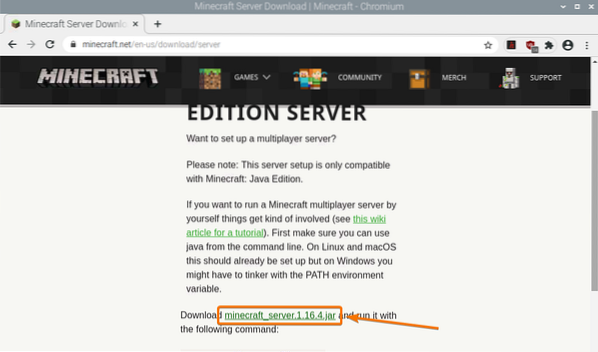
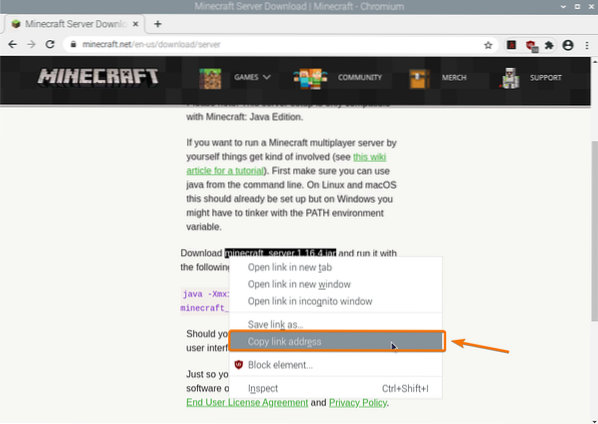
Right-click (RMB) on the download link and click Copy link address to copy the download link of the Minecraft server.
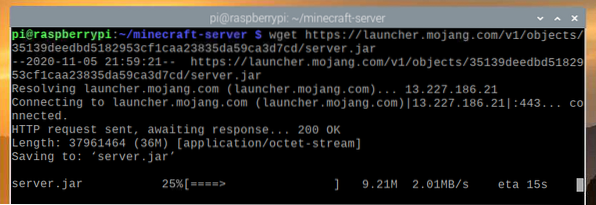
Download the Minecraft server Java archive using the download link you have just copied, as follows:

The Minecraft server Java archive file is now being downloaded. This may take a few seconds to complete.
At this point, the file should be downloaded.
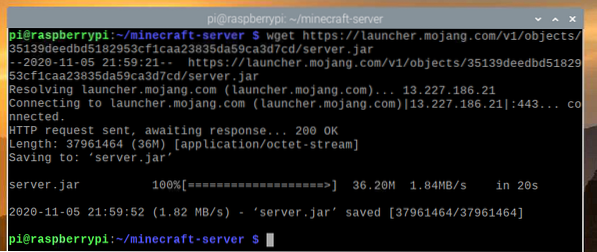
The new file server.jar should also be created in your current working directory.
$ ls -lh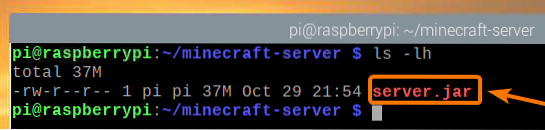
Run the Minecraft server as follows:
$ java -Xmx2048M -Xms2048M -jar server.jar nogui
Here, the -Xms and -Xmx options are used to set the amount of memory that the Minecraft server can use.
I have allocated 2048 MB or 2 GB of memory for the Minecraft server, as I have the 8 GB version of the Raspberry Pi 4. If you have the 2 GB version of the Raspberry Pi 4, then set it to 1024 MB.
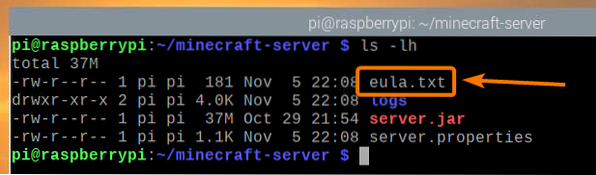
You should see the following output the first time you run the Minecraft server. This is because you first have to accept the EULA (End-User License Agreement) of the Minecraft server to be able to run it.

The new file eula.txt should be created in your current working directory the first time you run the Minecraft server, as you can see in the screenshot below.
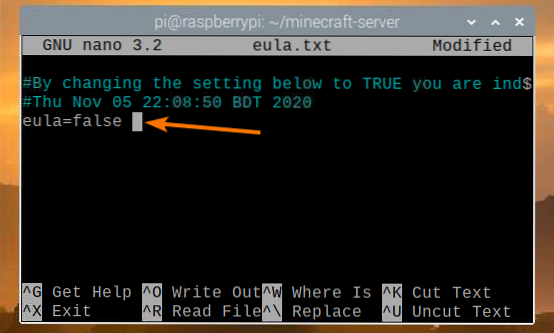
To accept the EULA, open the eula.txt file with the nano text editor as follows:
$ nano eula.txt
The eula variable should be set to false by default.
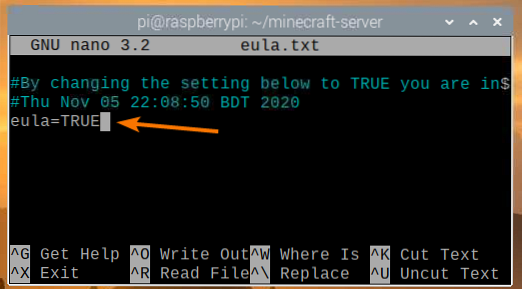
Change this value to TRUE, as shown in the screenshot below.
Once you are done, press
Once you have accepted the EULA, you can run the Minecraft server with the same command as before:
$ java -Xmx2048M -Xms2048M -jar server.jar nogui
Now, the Minecraft server will start, as you can see in the screenshot below.
The Minecraft world is now being generated. This may take a while to complete.
Once the Minecraft server is ready, you should see the log message Done, as marked in the screenshot below.
Installing the PaperMC Minecraft Server
In this section, you will learn how to install the open-source PaperMC Minecraft server on your Raspberry Pi OS.
First, create the new directory ~/papermc-server with the following command:
$ mkdir -v ~/papermc-server
Navigate to the newly created directory ~/papermc-server with the following command:
$ cd ~/papermc-server
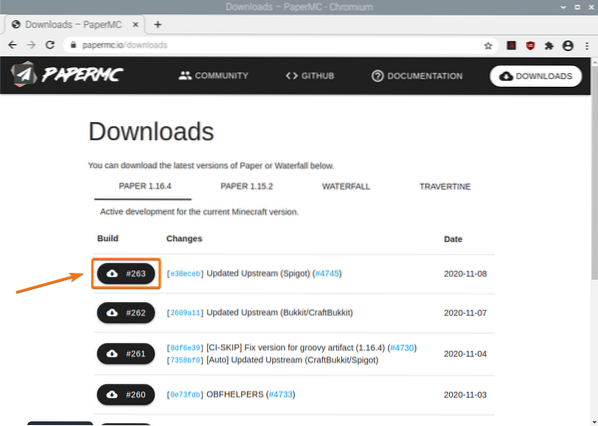
Visit the official download page of the PaperMC Minecraft server here.
Once the page loads, you should find the download link of the latest version of the PaperMC Minecraft server, as you can see in the screenshot below.
Right-click (RMB) on the download link and click Copy link address to copy the download link of the PaperMC Minecraft server.
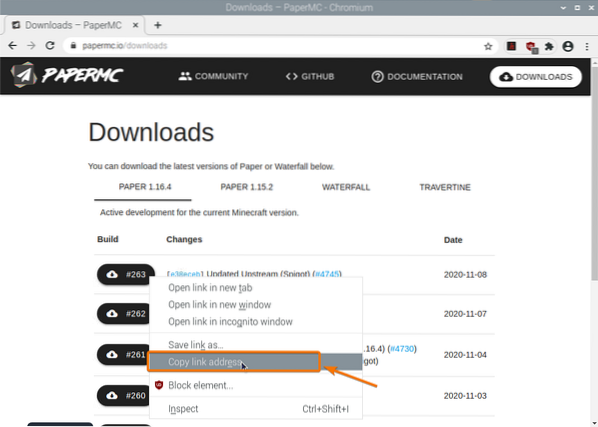
Download the PaperMC Minecraft server Java archive using the download link you just copied, as follows:
$ wget -O server.jar https://papermc.io/api/v1/paper/1.16.4/261/download
The PaperMC Minecraft server Java archive file is now being downloaded. This may take a few seconds to complete.
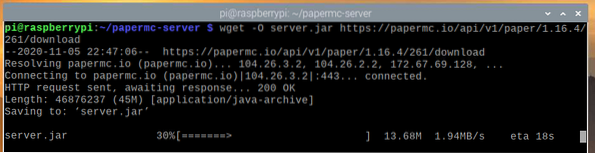
At this point, the file should be downloaded.
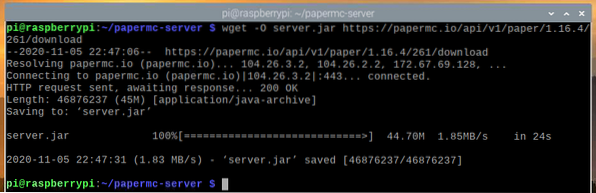
The new file server.jar should also be created in your current working directory.
$ ls -lh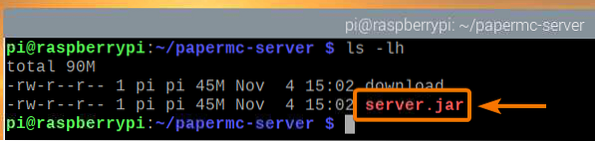
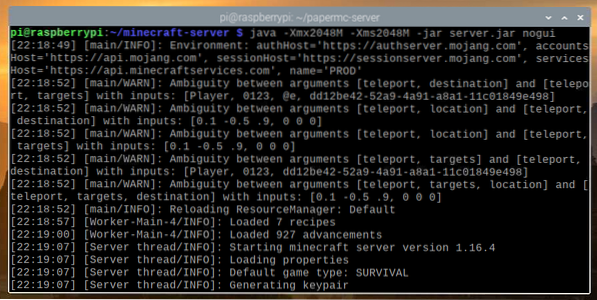
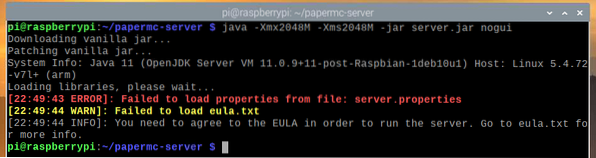
Run the PaperMC Minecraft server as follows:
$ java -Xmx2048M -Xms2048M -jar server.jar nogui
Here, the -Xms and -Xmx options are used to set the amount of memory that the PaperMC Minecraft server can use.
I have allocated 2048 MB or 2 GB of memory for the Minecraft server, as I have the 8 GB version of the Raspberry Pi 4. If you have the 2 GB version of the Raspberry Pi 4, then set it to 1024 MB.
You should see the following output the first time you run the PaperMC Minecraft server. This is because you have the accept the EULA (End-User License Agreement) of the PaperMC Minecraft server to be able to run it.
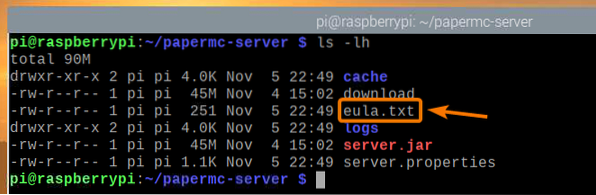
The new file eula.txt should be created in your current working directory the first time you run the PaperMC Minecraft server, as you can see in the screenshot below:
To accept the EULA, open the eula.txt file with the nano text editor, as follows:
$ nano eula.txt
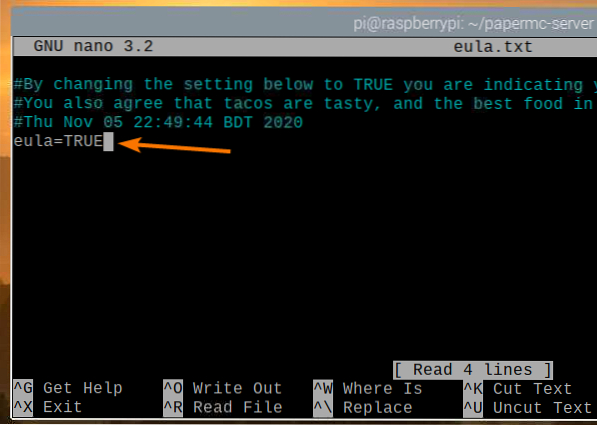
The eula variable should be set to false by default.
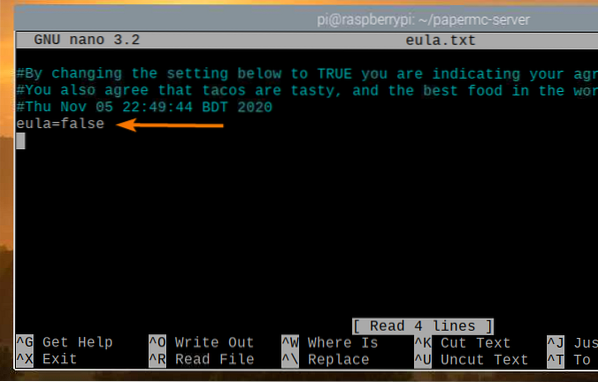
Change this value to TRUE, as shown in the screenshot below.
Once you are done, press
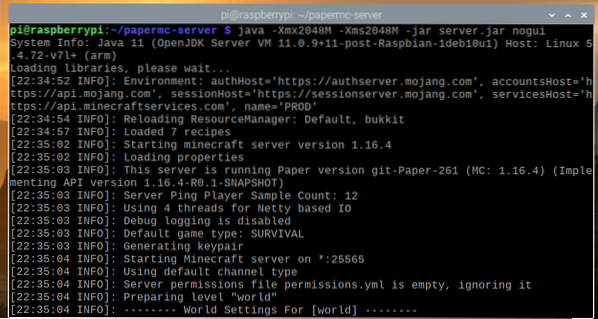
Once you have accepted the EULA, you can run the PaperMC Minecraft server with the same command as before:
$ java -Xmx2048M -Xms2048M -jar server.jar nogui
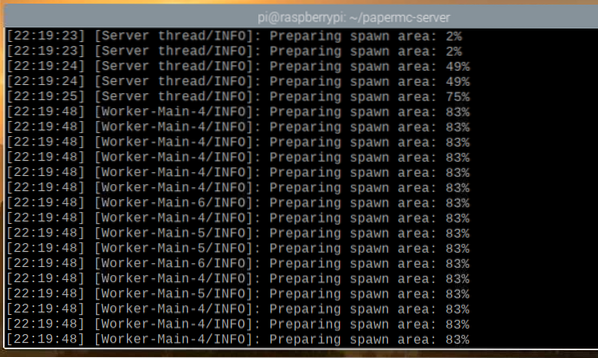
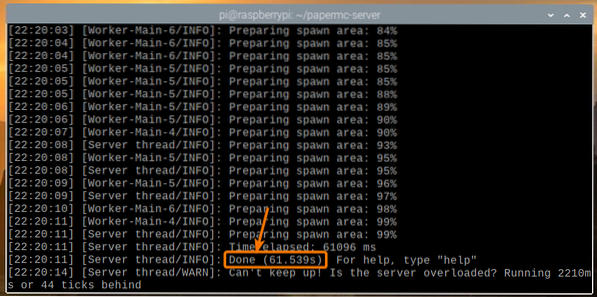
The PaperMC Minecraft server is now being started and a new world is being generated, as you can see in the screenshot below. This will take a while to complete.
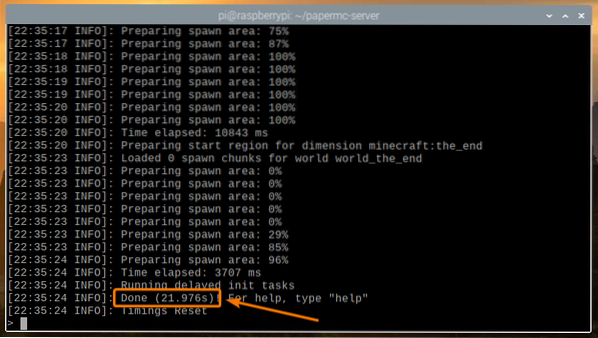
Once the PaperMC Minecraft server is ready, you should see the log Done, as marked in the screenshot below.
Playing Minecraft on the Raspberry Pi 4 Minecraft Server
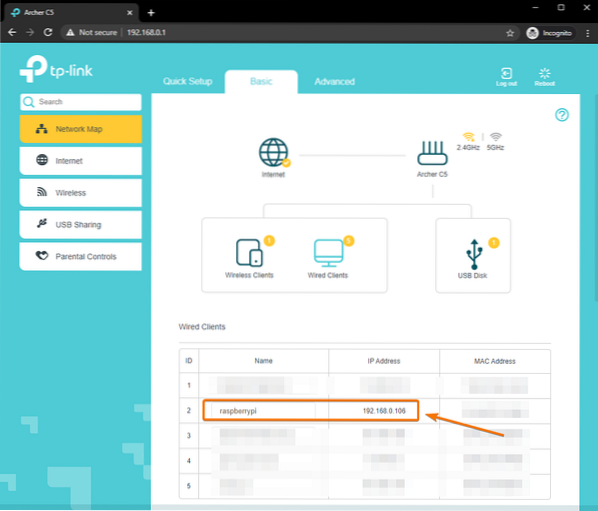
To access the Minecraft server running on the Raspberry Pi device from other devices in your home network (LAN), you will need to know the IP address of your Raspberry Pi device.
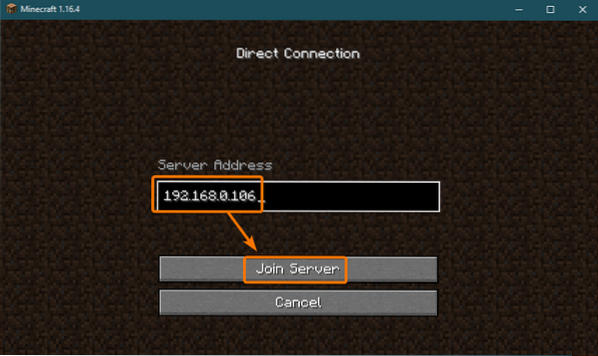
You can find the IP address of your Raspberry Pi device from the web management interface of your home router. In my case, the IP address is 192.168.0.106. This will be different for you. So, be sure to replace my IP with yours from now on.
If you have access to the Raspberry Pi console, you can run the following command to find the IP address, as well.
$ hostname -I
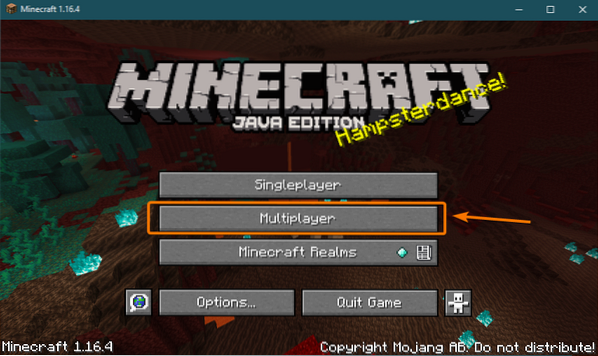
To play Minecraft on the Minecraft server installed on your Raspberry Pi 4 device, run the Minecraft Java Edition and click on Multiplayer.
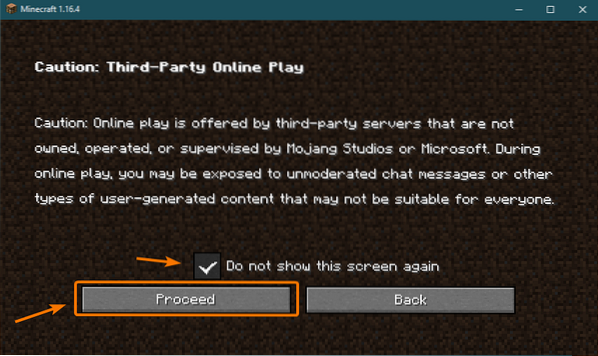
Check Do not show this screen again and click Proceed.
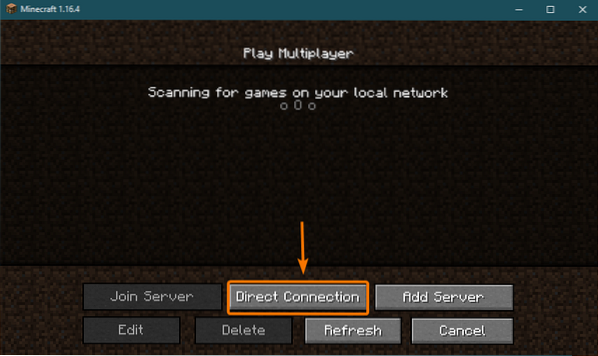
Click Direct Connection.
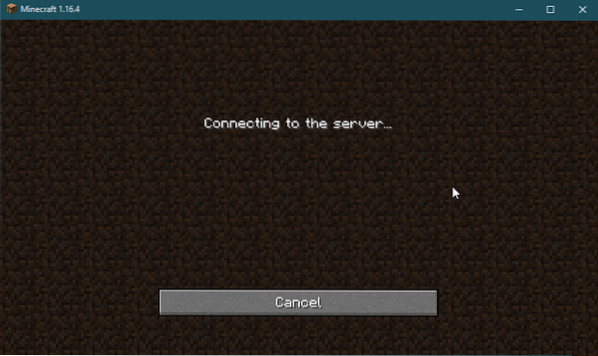
Type in the IP address of your Raspberry Pi 4 and click Join Server.
Minecraft should now start connecting to the Minecraft server running on the Raspberry Pi 4 device.
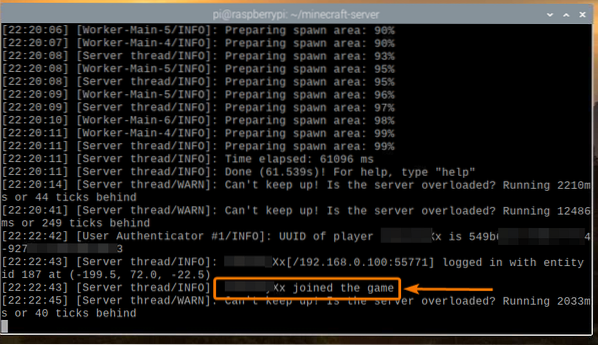
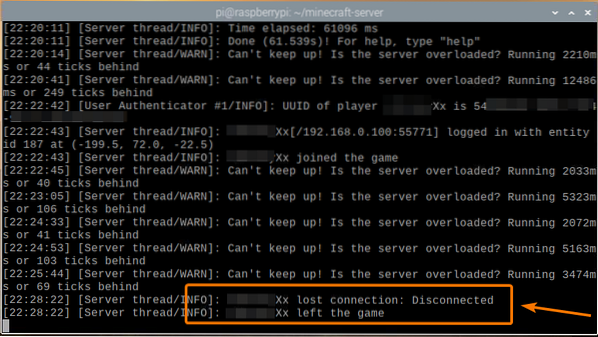
You should also be able to see that a new user has joined the game in the Minecraft server log.
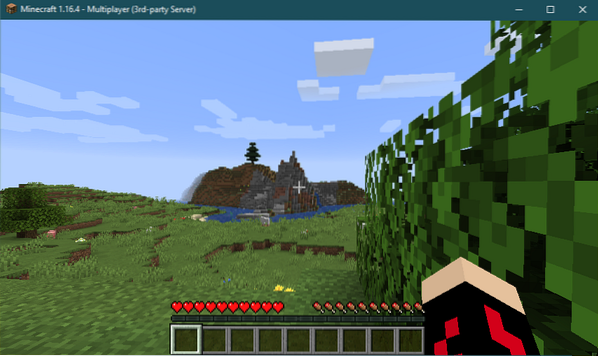
Minecraft should start. You can now enjoy Minecraft on your own Minecraft server running on the Raspberry Pi 4.
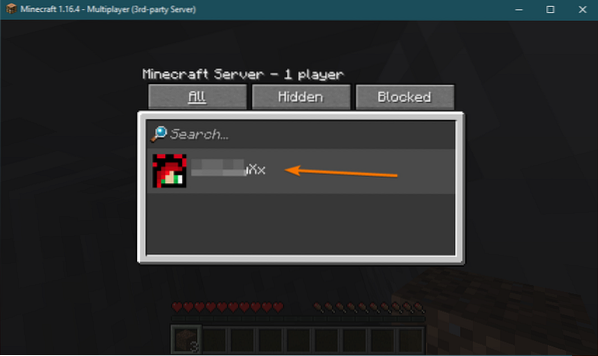
You can press P to list the players connected to your Minecraft server. Right now, I am the only player on my Minecraft server, as you can see in the screenshot below:
Once you stop the Minecraft game, the Minecraft server log should also notify you of this action.
Starting the Minecraft Server on Startup
Manually starting the Minecraft server each time you boot your Raspberry Pi device is not very practical. So, we can create a systemd service that will automatically start the Minecraft server on boot.
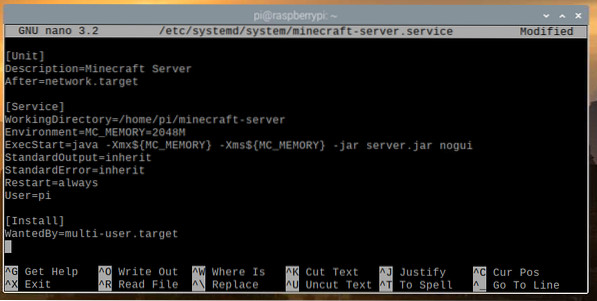
First, create the minecraft-server.service file in the /etc/systemd/system/ directory, as follows:
$ sudo nano /etc/systemd/system/minecraft-server.service
Type the following lines in the minecraft-server.service file.
[Unit]Description=Minecraft Server
After=network.target
[Service]
WorkingDirectory=/home/pi/minecraft-server
Environment=MC_MEMORY=2048M
ExecStart=java -Xmx$MC_MEMORY -Xms$MC_MEMORY -jar server.jar nogui
StandardOutput=inherit
StandardError=inherit
Restart=always
User=pi
[Install]
WantedBy=multi-user.target
If you want to run the official Minecraft server, make sure that the WorkingDirectory is set to /home/pi/minecraft-server in the minecraft-server.service file.
WorkingDirectory=/home/pi/minecraft-serverIf you want to run the PaperMC Minecraft server, make sure that the WorkingDirectory is set to /home/pi/papermc-server in the minecraft-server.service file.
WorkingDirectory=/home/pi/papermc-serverAlso, you can change the MC_MEMORY environment variable to set the amount of memory you want to allocate for your Minecraft server.
Environment=MC_MEMORY=2048MOnce you are done, press
Reload the systemd daemons for the changes to take effect, as follows:
$ sudo systemctl daemon-reload
As you can see, the minecraft-server systemd service is not running at the moment.
$ sudo systemctl status minecraft-server.service
You can start the minecraft-server systemd service with the following command:
$ sudo systemctl start minecraft-server.service
The minecraft-server service should be active/running, as you can see in the screenshot below. So, the minecraft-server systemd service is working.
$ sudo systemctl status minecraft-server.service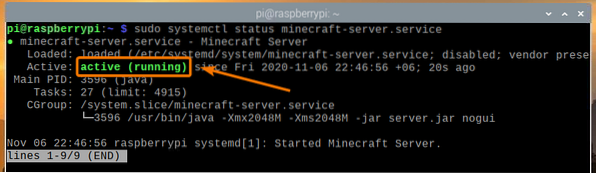
You can also add the minecraft-server systemd service to the system startup of Raspberry Pi OS with the following command:
$ sudo systemctl enable minecraft-server.service
For the changes to take effect, reboot your Raspberry Pi system with the following command:
$ sudo reboot
Once your Raspberry Pi system boots, the minecraft-server systemd service should be active/running, as you can see in the screenshot below.
$ sudo systemctl status minecraft-server.service
Conclusion
In this article, you learned how to create your own Minecraft server using the Raspberry Pi 4 single-board computer. You saw how to install both the official Minecraft server and the open-source PaperMC Minecraft server on your Raspberry Pi 4 device. You also learned how to play Minecraft on the Minecraft server running on the Raspberry Pi 4 system.


