In this article, I will show you how to install WebStorm on Ubuntu. Let's get started.
Downloading WebStorm:
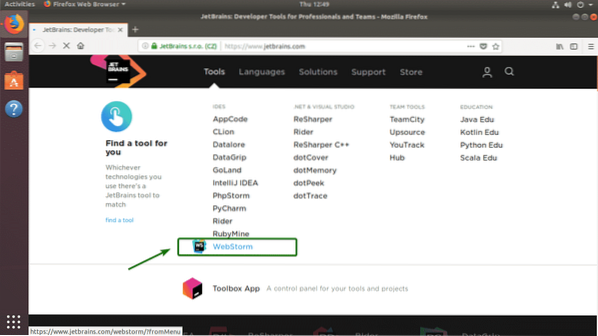
You can download WebStorm from the official website of JetBrains. First, go to the official website of JetBrains at https://www.jetbrains.com from your favorite web browser. Once the page loads, hover over Tools and click on WebStorm as marked in the screenshot.
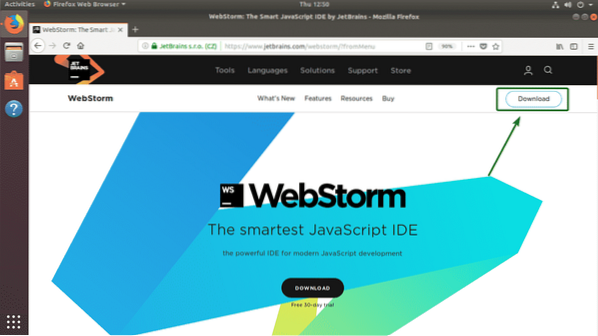
Now, click on Download.
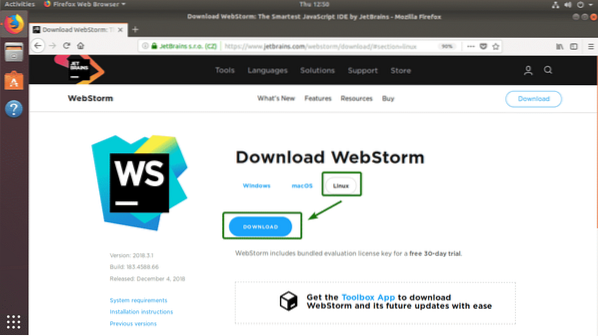
Make sure Linux is selected. Now, click on DOWNLOAD as marked in the screenshot below.
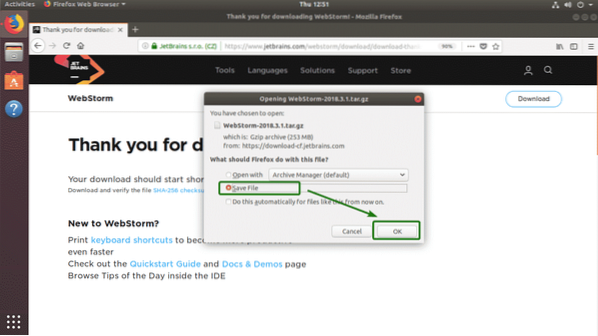
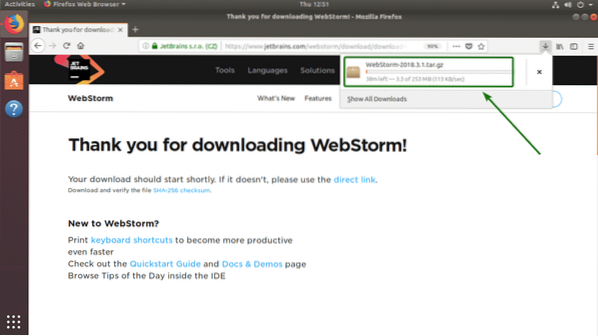
Your browser should prompt you to save the file. Select Save File and click on OK.
Your download should start. It should take a while to finish.
Installing WebStorm:
Once the WebStorm archive is downloaded, you're ready to install it.
First, navigate to the ~/Downloads directory where the WebStorm archive is saved.

As you can see, WebStorm tar.gz archive is here.

Now, run the following command to extract the WebStorm archive to /opt directory.
$ sudo tar xzf WebStorm-2018.3.1.tar.gz -C /opt
It should take a while for the archive to be extracted. Once the archive is extracted, a new directory should be created in /opt directory as you can see in the marked section of the screenshot below.
NOTE: The directory name in my case is WebStorm-183.4588.66. It may be different for you. Make sure you replace it with yours from now on.

The first time, you have to run WebStorm from the command line. To do that, run the following command:
$ /opt/WebStorm-183.4588.66/bin/webstorm.sh
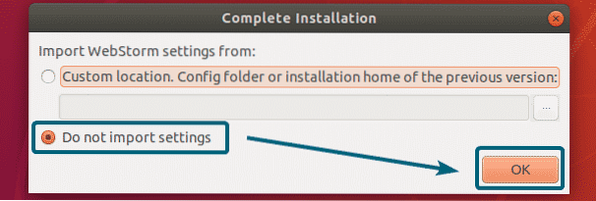
As you're running WebStorm for the first time, you have to do a little bit of initial configuration. As you don't have any WebStorm configuration yet, you have nothing to import. So, select Do not import settings and click on OK.
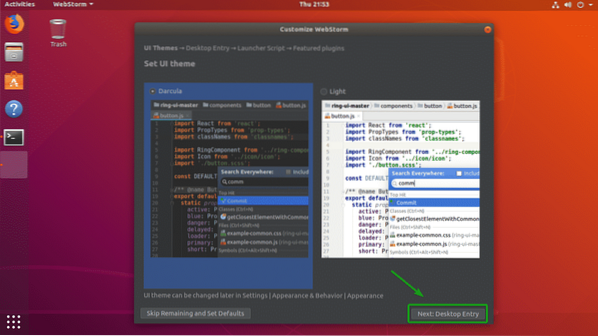
Now, select a UI theme of your choice. You can either select the dark theme Darcula or the Light theme. Once you're done selecting a UI theme, click on Next: Desktop Entry.
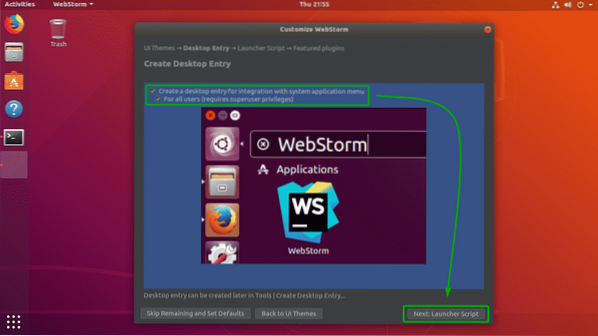
Now, you have to create a desktop entry for WebStorm. This way, you can easily access WebStorm from the Application Menu of Ubuntu.
To do that, make sure both of the checkboxes are checked. Once you're done, click on Next: Launcher Script.
If you want to open WebStorm projects from the command line, check Create a script for opening files and projects from the command line. Once you're done, click on Next: Featured plugins.

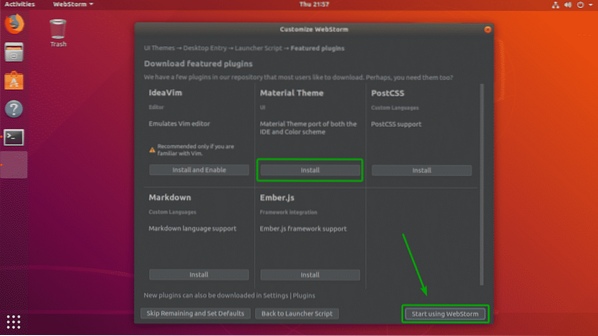
Now, WebStorm will suggest you some important plugins that you can install if you want. If you like any of the plugins from here, just click on Install to install it. Once you're done, click on Start using WebStorm.
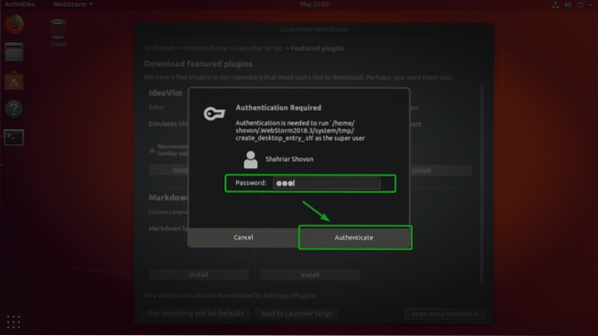
Now, type in your login password and click on Authenticate.
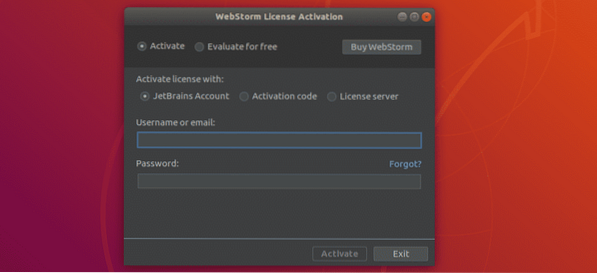
JetBrains WebStorm is not free. You have to buy a license from JetBrains in order to use it. From here, you can activate WebStorm.
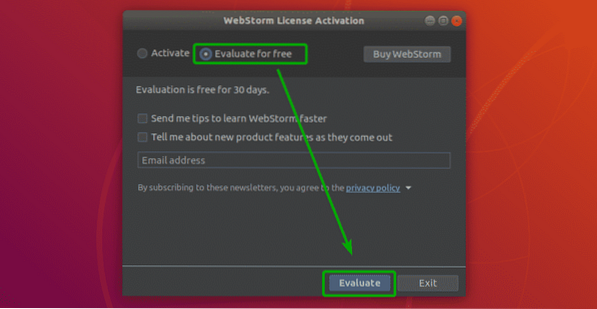
If you want to try out WebStorm before you buy a license, then you can try it out for 30 days for free without any feature restriction. Just select Evaluate for free and click on Evaluate.
WebStorm is being started.
WebStorm has started as you can see.
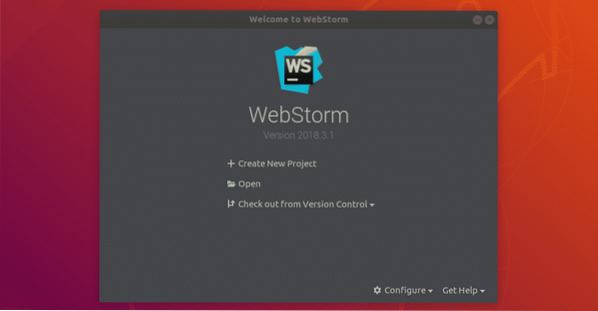
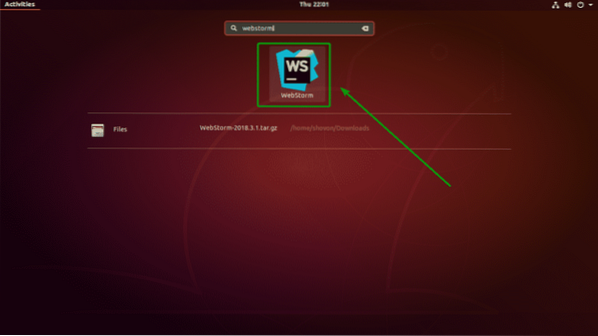
From now on, you can start WebStorm from the Application Menu of Ubuntu.
Creating a New Project:
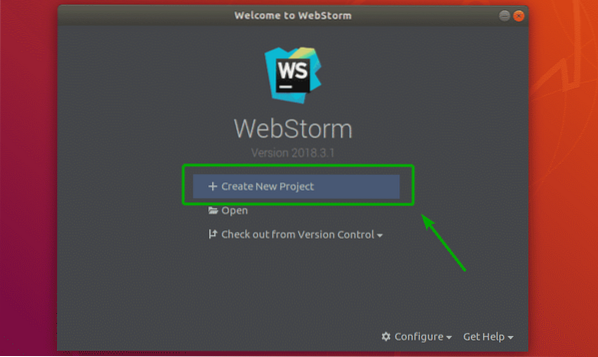
In this section, I will show you how to create a new project in WebStorm. First, start WebStorm and click on Create New Project.
Now, select a project type and a path for your project where all the project files will be saved.
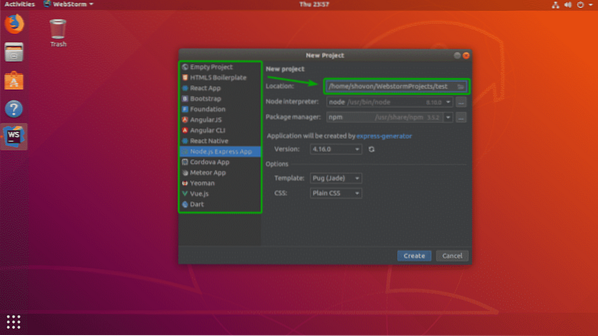
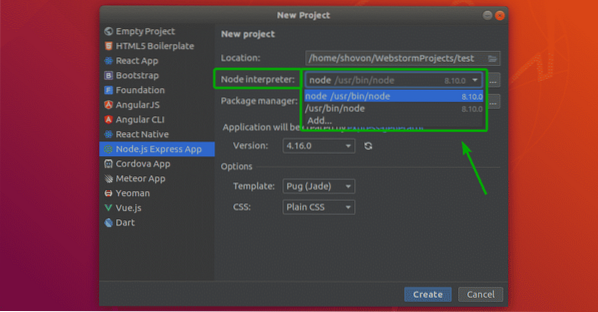
Let's say, you're creating a Node.js Express App project. Here you can change the Node.js interpreter version if you have multiple versions of the interpreter installed.
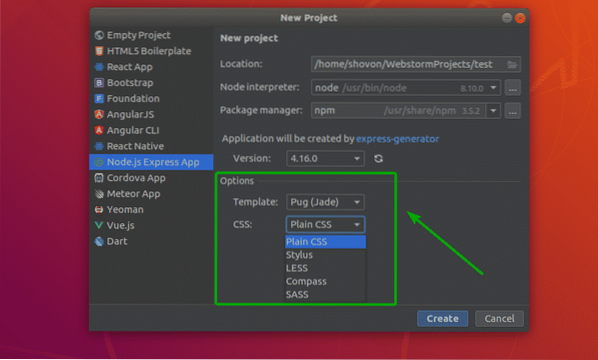
As you can see, I also have options to change the Template and CSS.
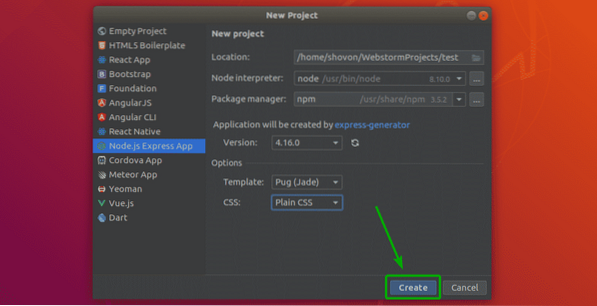
The options should be different depending on the type of project you're creating. Once you're done setting up the options, click on Create.
As you can see, the project is created.
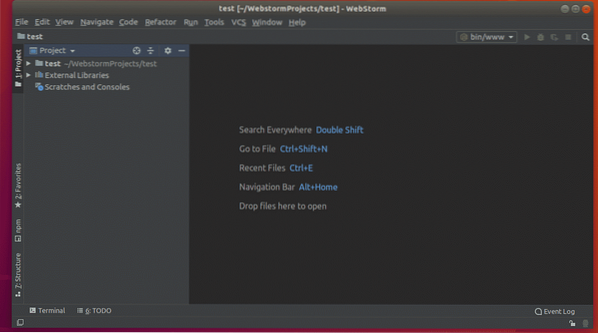
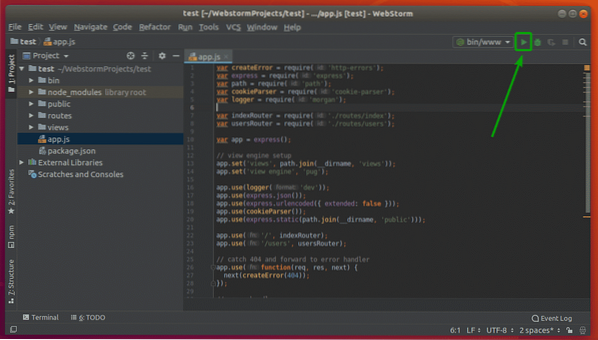
The project has some default files. You can click on the Play button on the top right corner to run the project.
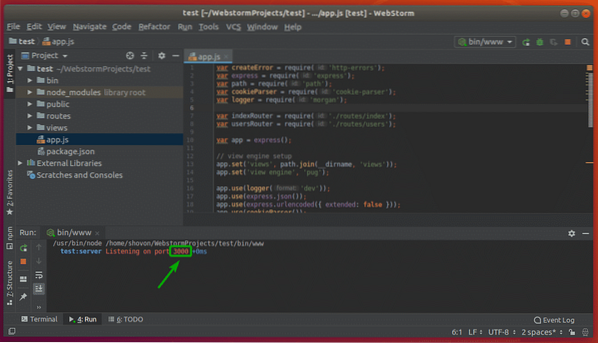
As you can see, the express app is running on port 3000.
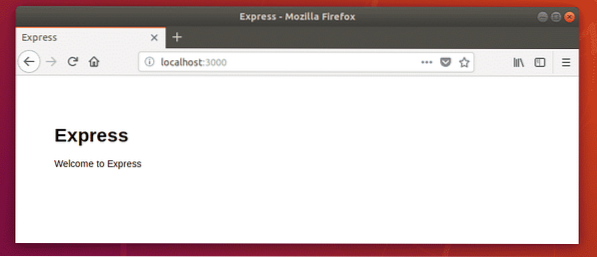
I can also access the express app from the web browser.
So, that's how you install WebStorm on Ubuntu. Thanks for reading this article.


