Network Topology:
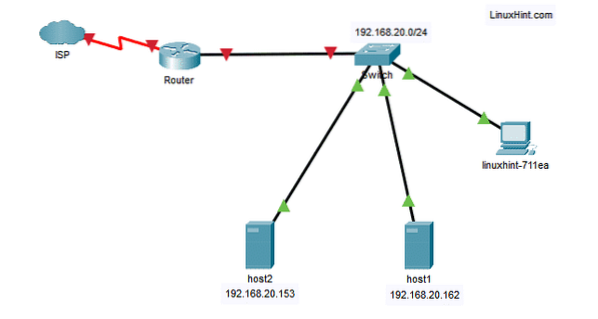
Here, the linuxhint-711ea is an Ubuntu 20.04 LTS machine where I will install Ansible.
Then, I will configure the hosts host1 (IP address 192.168.20.162) and host2 (IP address 192.168.20.153) for Ansible automation and run commands on them using Ansible from the linuxhint-711ea machine.
I will simply call host1 and host2 as Ansible hosts in this article.
Installing Ansible:
You can easily install Ansible on Ubuntu 20.04 LTS from the official package repository of Ubuntu.
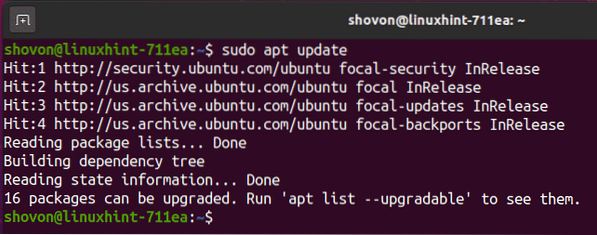
First, update the APT package repository cache with the following command:
$ sudo apt update
The APT package repository cache should be updated.
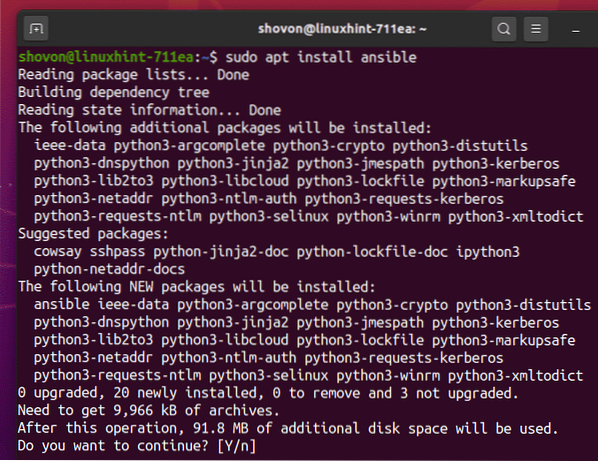
Now, install Ansible with the following command:
$ sudo apt install ansible
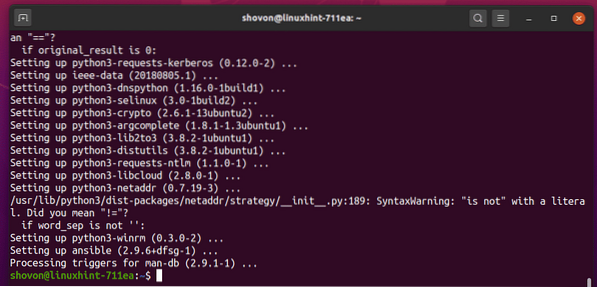
To confirm the installation, press Y and then press
Ansible should be installed.
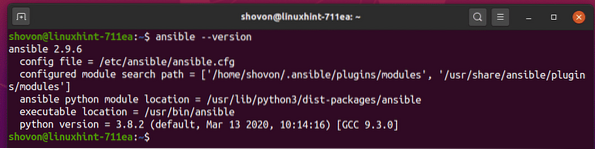
Now, run the following command to check if ansible is working correctly.
$ ansible --versionAs you can see, ansible command is available and working correctly.
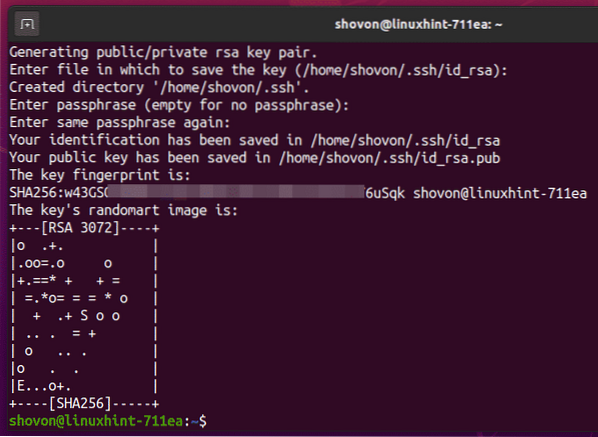
Generating SSH Key:
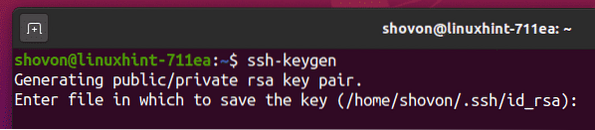
Now, you have to generate an SSH key on the computer where you have installed Ansible.
To generate an SSH key, run the following command:
$ ssh-keygen
Now, press
Press
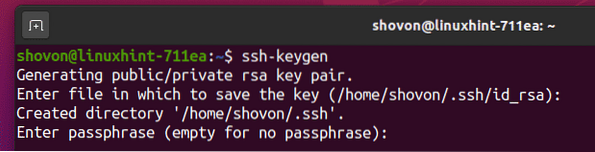
Press
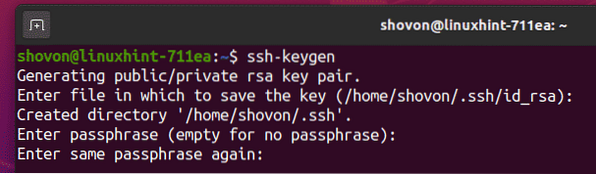
An SSH key should be generated.
Configuring Ubuntu Hosts for Ansible Automation:
In this section, I will show you how to configure an Ubuntu host (host1) for Ansible automation. If you have more than one host which you want to automate using Ansible, then repeat the same process on each of the hosts.
The Ubuntu Ansible hosts (which you want to configure for Ansible automation) must have SSH server package installed.
First, update the APT package repository cache with the following command:
$ sudo apt update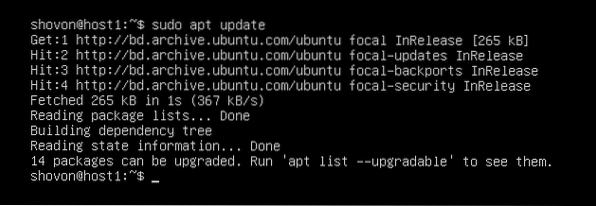
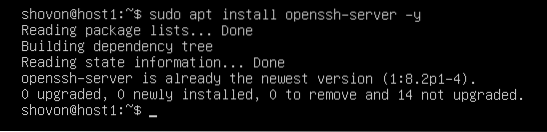
Then, install OpenSSH server with the following command:
$ sudo apt install openssh-server -y
In my case, the OpenSSH server package is already installed. If it is not installed in your case, it should be installed.
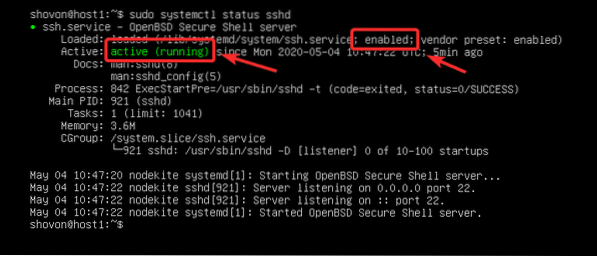
Now, check if the sshd service is running with the following command:
$ sudo systemctl status sshdAs you can see, the sshd service is active (running) and enabled (will automatically start on system boot).
If the sshd service is not active (running) in your case, start it manually with the following command:
$ sudo systemctl start sshdIf the sshd service is not enabled (not added to the system startup) in your case, add it to the system startup manually with the following command:
$ sudo systemctl enable sshdNow, configure the firewall to allow SSH access with the following command:
$ sudo ufw allow ssh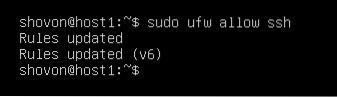
You should also create an ansible user and allow password-less sudo access to the ansible user.
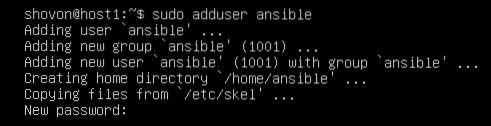
To create an ansible user, run the following command:
$ sudo adduser ansible
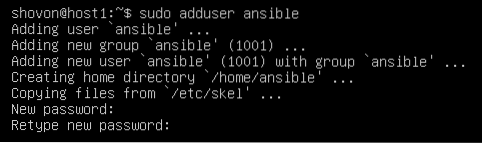
Now, type in a password for the ansible user and press
Now, retype the password and press
Now, press
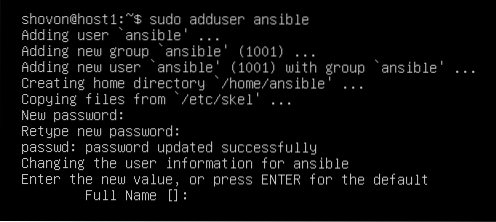
Now, press
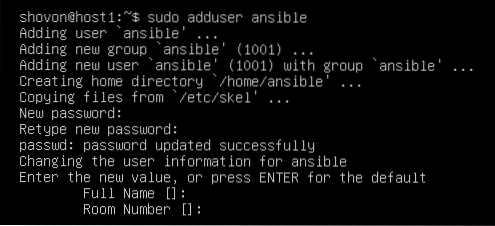
Now, press
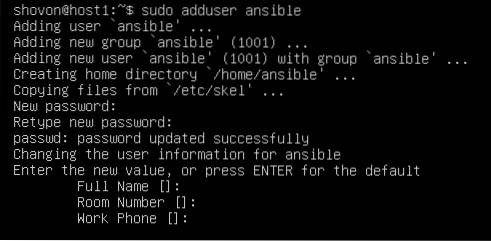
Now, press
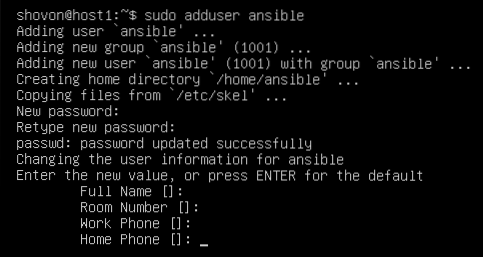
Now, press
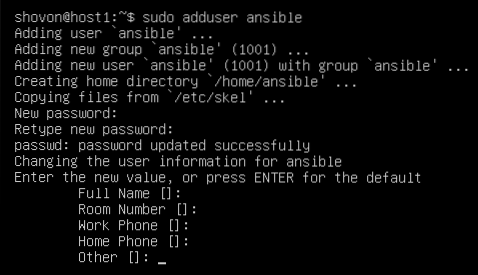
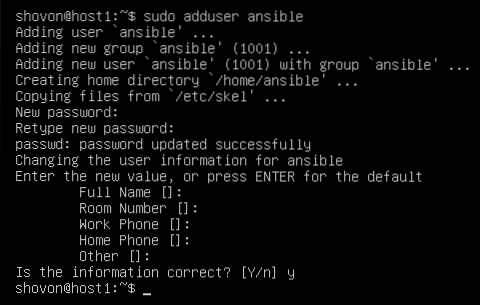
Now, type in y and then press
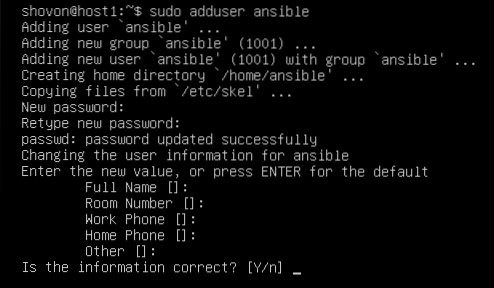
An ansible user should be created.
Now, configure password-less sudo access to the ansible user with the following command:
$ echo "ansible ALL=(ALL) NOPASSWD:ALL" | sudo tee /etc/sudoers.d/ansible
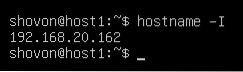
Now, find the IP address of the Ansible host (host1) with the following command:
$ hostname -IHere, the IP address in my case is 192.168.20.162. It will be different for you. So, make sure to replace it with yours form now on.
Now, from the computer where you have installed Ansible, copy the SSH public key to the Ansible host (host1) as follows:
$ ssh-copy-id [email protected]
Type in yes and press

Now, type in the password for the ansible user and press
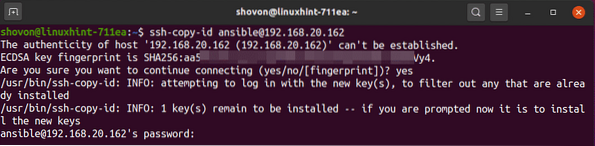
The public SSH key should be copied to host1.

Now, disable password-based login for the ansible user with the following command:
$ sudo usermod -L ansible
Now, you can only SSH into the Ansible host (host1) as ansible user without any password from the computer you have copied the SSH public key from (in this case, the computer where you have installed Ansible). But you won't be able SSH into the Ansible host (host1) as ansible user from any other computer. I have configured the Ansible hosts this way for security reasons. As the ansible user don't need any password for running administrative commands, it's risky to allow password-based login for the ansible user.
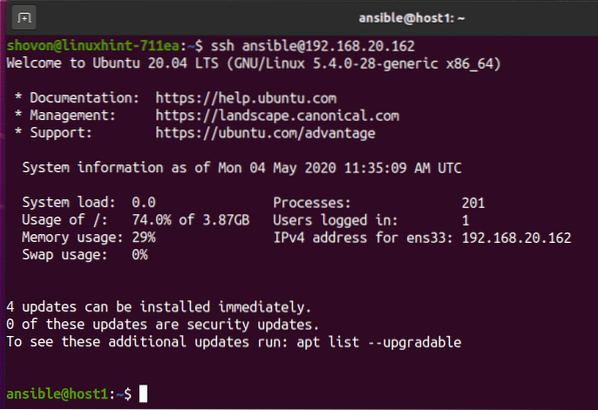
Now, you should be able to SSH into the ansible host host1 from the computer where you have installed Ansible as follows:
$ ssh [email protected]
As you can see, I am able to access the Ansible host (host1) as ansible user without any password. So, the Ansible host (host1) is ready for Ansible automation.
If for some reason, you want to allow password-based login for the ansible user again, run the following command in the Ansible host (host1):
$ sudo usermod -U ansible
You can configure as many hosts as you want for Ansible automation the same way.
In this article, I have configured only 2 hosts, host1 and host2 for the demonstration.
Testing Ansible:
Now, create a new project directory ~/ansible-demo/ in the computer where you have installed Ansible as follows:
$ mkdir ~/ansible-demo
Now, navigate to the ~/ansible-demo/ directory as follows:
$ cd ~/ansible-demo/
Now, create a new hosts file in the project directory as follows:
$ nano hosts
Now, type in the IP addresses or DNS names of the Ansible hosts (host1 and host2 in my case) in the hosts file as follows:
192.168.20.162192.168.20.153
Now, save the file by pressing 
Now, try to ping all the hosts using Ansible as follows:
$ ansible all -i ./hosts -u ansible -m pingNOTE: Here, -u option is used to specify the username (ansible in this case) which Ansible will use to SSH into the hosts.

As you can see, all the hosts can be pinged. So, the hosts are ready for Ansible automation.

The same way, you can run any command in the hosts using Ansible as follows:
$ ansible all -i ./hosts -u ansible -m shell -a 'echo "$(hostname) - $(hostname -I)"'
As you can see, the command ran successfully in each of the hosts and the output is displayed.

So, this is how you install Ansible on Ubuntu 20.04 LTS and configure Ubuntu 20.04 LTS hosts for Ansible automation. Thanks for reading this article.


