What is LVM?
LVM is a logical volume manager developed for the Linux Kernel. Currently, there are 2 versions of LVM. LVM1 is practically out of support while LVM version 2 commonly called LVM2 is used.
LVM includes many of the features that are expected of a volume manager, including:
- Resizing logical groups.
- Resizing logical volumes.
- Read-only snapshots (LVM2 offers read and write).
To give you an idea of the power and usefulness of LVM, I will give you the following example: Suppose we have a small hard drive, for example, 80Gb. The way the disk is distributed would be something like that:
- The 400Mb /boot partition
- For root partition / 6Gb
- In the case of the home partition /home 32Gb
- And the swap partition is 1Gb.
This distribution could be correct and useful but imagine that we install many programs and the root partition fills up, but in personal files, there is practically no data and the /home partition has 20 Gb available. This is a bad use of the hard disk. With LVM, the solution to this problem is simple, since you could simply reduce the partition containing /home and then increase the space allocated to the root directory.
LVM vocabulary
In order to make this post as simple as possible for the reader, it is necessary to take into account some concepts intimately related to LVM. Knowing these concepts effectively will make better understand the full potential of this tool:
So, let us start:
- Physical Volume (PV): A PV is a physical volume, a hard drive, or a particular partition.
- Logical Volume (LV): an LV is a logical volume, it is the equivalent of a traditional partition in a system other than LVM.
- Volume Group (VG): a VG is a group of volumes, it can gather one or more PV.
- Physical Extent (PE): a PE is a part of each physical volume, of a fixed size. A physical volume is divided into multiple PEs of the same size.
- Logical extent (LE): an LE is a part of each fixed-size logical volume. A logical volume is divided into multiple LEs of the same size.
- Device mapper: is a generic Linux kernel framework that allows mapping one device from blocks to another.
Configure LVM on Linux Mint
First of all, you must install the lvm2 package in your system. To do this, open a terminal emulator and write. Note that to execute this command you need super user privileges.
sudo apt install lvm2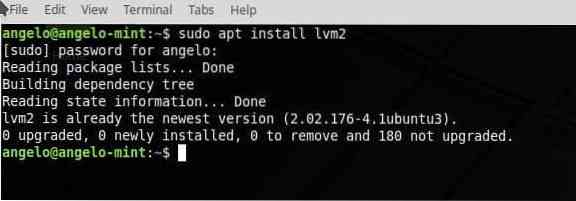
Next, I am going to use fdisk to verify which partitions I have. Of course, you must also do this to ensure which are your partitions as well.
sudo -ifdisk -l

As you can see, I have a second hard drive. In order for LVM to do its job, it is necessary to prepare the disk or partitions to be of the LVM type. Therefore, I have to do some work on the second hard disk called sdb.
So, type this command:
fdisk /dev/sdb
Next, press “n” key to create a new partition. Then, Press enter. Next, press “p” key to set the partition as a primary. Then, Press enter. Now, you have to press 1 to create it as the first partition of the disk. Then, Press enter.
So, the next step is press “t” key to change the system identifier of a partition. Then, Press enter. And select LVM partition. To do it, type “8e”. Then, Press enter. So, type “w” key to write all the changes.
Finally, check the partition.
fdisk -l /dev/sdb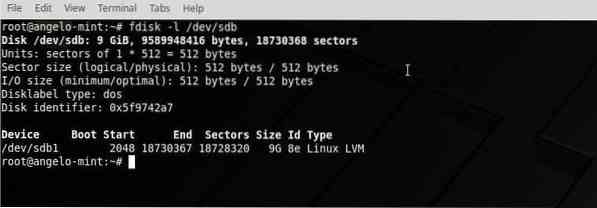
NOTE: If you are going to work with several partitions, you must repeat this process with each of them.
Now, we are ready to continue.
Create the Physical Volume (PV)
To work with LVM we must first define the Physical Volumes (PV), for this we will use the pvcreate command. So, let us go.
pvcreate /dev/sdb1
Check the changes.
pvdisplay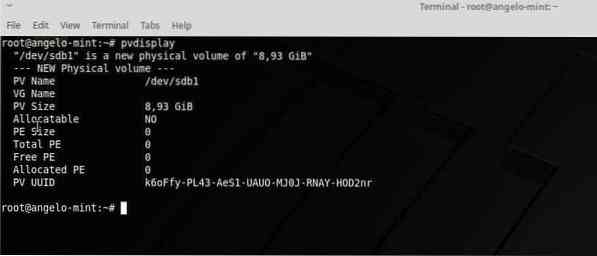
NOTE: If we had more than one partition, we would have to add them all to the PV.
Create the Volume Group (VG)
Once you have the partitions ready, you have to add them to a volume group. So, type this command:
vgcreate volumegroup /dev/sdb1
Replace “volumegroup” by the name you want. If you had more partitions you would only have to add them to the command. For example:
vgcreate volumegroup /dev/sdb1
You can write the name what you want for the VG. So, check the volume group with this command:
vgdisplayCreate the logical volumes (LV)
This is the central moment of the post because in this part we will create the logical volumes that will be like a normal partition.
So, run this command:
lvcreate -L 4G -n volume volumegroup
This command creates a logical volume of 4G of space over the previously created group.
With lvdisplay you can check the LV.
lvdisplayThe next step is to format and mount the VL.
mkfs.ext4 /dev/volumegroup/volume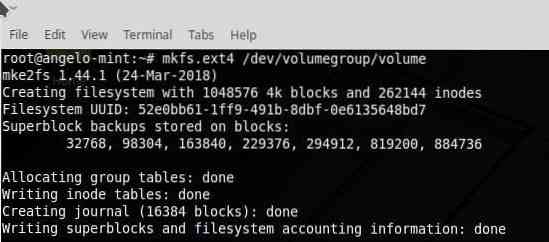
Now, create a temporal folder and mount the VL on it.
mkdir /temporal/mount /dev/volumegroup/volume /temporal/

Now, check the VL.
df -h | grep termporal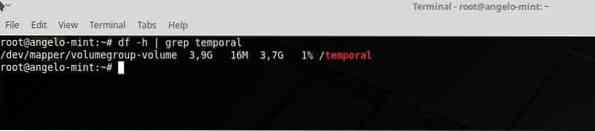
Increase or decrease the size of the logical volume
One of the most phenomenal possibilities of LVM is the possibility to increase the size of a logical volume in a very simple way. To do this, type the following command.
lvextend -L +2G /dev/volumegroup/volume
Finally, it is necessary to reflect the same change in the file system, for this, run this command.
resize2fs /dev/volumegroup/volumeCheck the new size:
df -h | grep temporalFinal thoughts
Learning to configure LVM in Linux Mint is a simple process that can save many problems when working with partitions. To do this, I invite you to read more about the subject since here I have shown you practical and simple examples on how to configure it.


