What is Network Penetration Testing?
Outdated code, the addition of features, wrong configurations, or the development of innovative offensive methods may result in “weaknesses” exploitable by malicious code to gain access or to execute an action on a remote (or local) target. These “weaknesses” are called “vulnerabilities” or “security holes”.
A penetration testing, or pen test, is the action of auditing a target (a server, a website, a mobile phone, etc) in order to learn security holes allowing the attacker to penetrate into the target device, to intercept communications or violate the default privacy or security.
The main reason we all update our OS (Operating Systems) and software is to prevent the “development” of vulnerabilities as a result of old code.
Some examples of security holes may include password strength, login attempts, exposed sql tables, etc. This iconic vulnerability for Microsoft Index Server exploits a buffer within a Windows dll's file code allowing remote code execution by malicious codes like CodeRed worm, designed like other worms to exploit this piece of wrong code.
Vulnerabilities and security holes emerge on a daily or weekly basis in many Operating Systems being OpenBSD an exception and Microsoft Windows the rule, that's why Penetration Testing is among the main tasks any sysadmin or concerned user should carry out.
Penetration Testing Popular Tools
Nmap: Nmap (Network Mapper) known as the Sysadmin Swiss Army Knife, is probably the most important and basic network and security auditing tool. Nmap is a port scanner capable of estimating the identity of the target OS (footprinting) and software listening behind ports. It includes a plugins suite which allows to test penetration through brute force, vulnerabilities, etc. You can see 30 Nmap examples at https://linuxhint.com/30_nmap_examples/.
GSM / OpenVas: GreenBone Security Manager or OpenVas is the free or community version of Nessus Security Scanner. It is a very complete and friendly user scanner easy to use to identify vulnerabilities, configuration errors and security holes in general on targets. While Nmap is capable of finding vulnerabilities it requires updated plugins availability and some ability by the user. OpenVas has an intuitive web interface, yet Nmap remains as the mandatory tool for any network administrator.
Metasploit: Metasploit's main functionality is the execution of exploits against vulnerable targets, yet Metasploit can be used to scan for security holes or to confirm them. Additionally results of scans ran by Nmap, OpenVas and other security scanners can be imported into Metasploit to be exploited.
These are only 3 examples of a huge list of security tools. It is highly recommended for anyone interested in security to keep this Top Network Security Tools list as the main source for hacking or security tools.
Nmap Penetration testing example:
To begin on Debian systems run:
# apt install nmap -y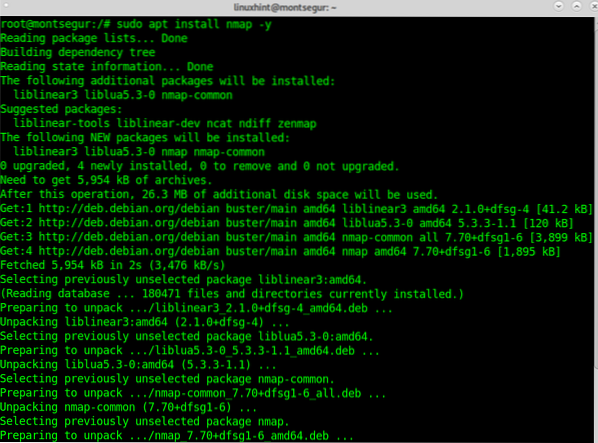
Once installed the first step to try Nmap for penetration testing in this tutorial is to check for vulnerabilities using the vuln plugin included in the Nmap NSE (Nmap Scripting Engine). The syntax to run Nmap with this plugin is:
# nmap -v --script vulnIn my case I will run:
# nmap -v --script vuln 192.168.0.9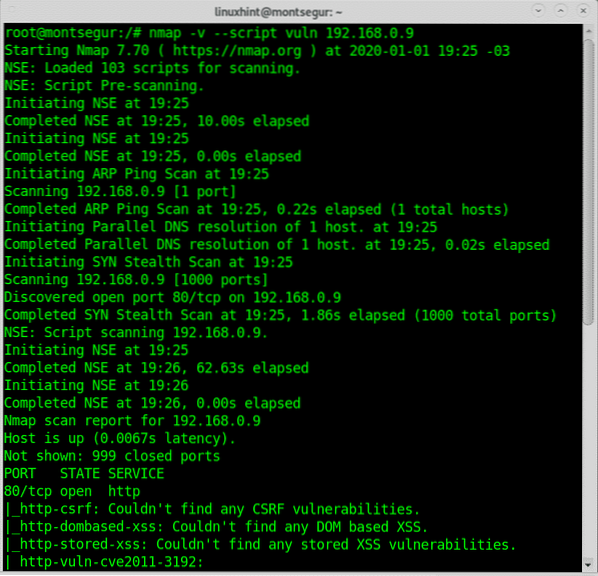
Below you'll see Nmap found a vulnerability exposing the targeted device to Denial of Service attacks.
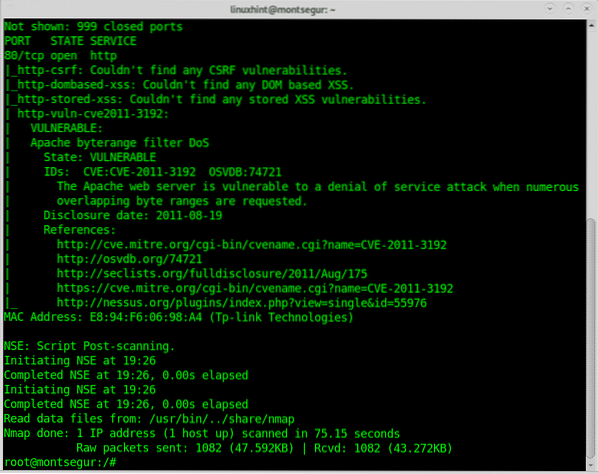
The output offers links to references to the vulnerability, this case I can find detailed information on https://nvd.nist.gov/vuln/detail/CVE-2011-3192.
The following example shows a pen test execution using OpenVas, at the end of this tutorial you can find tutorials with additional examples with Nmap.
Openvas Penetration Testing example:
To begin with OpenVas download the Greenbone Community Edition from https://dl.greenbone.net/download/VM/gsm-ce-6.0.0.iso to setup it using VirtualBox.
If you need instructions to setup VirtualBox on Debian read https://linuxhint.com/install_virtualbox6_debian10/ and get back just after you end the installation before setting up the Guest or Virtual OS.
On VirtualBox follow the instructions
Pick the following options in the wizard for VirtualBox by hand via “New”:
- Type: Linux
- Version: Other Linux (64bit)
- Memory: 4096 MB
- Harddisk: 18 GB
- CPUs: 2
Now create a new hard disk for the virtual machine.
Take care that the network connection works inside-out and outside- in: The system needs access to the internet for the setup. For using the systems' web interface you need to access the system from where your web browser runs.
Audio, USB and floppy should be disabled.
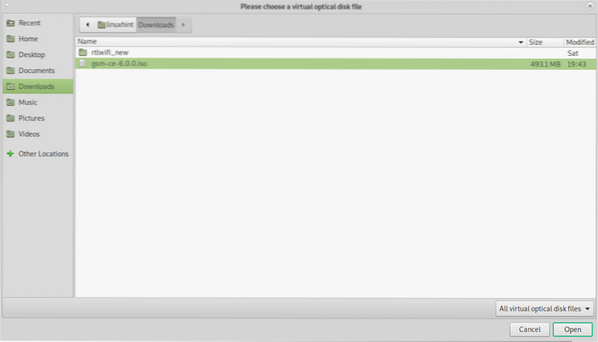
Now click on Start and click on the folder icon to choose the downloaded iso image as medium for the CD drive and start the virtual machine as shown in the screenshots below:
Browse to the ISO containing directory, select it and press Open.
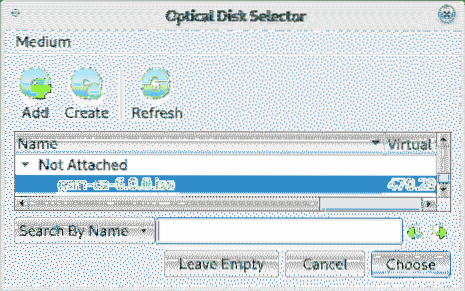
Select your ISO image and press Choose.
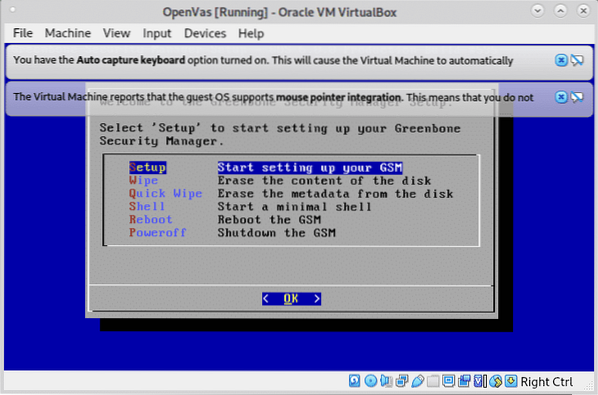
Press Start to launch the GSM installer.

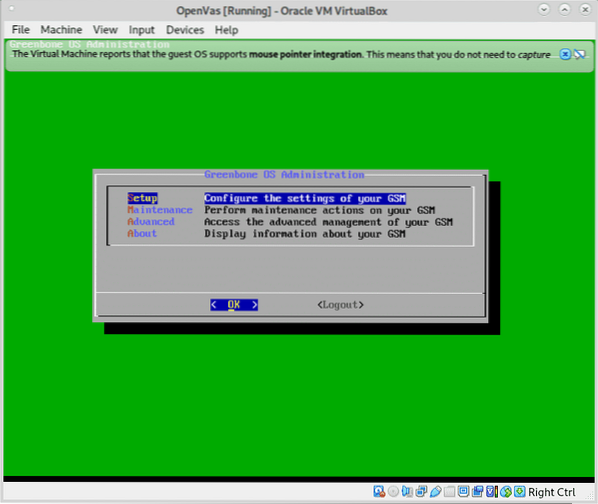
Once launched and booted, select Setup and press OK to continue.
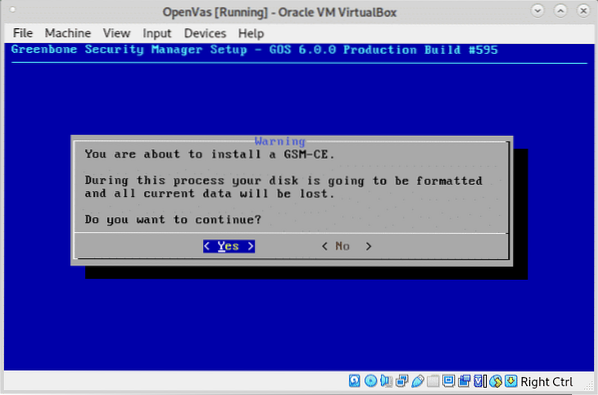
In the next screen press on YES to continue.
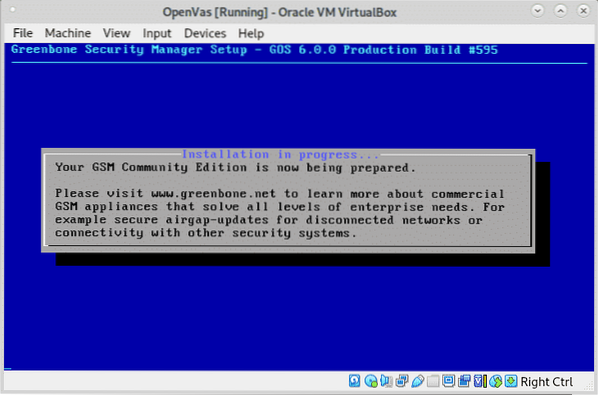
Let the installer to prepare your environment:
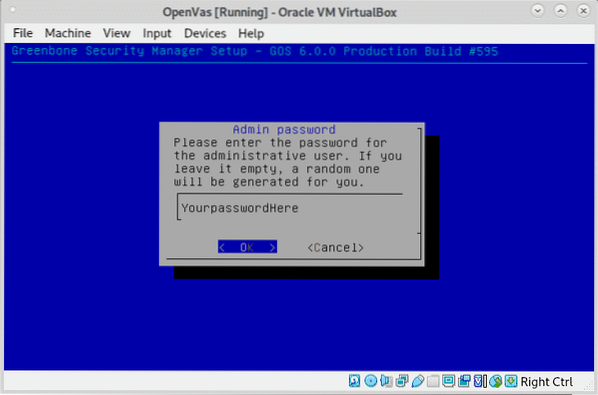
When requested define a username as shown in the image below, you can leave the default admin user.

Set your password and press OK to continue.
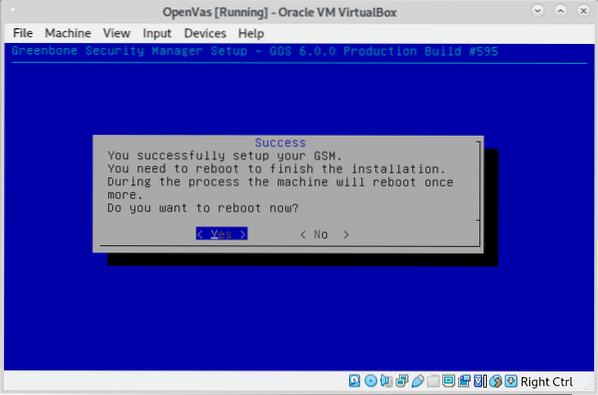
When asked to reboot press YES.
At boot select Greenbone OS by pressing ENTER.
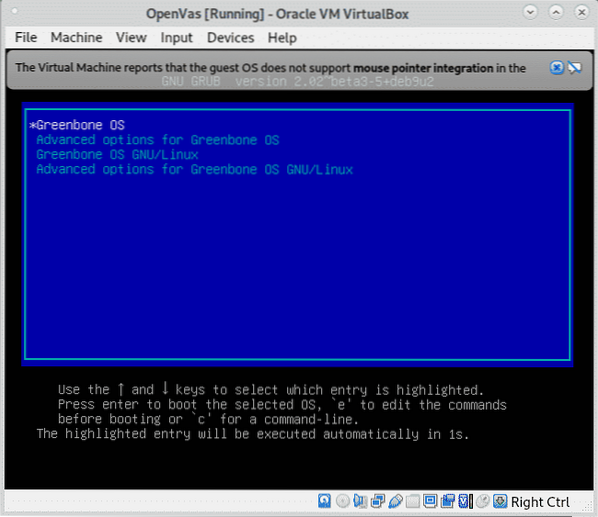
When booting for first time after the installation do not login, the system will finish the installation and will reboot automatically, then you'll see the following screen:
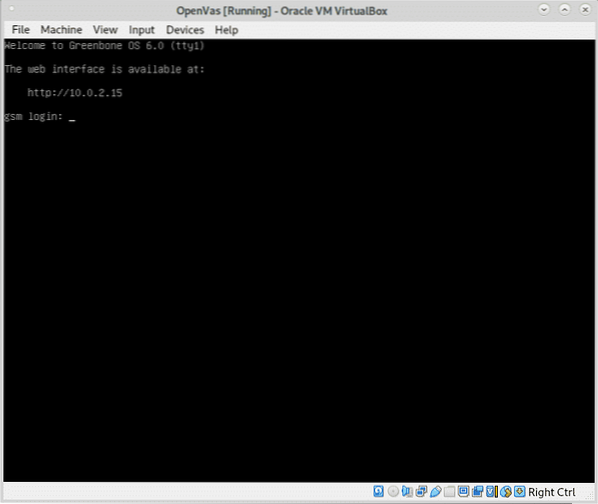
You should make sure your virtual device is accessible from your host device, in my case I changed the VirtualBox network configuration from NAT to Bridge and then I rebooted the system and it worked.
Note: Source and instructions for updates and additional Virtualization softwares at https://www.greenbone.net/en/install_use_gce/.
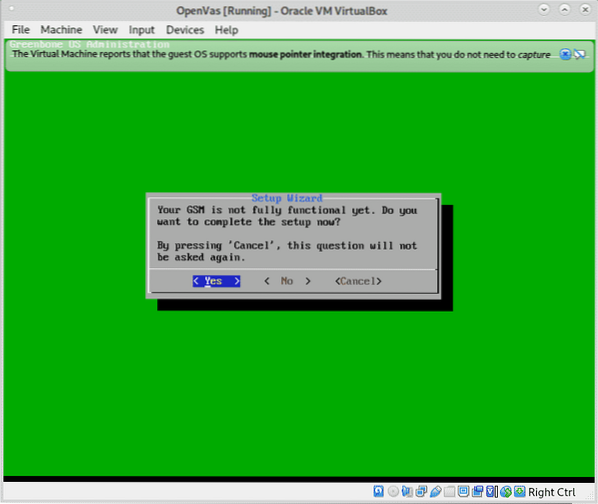
Once you boot login and you'll see the screen below, press YES to continue.
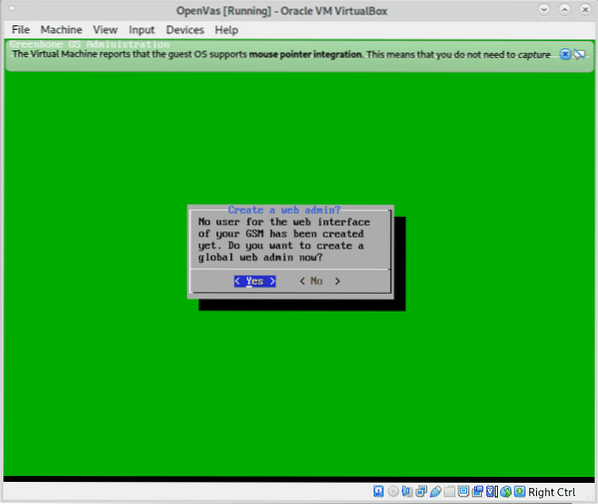
To create a user for the web interface press YES again to continue as shown in the image below:
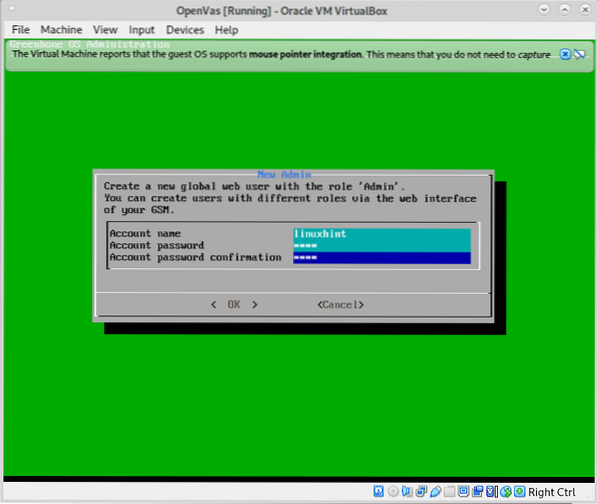
Fill the requested username and password and press OK to continue.
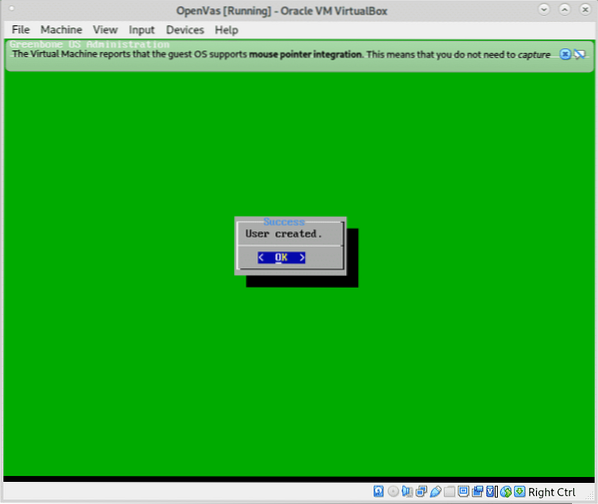
Press OK on user creation confirmation:
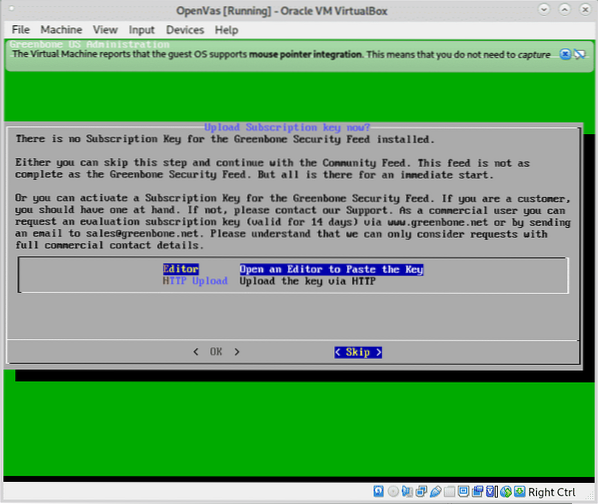
You can skip the subscription key for now, press on Skip to continue.
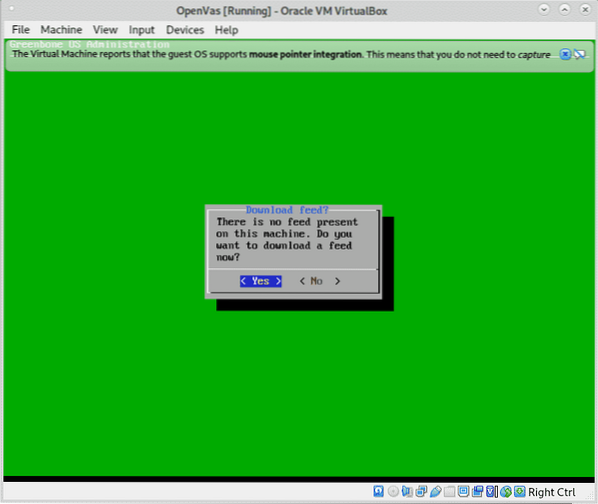
To download the feed press on YES as shown below.
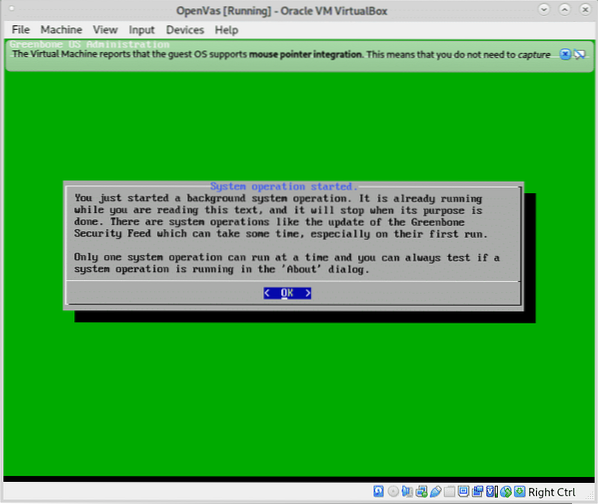
When informed about the background task running press OK.
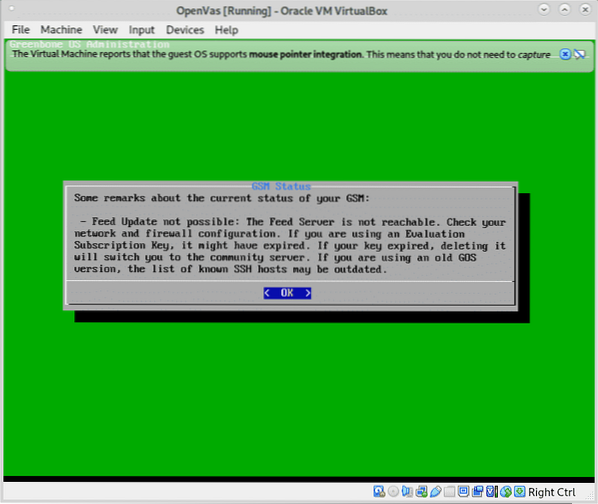
After a brief check you'll see the following screen, press OK to end and access the web interface:
You'll see the next screen, if you don't remember your web access address you can check it on the last menu option About.
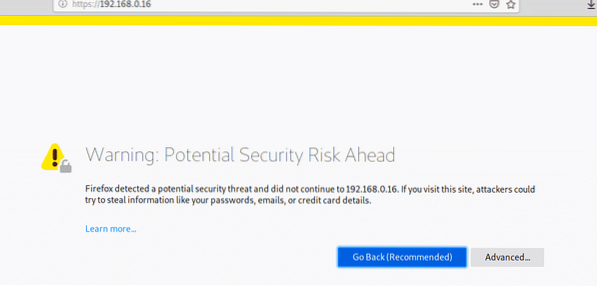
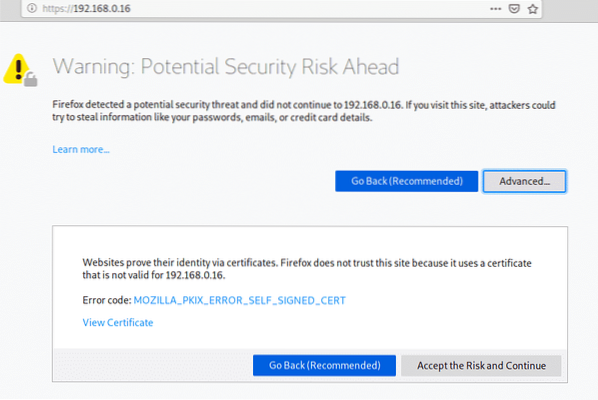
When accessing with SSL key you'll be welcomed by the SSL warning, almost on all browsers the alert is similar, on Firefox like in my case click on Advanced.
Then press on “Accept the Risk and Continue”
Login into GSM using the user and password you defined when creating the web interface user:
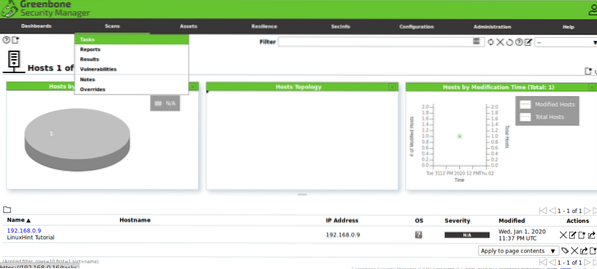
Once inside, in the main menu press Scans and then on Tasks.
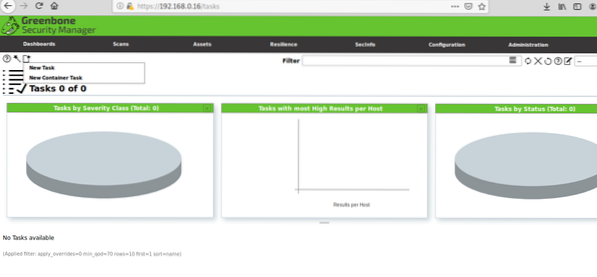
Click on the icon and on “New Task”.
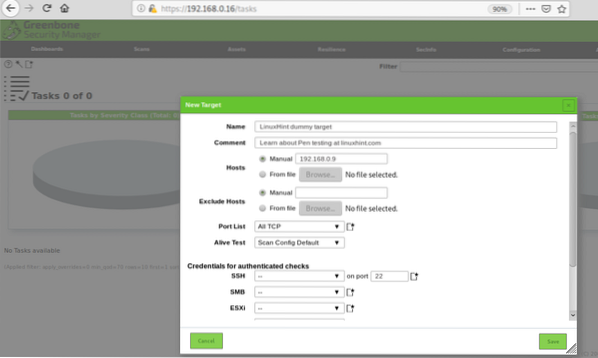
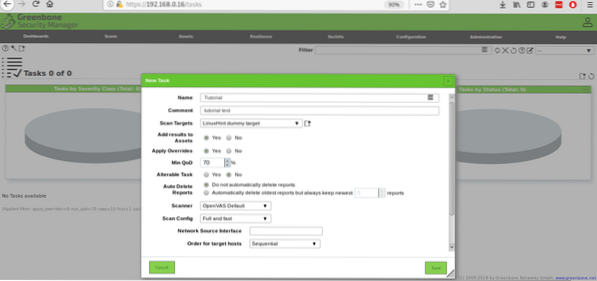
Fill all the required information, on Scan Targets click again on the icon:
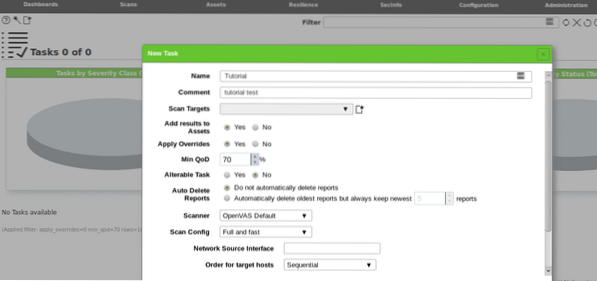
When pressing on a new window will request information on the target, you can define a single host by IP or domain name, you can also import targets from files, once filled all requested fields press Save.
Then press Save again
Once defined you can see your task created with a PLAY button to launch the penetration testing scan:
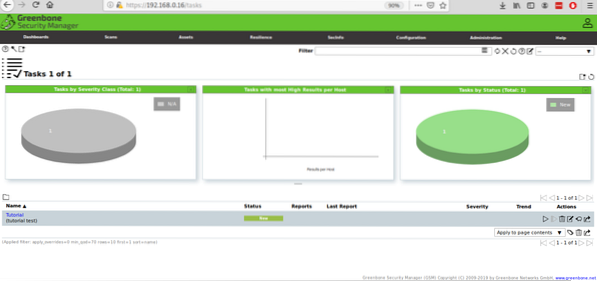
If you press on the Play button the status will change to “requested”:

Then will start showing the progress:

Once you're done, you'll see the status Done, click on the Status.

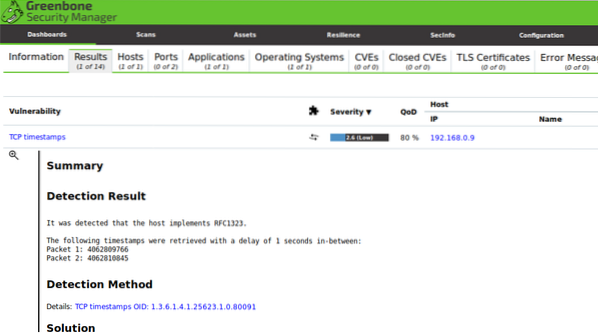
Once inside you can click on Results to see a screen similar to the one below:
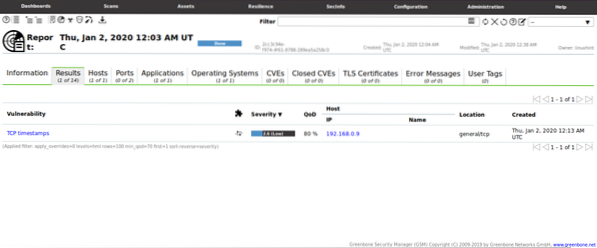
In this case GSM found a light vulnerability without importance:
This scan was launched against a recently installed and updated Debian desktop without services. If you are interested in penetration testing practices you can get Metasploitable security virtual test environment full of vulnerabilities ready to be detected and exploited.
I hope you found this brief article on What is Network Penetration Testing useful, thank you for reading it.


