Readying up the Python environment
To start using Python, you need to make sure that you have it correctly installed and everything related to its dependencies is up-to-date. One of the first things you should do before installing anything else is type in the following command:
sudo apt-get update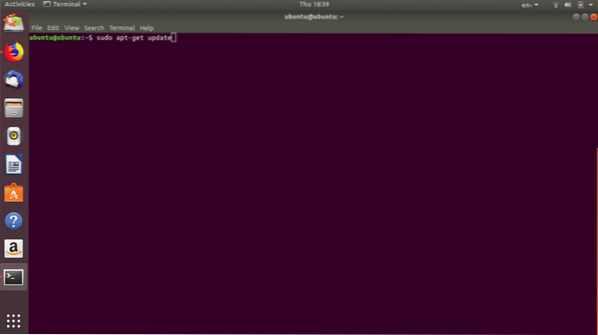
This command performs an update check for any of the packages that are installed and looks for new packages that have been added into the repositories. Once that program has run successfully, it is now time to check whether python has been installed properly. That can be confirmed by typing in the following command in the terminal window:
python3 -v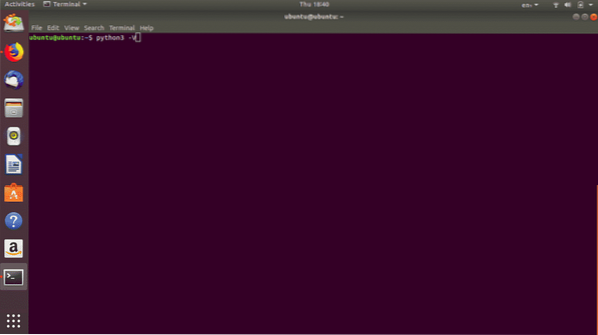
If all went according to plan, you should see a version number as the output. If you have gotten to this point without any error, you can now proceed to download an IDE to make the python experience much better. For that, we will be using Jupyter notebook. For this, you need to run the following command:
sudo apt-get -y install ipython ipython notebook && pip install jupyter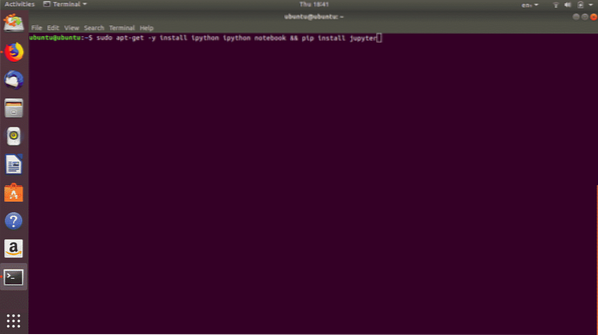
You are now sufficiently prepared to write simple Python programs that can make compressed .zip files and also unzip them as well.
To start Jupyter notebook, you need to type the following command in the terminal: jupyter notebook (Note: the IDE interface you will see in the screenshots below will be a bit different than your standard Jupyter notebook. Everything else works the same)
When the command has run, it will open the Jupyter notebook interface in your web browser, and from there you can start to code by creating a new notebook file. When that is done, you will now be able to code your archiving programs without any obstacles.
The necessary imports
Now that we have moved onto the coding part, let us begin by first doing the necessary imports we will need to make this task happen. If we are simply going to make a program that does nothing apart from making zip files from existing files, then we would just need to import two modules:
zipfile and osThe 'zipfile' module is pretty self-explanatory. It provides us with very easy to use functions that allow us to create zip files and add directories, files, and subdirectories to the newly created zip files with minimal effort. The module has many more uses available as well, and if you want to check out its true potential, feel free to google its documentation online.
The 'os' module allows us to deal with file pathing in our programs. It allows us to view directories and list their contents in the simplest ways possible. When both these libraries are used together, you will be able to easily create some very robust programs to handle the compressing tasks for you.
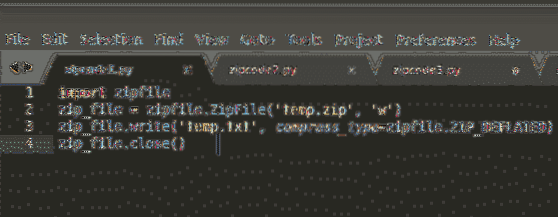
Zipping starts here
When you run the code in the picture below in your notebook, you will see that a zip file has been created in the directory and its size is also considerably low to the original file. The example we discussed involved just a single file.
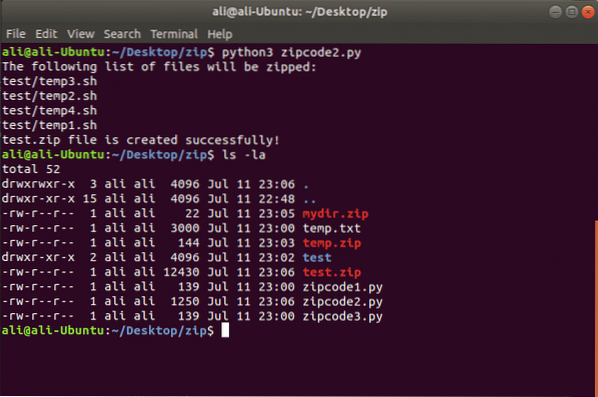
If we want to take it a step further where we want to add directories and multiple paths to our zip file, we will need to run the following code snippet.
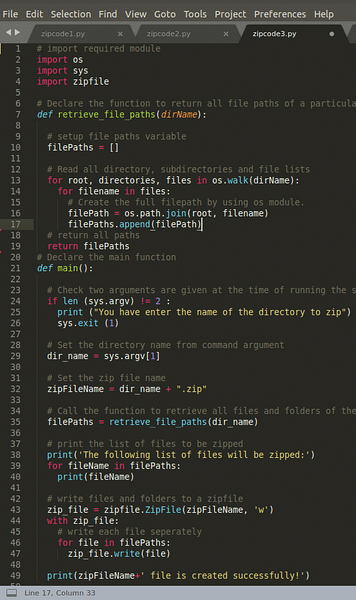
Again, after running the script, you will be presented with a new zip file in the directory you are currently in, and its size will be much lesser than the combined size of its contents.
Unzipping the compressed files
You might have guessed it already, and it is true. With the libraries we are using, almost all trivial tasks we can think of have been carefully crafted into one line solutions for the most part, and they are very efficient. The same is the case for unzipping the contents of the files. The same zipfile module will be used here, and after referencing the path to the file, we will simply call a function called extractall which will take in its arguments the path where we want to decompress the zip file into.
Why choose to program this?
Well, the answer to this question is very simple; automation. If you are working with large amounts of data, you will obviously need a way to shorten the manual labor involved. In 2019, if something can be automated, it should be automated. There is simply no point in doing a redundant task that can be done much more efficiently by a very cost-effective solution. The energy that would be wasted in making zip files can otherwise be used in doing something productive.


