Prerequisites
To make sure we are all on the same page, we are running the following steps on a Windows 10 Pro host system with a Ubuntu 18.04 LTS running as a guest inside Hyper-V.
Starting a file share
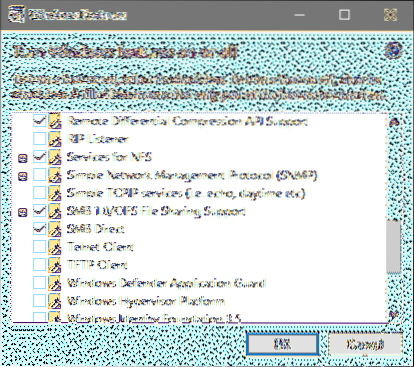
In your Start Menu search for “Turn Windows Features on or off”. Once you find that, open it up and check the SMB 1.0 and SMB Direct boxes, as shown below:
Click OK, and wait for the changes to take place. If it asks you to reboot the system, do that. Also search for “Advanced Sharing Settings” in the Start Menu and verify that Sharing is Turned On like so:

If it isn't, check the box that does switch it on and save the changes.
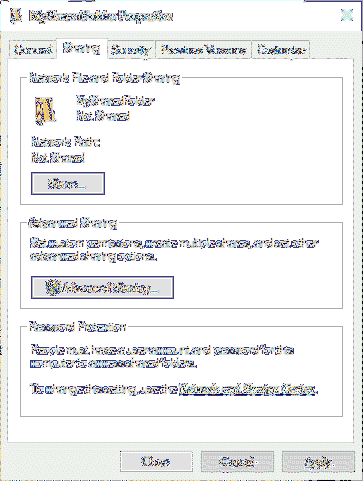
Once that is done, let's create a Folder in which we will keep our shareable contents. We will name ours MySharedFolder. Right-click on this new folder, go to Properties → Sharing and Click on Share.
It will ask you about which users you might want to share this folder with. By default, your username will be selected, let's leave it at that, for security reasons. Here you can see a dummy user name WitchKing is being used. If you want to add more users feel free to do so.
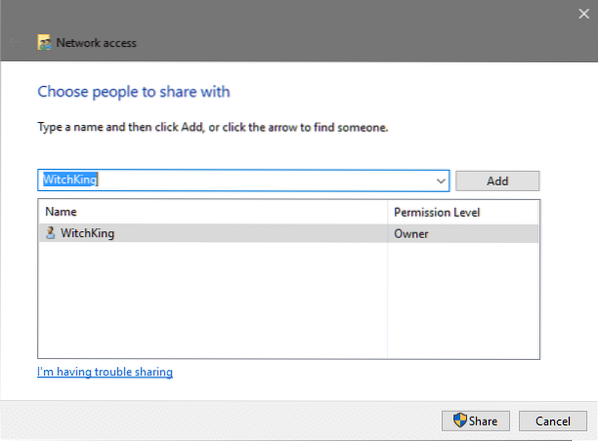
Next, Click on Share which would require you to have administrative privileges and you will be given the Network Path of the folder in the next Window.
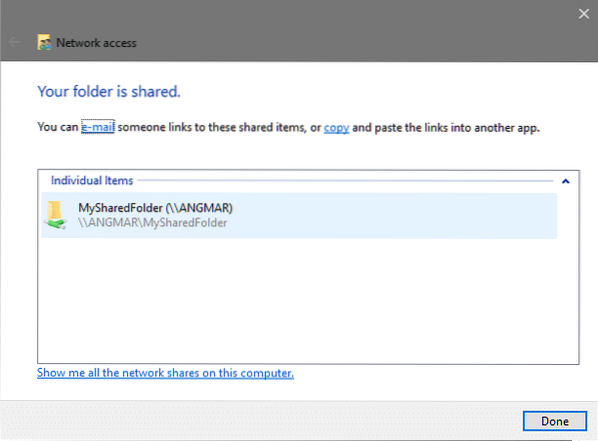
As you can see the path is \\ANGMAR\MySharedFolder in this case. Usually, it will follow the same \\PCName\Shared_Folder_Name format. Backslashes are used to separate different directories while prescribing paths in Windows. On our Linux guest we will replace the backslashes to forward one like so //PCName/Shared_Folder_Name
So far, so good. Now the question is how do we access this from our Linux Guest?
Guest to Host Networking
To access the contents of the shared folder, both the guest and host network should be on the same network. If you are using the Default Switch option by Hyper-V to provide connectivity to your Guest, then your VM can talk to the main Windows installation and we have nothing to worry about.
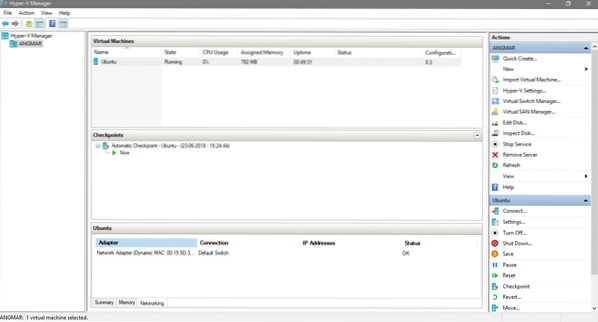
In the Hyper-V manager screen go to your Ubuntu virtual machine settings and verify that the Default Switch is used for connectivity.
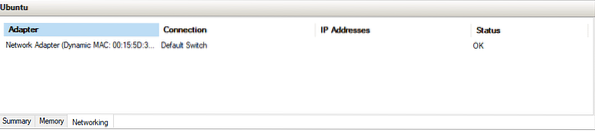
While this may work with both Internal and External Switch (two virtual switches offered by hyper-V) it is important to note that both the host and guest must be on same network for SMB/CIFS file sharing to work.
Mounting the Shared Folder on Guest
Start your Guest OS, which in our case is Ubuntu. Open up the terminal and install a simple cifs-client.
$ sudo apt install cifs-utilsNext, you need to decide where in the file system would you like to mount the shared folder. In our case, we would mount it in a new directory called SharedFolder which lives inside the home directory.
$ mkdir ~/SharedFolderOkay, so now as the final step, you need to mount the folder. Remember that when we created the file share in our host we got a network path for the folder which was \\ANGMAR\MySharedFolder while yours may differ, the one thing that would remain the same is the backslashes used by Windows which you need to turn into forward slashes while specifying on Linux.
Also since we shared it with only one Windows user (yourself) you need to tell Linux what your Windows user name is so it can authenticate against that name.
$ sudo mount.cifs //~/SharedFolder -o user=
For instance, in the above example, the path assigned to the folder, by Windows was as shown below:

To mount this folder on the path ~/SharedFolder I would need to run:
$ sudo mount.cifs //ANGMAR/MySharedFolder ~/SharedFolder -o user=WindowsUserNameYou will be prompted for sudo password (if you are not running as root), in which case enter the password for your Linux user and you will be prompted for the password to access the remote folder, in which case, enter the Windows user's password.
That should do the trick! Now you can go to the path ~/SharedFolder and see the contents that are in the shared by your host OS. You can tweak the file permissions to prohibit the VM to modify files. Hope, you enjoyed this tutorial and learned something useful from it!
Let us know if there's any issue that you are facing with Hyper-V or any other virtualization related topic that you want us to cover!


