There are also a number of other screen recorder tools for Ubuntu. Check out the best screen recorders for Ubuntu.
Kazam features
So, why everyone is using Kazam? Let's have a look at the short list of Kazam features.
- Variable screen recording (record entire screen, a part of the screen, specified applications or windows or all monitors)
- Easy screenshot capturing
- Powerful keyboard shortcuts for pausing and resuming the recording
- Record in popular file formats like MP4
- Record audio from speaker or microphone
- Record webcam video
- Broadcast on YouTube live
Just like popular screenshot tools like Shutter, Kazam is the synonym for screen recording. It's actively maintained for the last couple of years.
Let's get started with Kazam on Ubuntu!
Note: The following tutorial also holds true for other distros like Linux Mint, Zorin OS, and elementary OS etc. that use Ubuntu as their core.
Installing Kazam on Ubuntu
Kazam has earned huge popularity in the community that the official Ubuntu repository hosts the current latest stable version (v1.4.5). However, for enjoying the latest version (v1.5.3), we still have to use the Kazam PPA. V1.5.3 is nearly as stable as the “stable” release. However, since the publication of the version, there's been no further updates on the project.
Install Kazam from Ubuntu repo
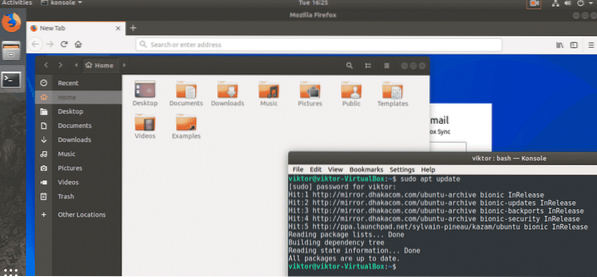
Fire up the terminal.
At first, it's time to update the APT cache.
sudo apt update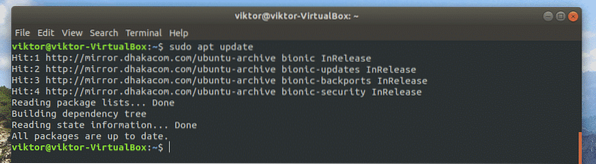
Once the cache is up-to-date, run the following command for installing Kazam.
sudo apt install kazam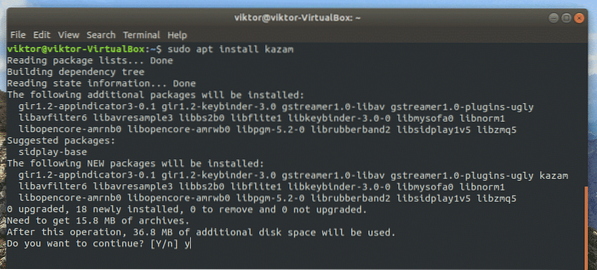
Installing from Kazam PPA
At first, register the PPA in the list of APT sources.
sudo add-apt-repository ppa:sylvain-pineau/kazam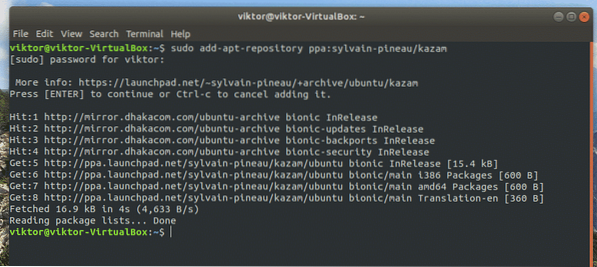
Again, refresh the APT cache.
sudo apt update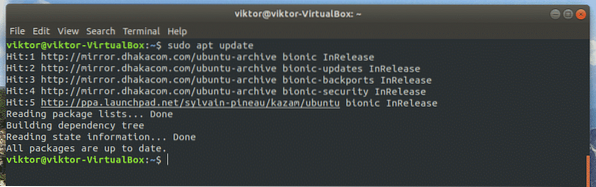
Now, run the following command to complete the installation.
sudo apt install kazam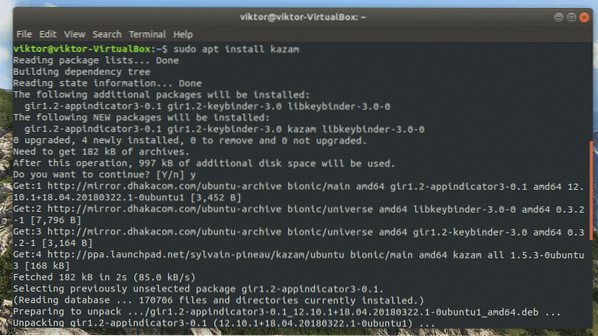
Additional packages
In order to capture mouse clicks and keyboard presses, Kazam needs a couple of other libraries. Install them by running the following command.
sudo apt install python3-cairo python3-xlib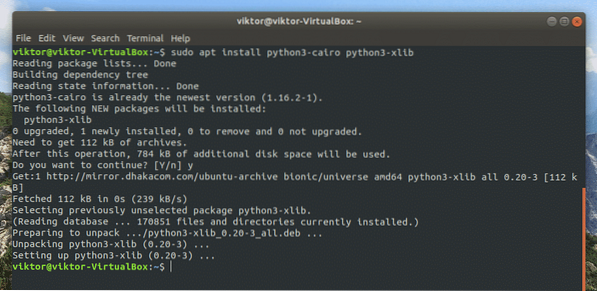
Kazam basic usage
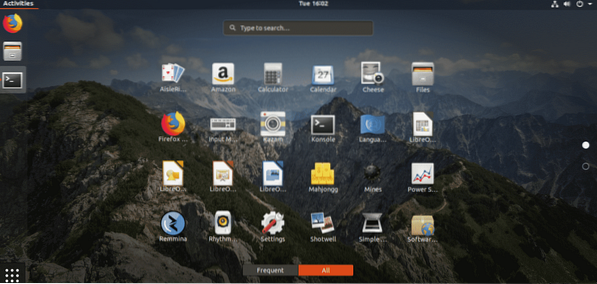
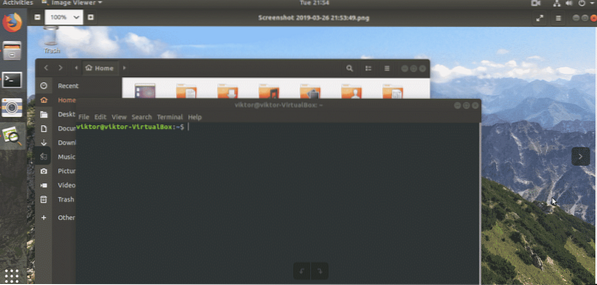
Once the installation is complete, you can find Kazam from the apps list.
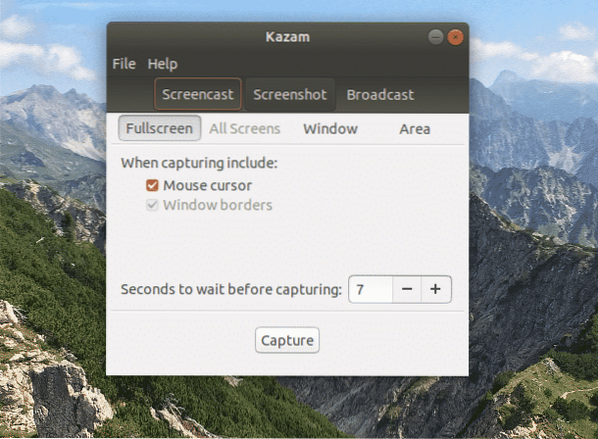
This is the starting window of Kazam that lets you choose the preferred action.
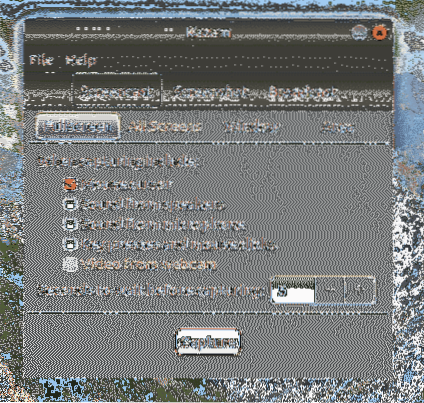
Make sure that you always “wait” enough before the capturing begins. The default timing is 5 seconds. This allows you to get prepared for the recording.
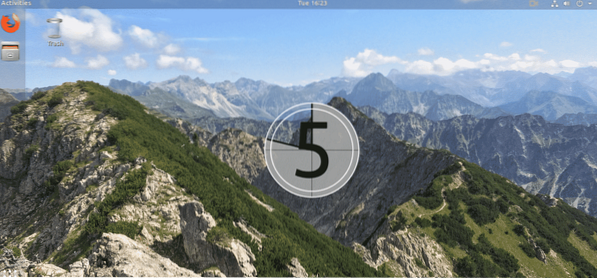
When the capturing begins, it'll splash the remaining seconds on the screen.
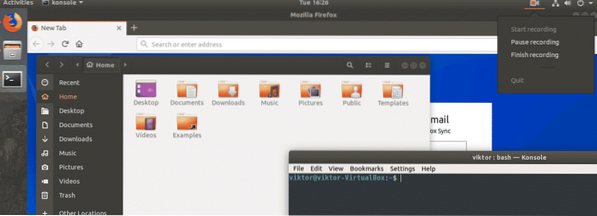
Kazam will start recording when the counter reaches 0. Do whatever you want for recording. You'll notice the Kazam button at the top ribbon.
From that button, you can choose whether to pause or finish the current recording session.
Recording paused
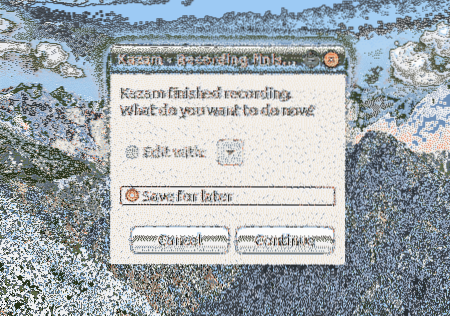
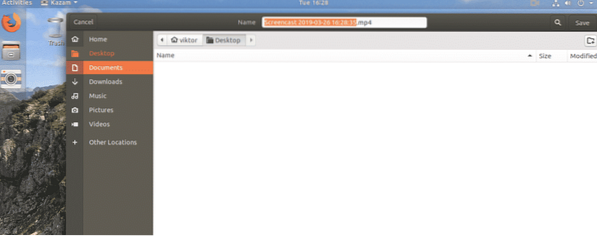
If you choose to end the recording, the following dialog box will appear. You can decide where to save the record or dump it.
If you want to take a screenshot, then choose the “Screenshot” action from the main window.
You have 3 different options: capturing the full screen, a window or an area of the current screen.
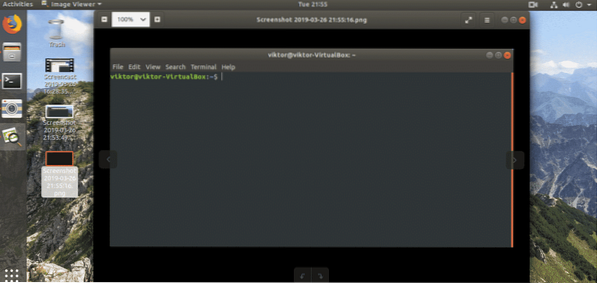
Full-screen screenshot
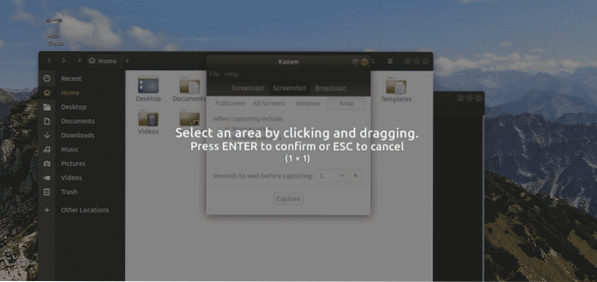
Area screenshot
Window screenshot
Kazam advanced usage
We've only covered the basic usage of Kazam. However, there are more ways you can squeeze more out of the tool. Besides the basic usage, Kazam comes loaded with additional features and automation.
From Kazam's default window, go to File >> Preferences.
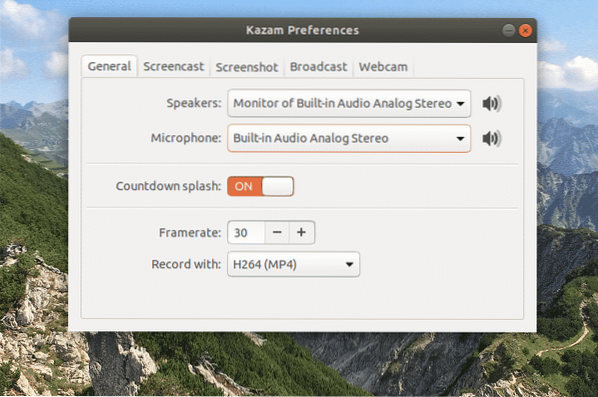
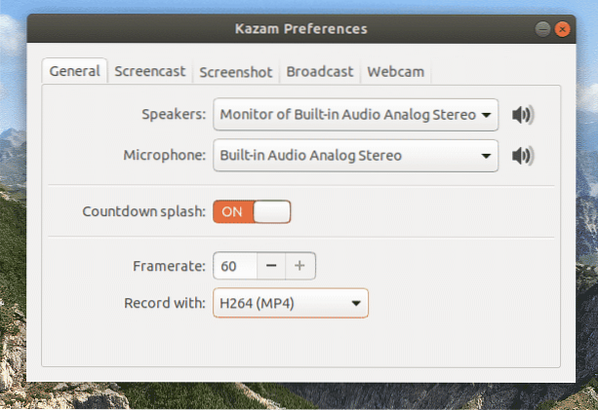
The “General” tab offers to select which speaker and microphone Kazam will listen to. It's also possible to turn on/off the countdown splash (keep that turned on). The more important parts are the framerate and codec choice. Make sure that you choose the suitable settings that your computer hardware is able to handle.
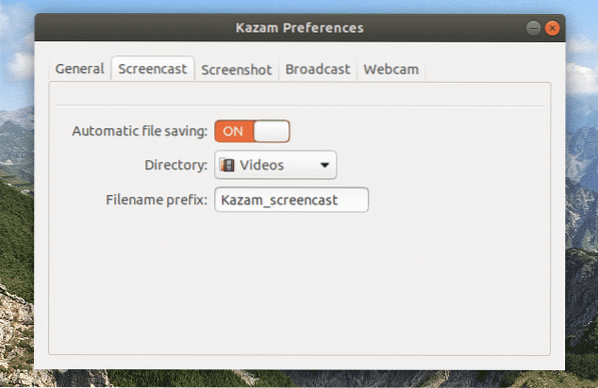
At the “Screencast” tab, you can choose whether the tool will auto-save the recorded video.
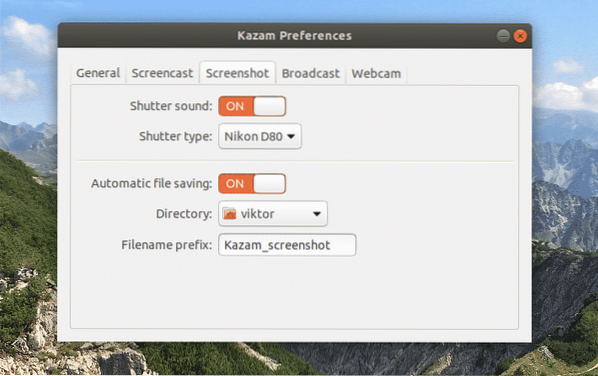
Similarly, the “Screenshot” tab will offer the option to select the shutter sound and auto file save.
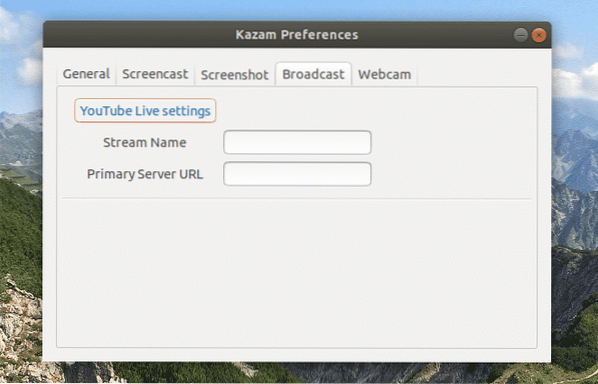
“Broadcast” is an interesting one. You have to configure YouTube Live settings for being able to use the feature.
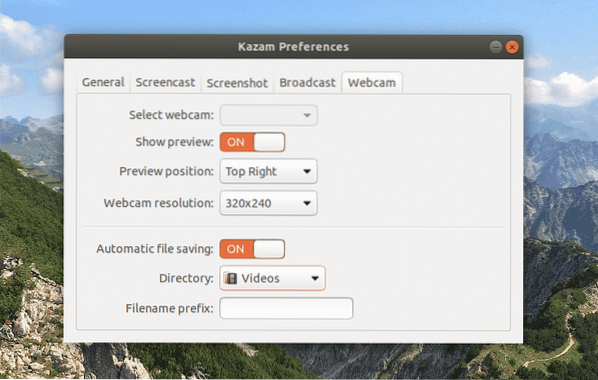
Finally, the “Webcam”. It lets you decide where you want to show the webcam footage on the screen, webcam resolution and finally, auto file saving.
Kazam tips
Kazam lets you record in various file formats (WEBM, AVI, MP4 and others). For avoiding storage problem while recording, the best option is the MP4. I also strongly recommend avoiding the RAW (AVI) format (unless you're fully aware of what you're doing) as even the recording of a couple minutes can generate GBs of recorded data.
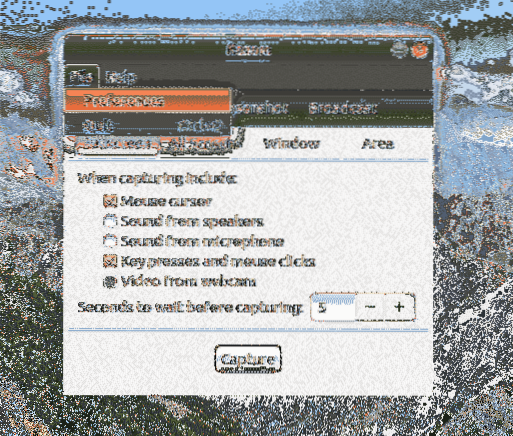
Whatever you do, it's best to check the options “Mouse cursor” and “Key presses and mouse clicks”. This way, your mouse clicks, and key presses will be recorded/broadcasted. Otherwise, your viewers won't be able to see the cursor movement.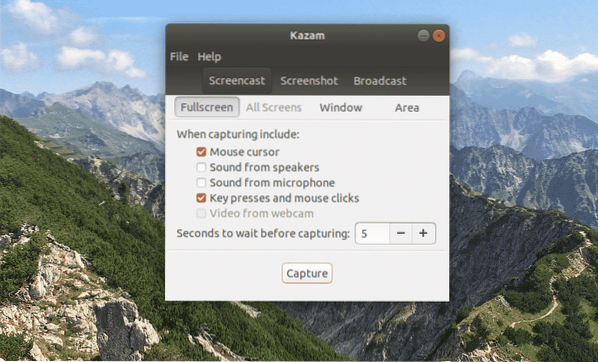
Use keyboard shortcuts. It's the best way to enjoy Kazam. Using keyboard shortcuts is much easier than you can think. Here's the list of hotkeys supported by Kazam.
- Start recording: Super + Ctrl + R
- Pause/resume recording: Super + Ctrl + P
- Finish recording: Super + Ctrl + F
- Quit recording: Super + Ctrl + Q
If you're confused with the “Super” key, it's the Windows key on the keyboard.
Final thoughts
Kazam is truly a beast in terms of features and simplicity. It offers the most elegant way of recording for any Linux distro. Despite not being updated for a while, Kazam still rules the land.
I just can't love Kazam enough! I hope you like it as well.


