Despite being super popular among desktop users, Google didn't release any official Linux client yet. Well, that's not enough to stop the Linux community. Thanks to their endless effort, it's now possible to mount your Google Drive as a virtual drive on your system.
In this guide, let's check out how to mount and use Google Drive on Linux Mint.
Mounting Google Drive
As there's no official Linux client from Google, we have to take the help of a 3rd-party tool to do the job. There are plenty of tools available on the internet for a similar purpose.
Rclone
If you're interested in working with CLI, then Rclone is going to be your favorite one. Rclone is free and open-source software written using GO programming language. Using Rclone, you can also serve local or remote files over HTTP/FTP/SFTP/WebDAV/dlna.
Rclone does not only support Google Drive but a bunch of other popular services like Dropbox, Alibaba Cloud (Aliyun), Amazon Drive, Amazon S3, Box, DigitalOcean Spaces, Microsoft OneDrive, Nextcloud, Oracle Cloud Storage, pCloud, Yandex Disk, Wasabi and a lot more!
For the full list of supported services, check out the official Rclone website.
Installing Rclone
Installing Rclone on Linux Mint is very simple. It's just a matter of running a few commands.
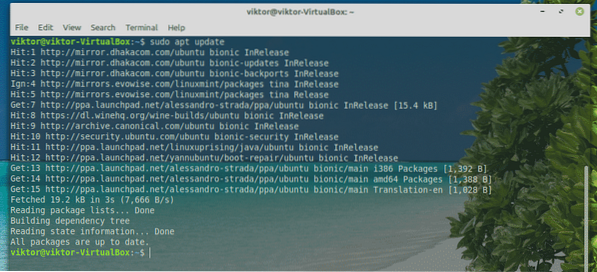
Fire up the terminal and make sure that all the software on your system is up-to-date.
sudo apt update && sudo apt upgrade -y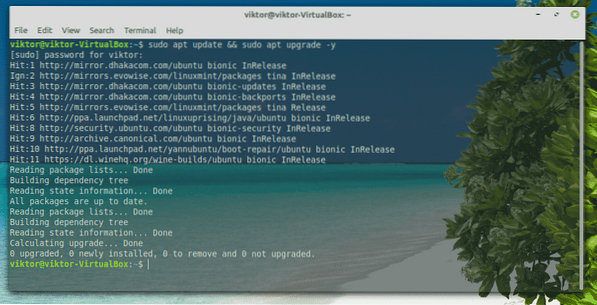
Now, install Rclone.
sudo apt install rclone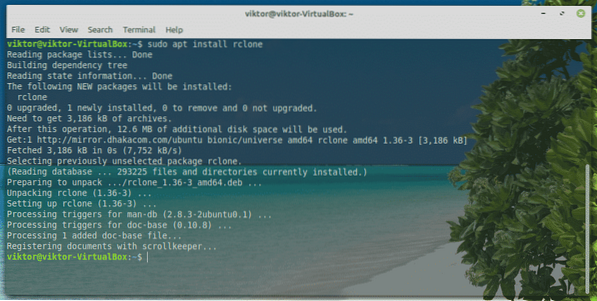
Rclone is also available as a snap. For installing a snap package, you need the Snap core set first. Learn how to use a snap package. Run the following commands for installing the Rclone snap package.
sudo snap install rclone

Configuring Rclone
Now, it's time to configure Rclone. The configuration process doesn't take much time. It only requires a handful of simple steps.
Fire up the terminal and start configuring Rclone.
rclone config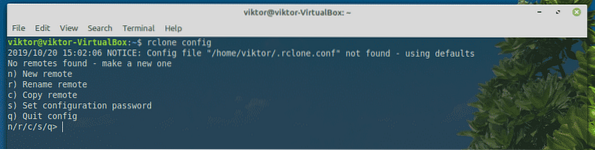
At first, we have to make a new “remote”. Enter “n”.
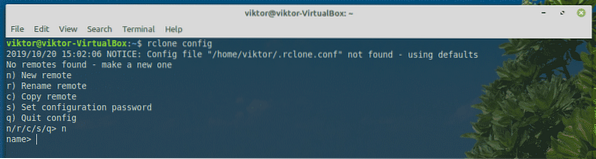
Now, provide a name for the new connection. In my case, it's going to be “myGoogleDrive”.
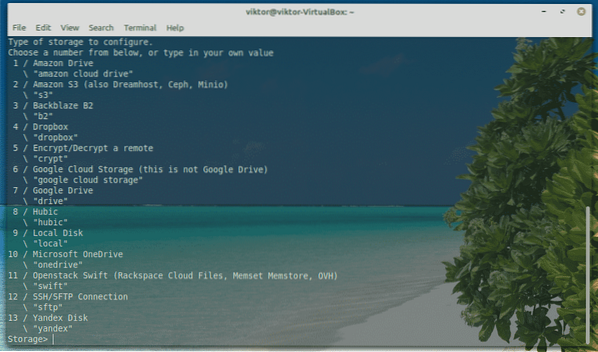
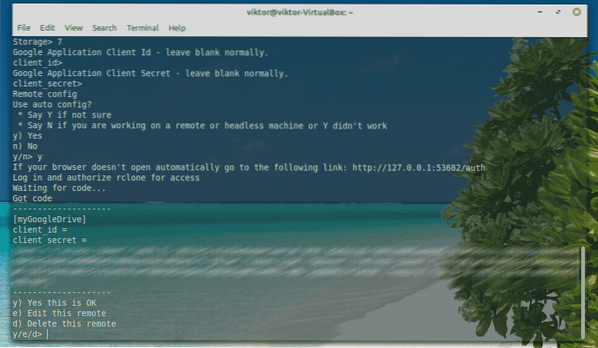
It's time to select which service you want to use. In our case, we need Google Drive. Enter “7”.
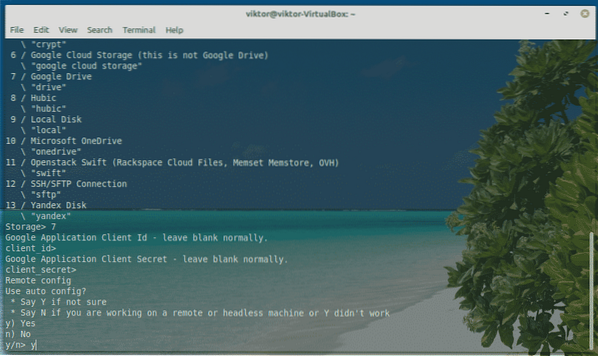
As of the “client_id” and “client_secret”, leave them blank.
Next up, enter “y” to use auto-configuration.
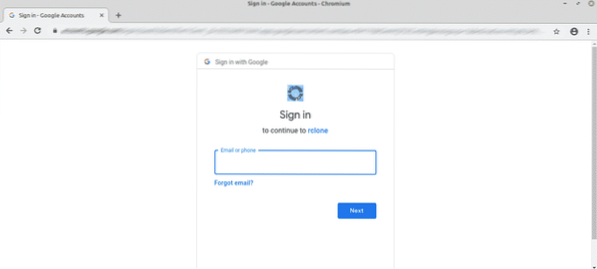
The tool will pop up the default browser and ask you for logging into your account. Log into your Google account.
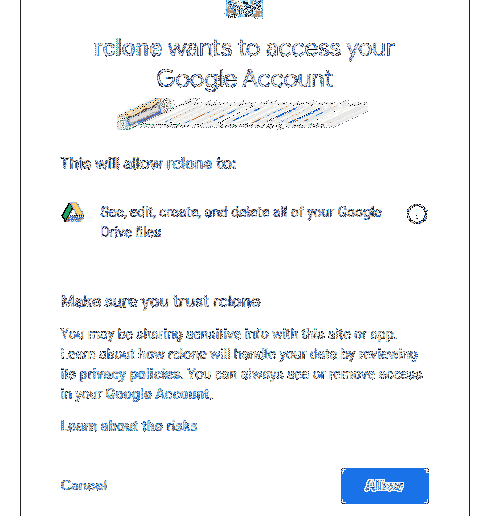
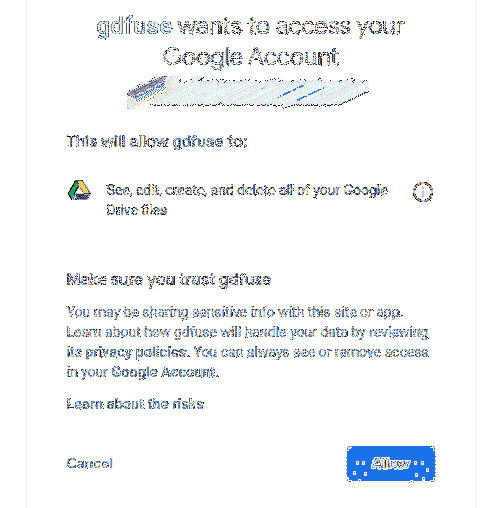
When asked, click “Allow”.
At this point, you can go back to the Rclone console. Enter “y”.
Voila! The remote connection creation is complete!
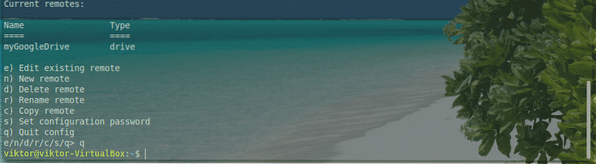
Now, we don't have anything to do here. Enter “q”.
Mounting Google Drive
Finally, it's time to mount Google Drive on a local folder. Let's get started.
At first, create a directory for mounting the Google Drive files.
mkdir ~/myGoogleDrive
Now, tell Rclone to mount Google Drive on the folder.
rclone mount myGoogleDrive: ~/myGoogleDrive/
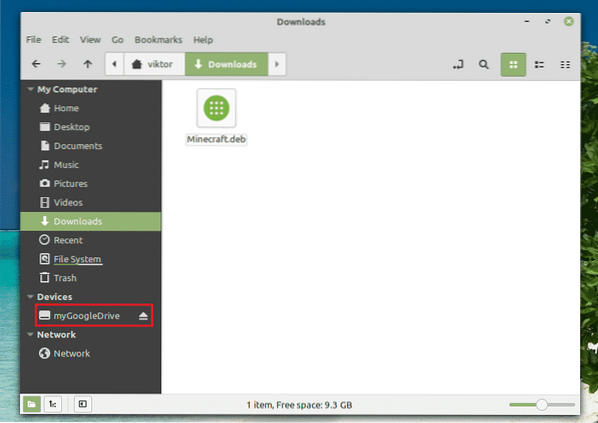
The mount is ready to be accessed from your file manager. Whatever you do with the directory will be updated with your Google Drive cloud storage.
Unmounting Google Drive
From the console window, press “Ctrl + C”.
google-drive-ocamlfuseIt's a FUSE-based file system that's backed by Google Drive. Written in OCaml, this tool also offers easy mounting of your Google Drive storage on your Linux system. You can access the files and folders directly from your file manager and command line.
This tool also comes up with excellent features like multiple account support, symbolic links, duplicate file handling, maintaining UNIX permissions and ownerships and others.
Without further ado, let's get started with google-drive-ocamlfuse. Check out google-drive-ocamlfuse.
Installing google-drive-ocamlfuse
For Ubuntu and Ubuntu-based distros, the easiest way to go is by adding a PPA. It would allow easier installation and updates of google-drive-ocamlfuse.
Fire up a terminal and run the following commands.
sudo add-apt-repository ppa:alessandro-strada/ppa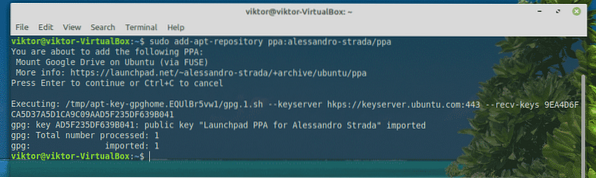
Using google-drive-ocamlfuse
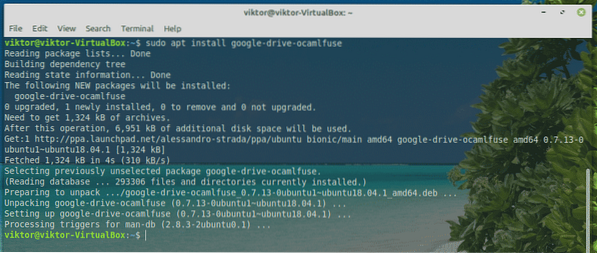
Run the tool from the terminal.
google-drive-ocamlfuse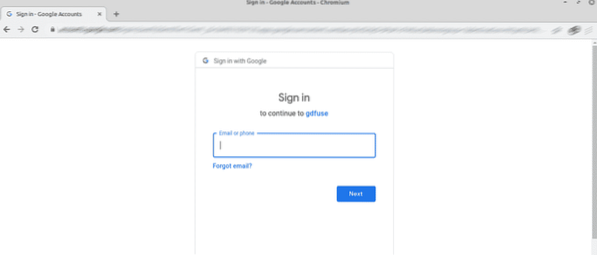
It'll fire up the default browser. Log into your Google account.
When prompted, select “Allow”.
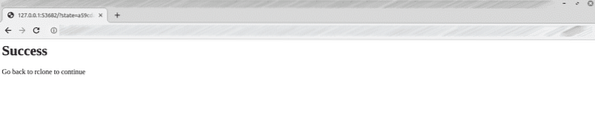
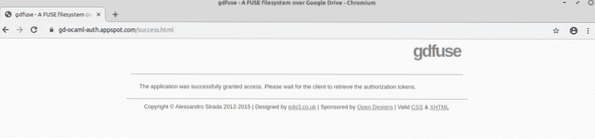
Once the process is successful, you'll get the following success screen.
Now, it's time to mount Google Drive. Create a directory and tell google-drive-ocamlfuse to mount your Google Drive there.
mkdir ~/GoogleDrive

In order to verify the mounting is successful, run the following command.
df -h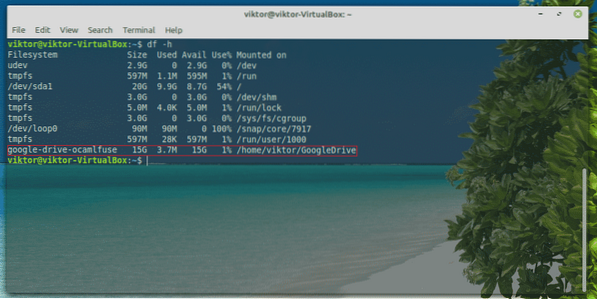
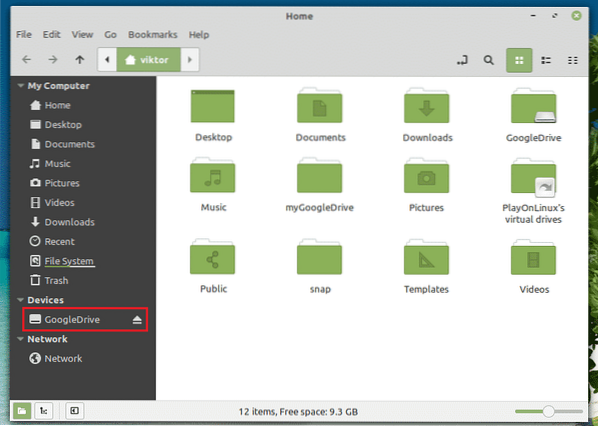
You can access it directly using the file explorer.
Unmount Google Drive
In order to unmount, run the following command.
fusermount -u
You can verify the result using the following command.
df -h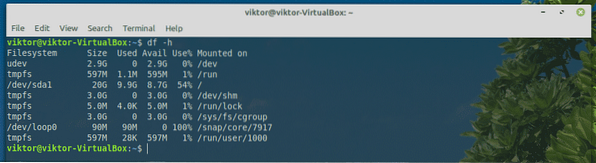
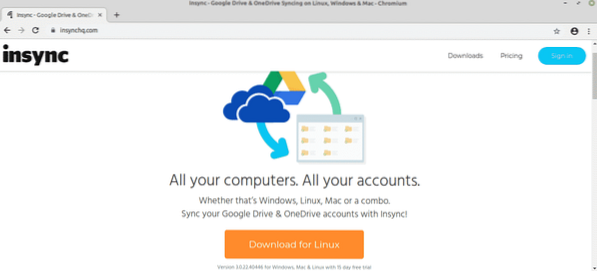
Insync
If you're interested in a GUI tool, then Insync is the finest choice out there. It's a paid software (with 15-day trial) that allows seamless integration of multiple online cloud services. This cross-platform tool is also available for all the popular systems like Windows, Linux, and macOS.
Insync not only supports Google Drive but also extends to G-Suite, Gmail support, multiple accounts, sync on demand, symlink support and a lot more. It also supports Raspberry Pi!
Let's get started with Insync.
Installing Insync
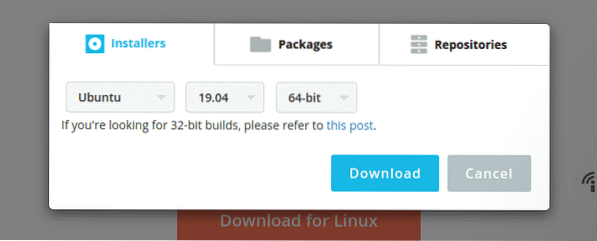
Download the DEB package from Insync.
Once the download is complete, use APT to install the package.
sudo apt install ./insync_3.0.22.40446-bionic_amd64.deb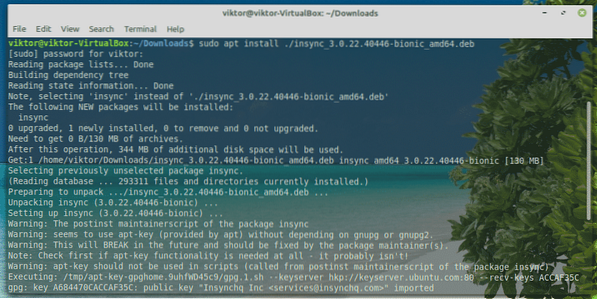
Mounting Google Drive
Once the installation is complete, launch the tool from the menu.
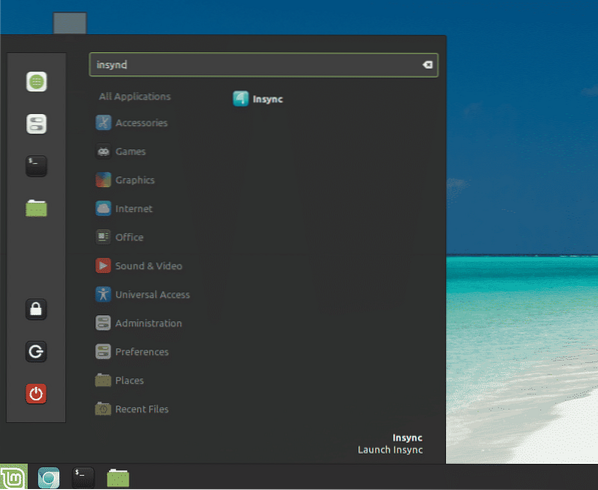

Click the Google Drive icon.
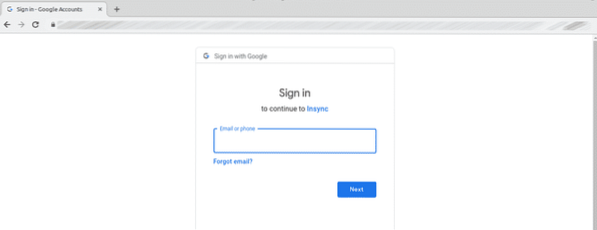
Your default browser will pop up and ask you to log into your Google account.
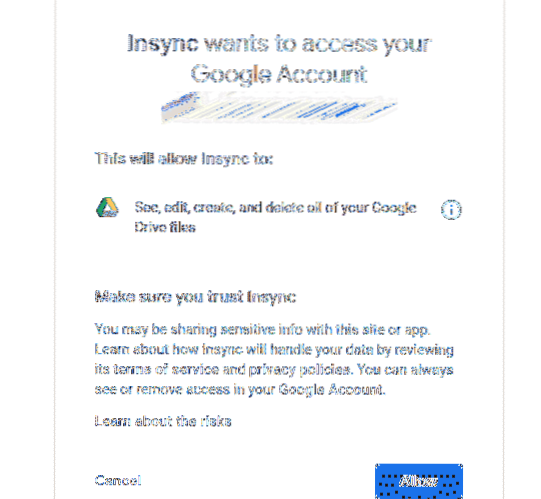
Click “Allow” to grant access to your Google Drive to Insync.
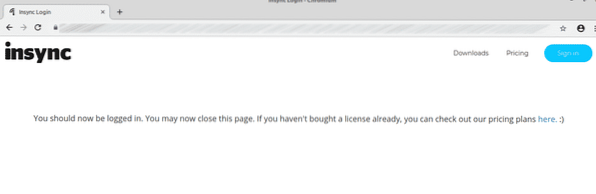
When you're on this page, close the browser and return it back to the Insync client.
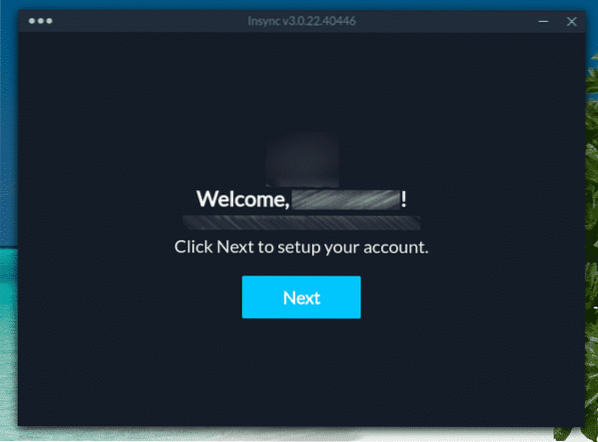
On the tool, you'll be on the welcome screen. Click “Next”.
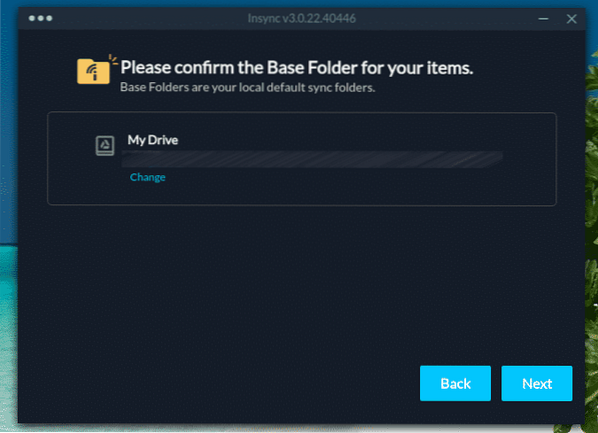
Select the location where you want to mount your Google Drive.
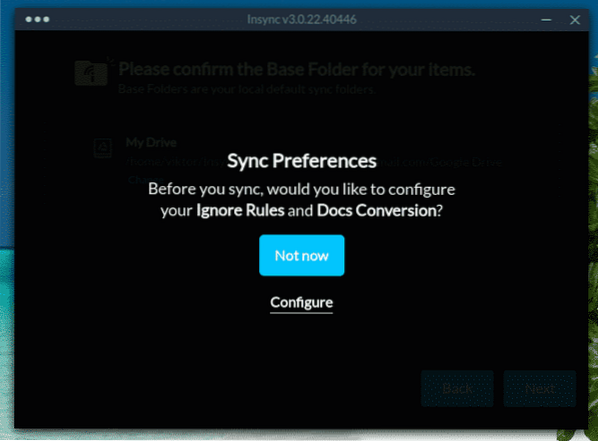
You can set the sync behavior. In my case, I'm going to ignore it.
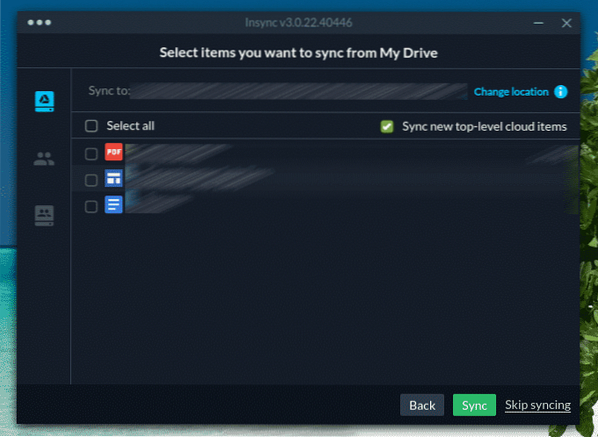
Select which file you want to sync at the moment.
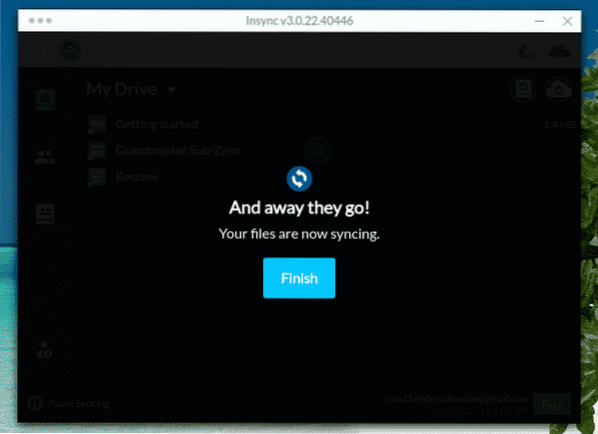
Sync is now in progress! Click “Finish”.
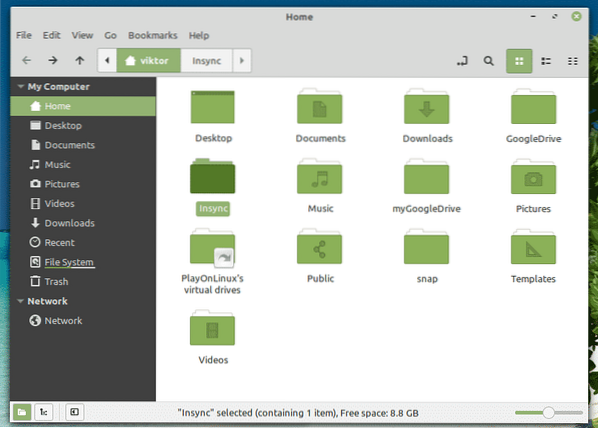
To view the contents of the folder, the default location is “~/Insync” directory.
Unmounting Google Drive
What if you don't want to have Google Drive mounted on your computer anymore?
In the case of Insync, you can simply uninstall the tool. Run the following command.
sudo apt remove insync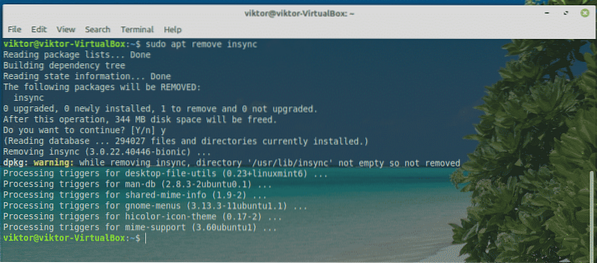
Once the installation is complete, manually delete the “~/Insync” folder.
sudo rm -rf ~/Insync/
Final thoughts
Mounting Google Drive on Linux Mint is very, very simple. All you need is just know how to do it properly. The tools explained in this guide are very simple to work with. Feel free to work with whichever you like. Only if you're a power user, then go for Insync. Otherwise, the free command-line tools are more than enough.
Enjoy!


