Monitoring temperatures may be a requirement in many of your Raspberry Pi projects. It is relatively easy to do in Raspberry Pi and the components required for this project are not too costly.This article shows you how to use the DS18B20 digital thermometer module to monitor temperature using Raspberry Pi. The article also demonstrates how to create a web app to display the temperature.
Things You Will Need:
To try out the examples in this article, you will need the following:
- A Raspberry Pi single-board computer
- A power adapter for the Raspberry Pi device
- A microSD card with Raspberry Pi OS installed
- Network connectivity on the Raspberry Pi device
- A Breadboard
- 3 pcs of female-to-female connecting wires
- Some male-to-male connecting wires
- A 10k resistor
- A DS18B20 Digital Thermometer module
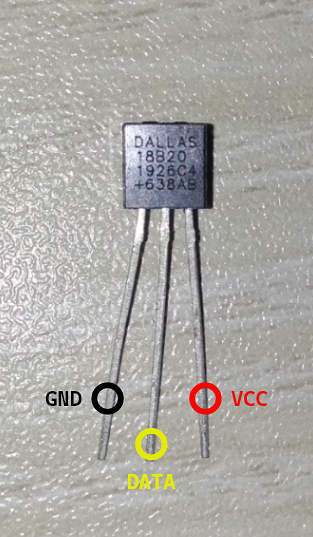
DS18B20 Digital Thermometer Pinouts
If you hold the DS18B20 digital thermometer as shown in the image below, the first pin will be ground (GND), the second pin will be DATA, and the third pin will be VCC.
Circuit Diagram
The circuit diagram of the temperature monitor is shown in the image below.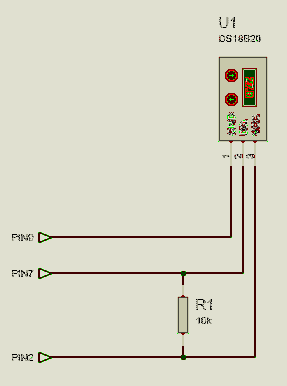
Here, the PIN2/5V of the Raspberry Pi device should be connected to the PIN3/VCC of the digital thermometer module.
The PIN7/GPIO4 of the Raspberry Pi device should be connected to the PIN2/DATA of the digital thermometer module.
The PIN9/GND of the Raspberry Pi device should be connected to the PIN1/GND of the digital thermometer module.
A 10kΩ resistor should be connected between PIN2 and PIN3 of the digital thermometer module.
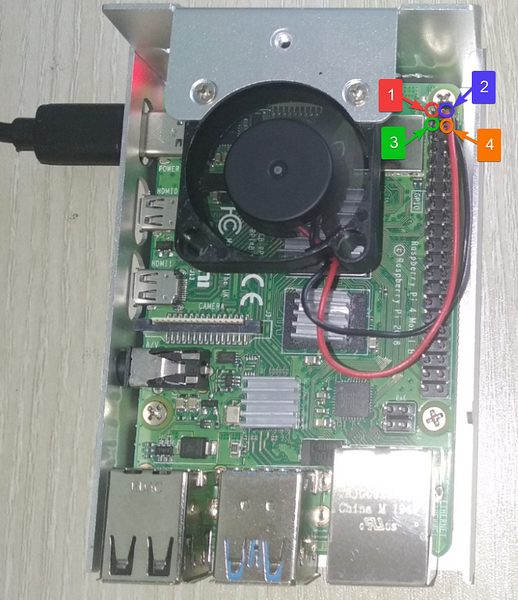
You should hold your Raspberry Pi as shown in the image below. Then, the top-left pin will be PIN1. The pin right next to PIN1 will be PIN2. Then, if you move forward one row, the left one will be PIN3 and the right one will be PIN4, and so on.
Once you have connected all the components to your Raspberry Pi device, it should look something like this:
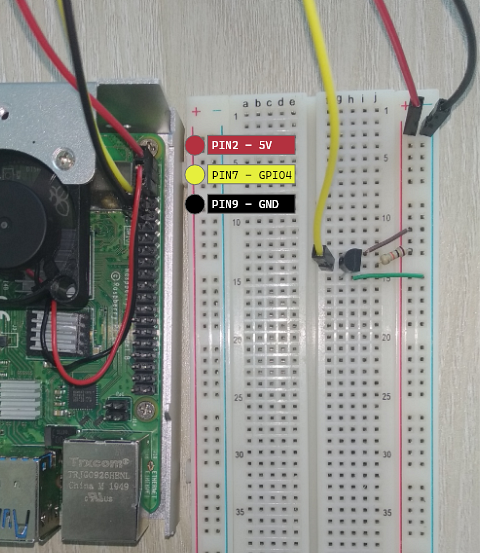
Take a closer look at how I placed the components on the breadboard.

Once you have connected all the components to your Raspberry Pi device, power on the Raspberry Pi device. Then, connect to your Raspberry Pi device via VNC or SSH.
Reading Temperature Data from DS18B20 Digital Thermometer
The DS18B20 thermometer module uses the 1-wire communication protocol to send data to the Raspberry Pi. By default, the 1-wire interface is not enabled. You can easily enable the interface from the Raspberry Pi configuration tool.
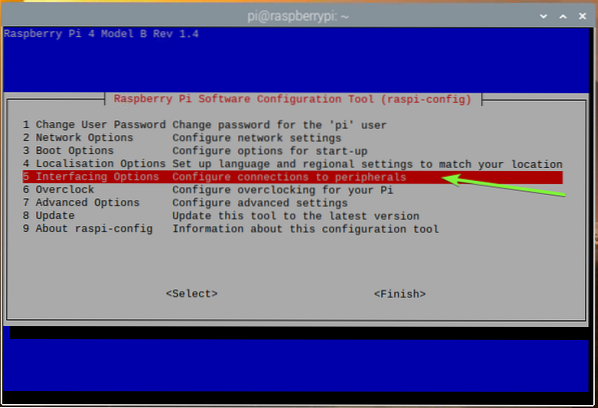
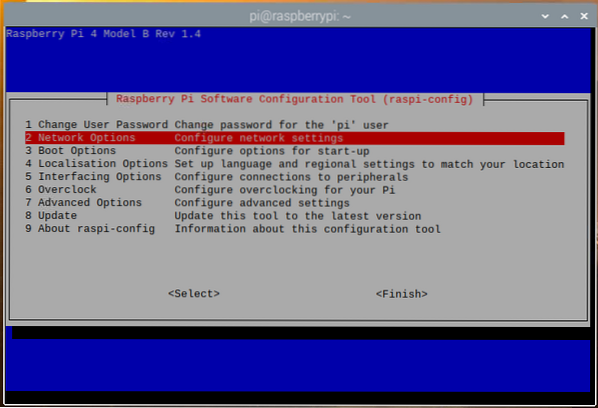
To enable the 1-wire interface, run raspi-config with the following command:
$ sudo raspi-config
Select Interfacing Options and press
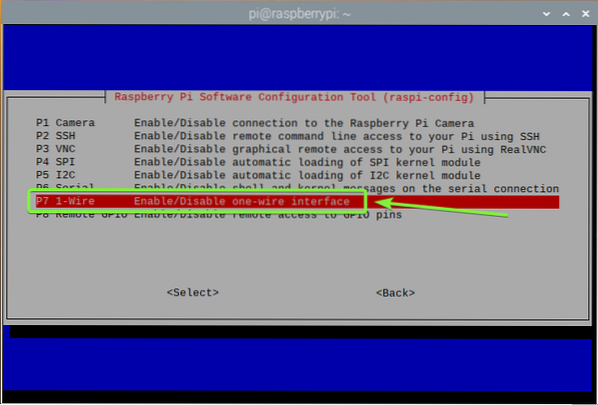
Select 1-Wire and press
Select
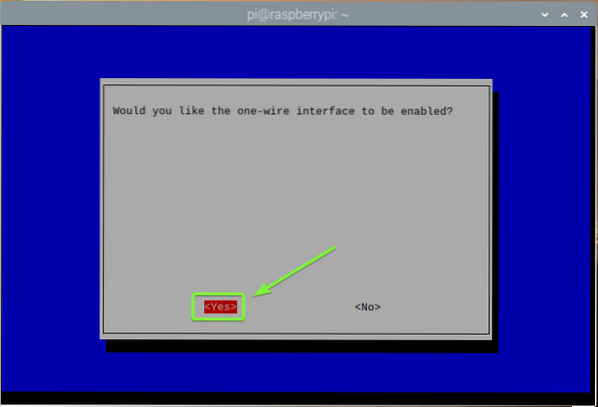
Press
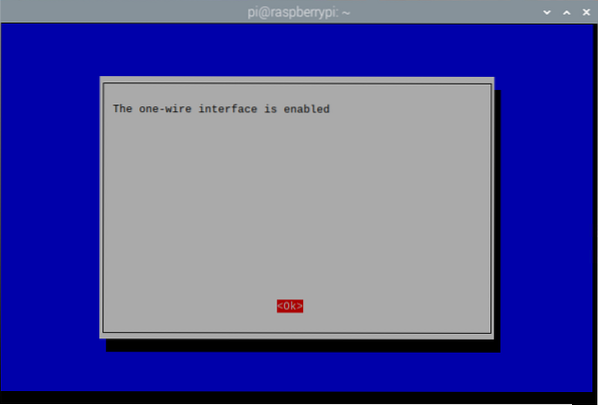
To exit out of the raspi-config utility, press
For the changes to take effect, reboot your Raspberry Pi as follows:
$ sudo reboot
To check whether the w1_gpio and w1_therm kernel modules are loaded, run the following command:
$ sudo lsmod | grep w1
If for some reason, the w1_therm module is not loaded, then you can manually load it with the following command:
$ sudo modprobe w1_therm
Once you have enabled 1-wire communication and loaded the w1_therm module, a new device (28-00000ba693e9, in my case) should be listed in the /sys/bus/w1/devices directory, as you can see in the screenshot below.
$ ls /sys/bus/w1/devices/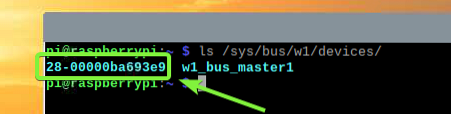
Navigate to the new directory, as follows:
$ cd /sys/bus/w1/devices/28-00000ba693e9
You should find a temperature file in the directory, as you can see in the screenshot below.
$ ls -lh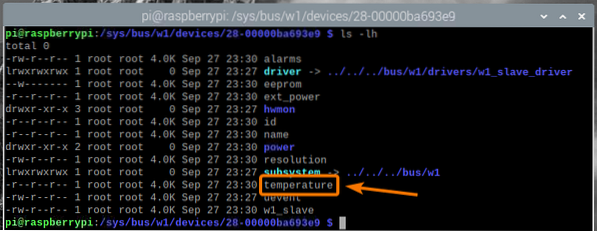
The temperature file is a plain text file. You can read the temperature data using the cat command, as follows:
$ cat temperature
As you can see, the temperature data is printed on the console. Here, 30375 means 30.375°C.

You can use a programming language, such as Python or Node.js, to parse this temperature data and use it on your app. I will show you how to do that in the next section of this article.
To parse the temperature data using a programming language, you will need the absolute path to the temperature file. You can find this using the readlink command, as follows:
$ readlink -f temperature
Create a Web App to Display Temperature Data:
In this section, you will learn how to parse the temperature data from the DS18B20 thermometer module and display it on a web app.
In this example, I will create an API, which will parse the temperature data from the DS18B20 thermometer module that can be accessed from the API. I will also create a web app that will fetch the temperature data from the API and display it nicely. I will use the Node.js programming language to do so. The codes are uploaded in my GitHub repository shovon8/ds18b20-raspberrypi-api. You may want to check it out if you are having difficulties copying-and-pasting codes from this article.
Node.js is not installed on Raspberry Pi OS by default. But, it is available in the official package repository of Raspberry Pi OS. You can easily install Node.js from the Raspberry Pi OS package repository.
First, update the APT package repository cache with the following command:
$ sudo apt update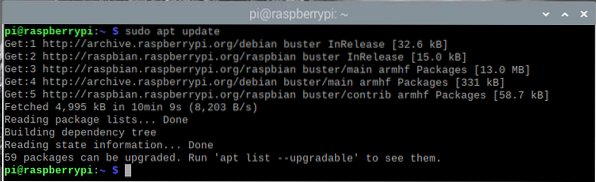
Next, install Node.js and NPM with the following command:
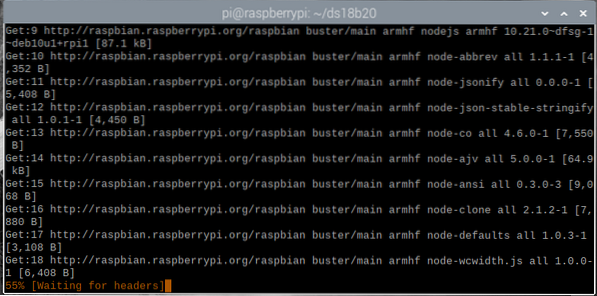
$ sudo apt install nodejs npm
To confirm the installation, press Y and then press
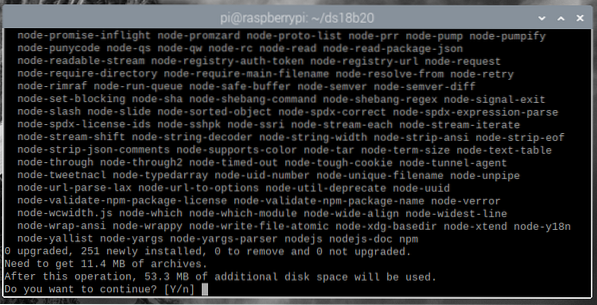
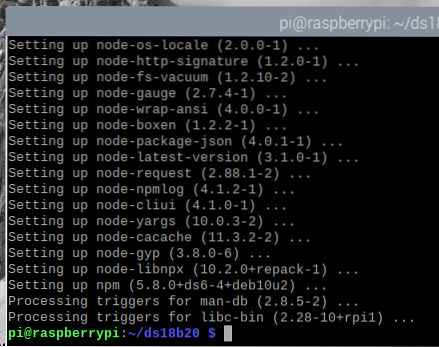
The APT package manager will download and install all the required packages. It may take a while to complete.
At this point, Node.js and NPM should be installed.
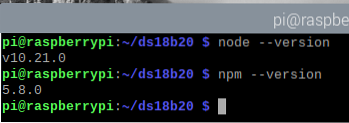
Once Node.js and NPM are installed, check whether the node and npm commands are available, as follows:
$ node --version$ npm --version
Upgrade NPM with the following command:
$ sudo npm install --global npm
NPM should be upgraded.
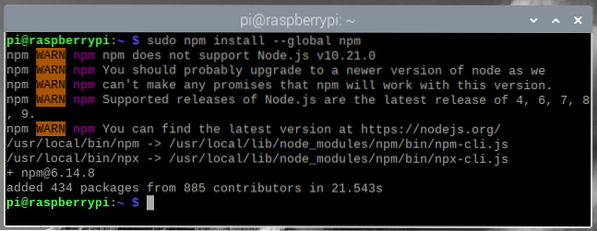
As you can see, NPM has been updated from version 5.8.0 to version 6.14.8.
$ node --version $ npm --version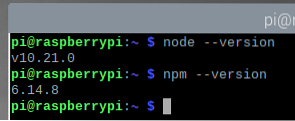
Now that Node.js and NPM are installed, create the new project directory ~/ds18b20, as follows:
$ mkdir -v ~/ds18b20
Navigate to the ~/ds18b20 directory, as follows:
$ cd ~/ds18b20
Create the empty package.json file with the following command:
$ npm init --y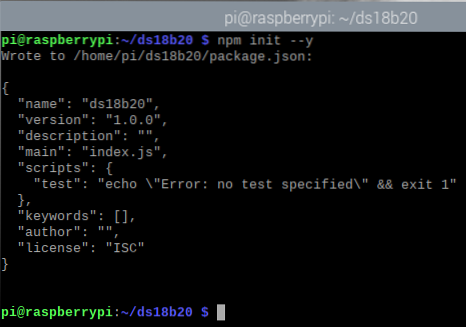
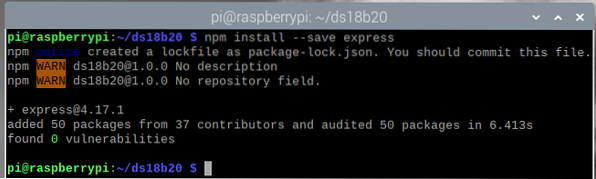
Install the Express.js library for the project with the following command:
$ npm install --save express
The Express.js library should now be installed.
Create the new file server.js in the project directory, as follows:
$ nano server.js
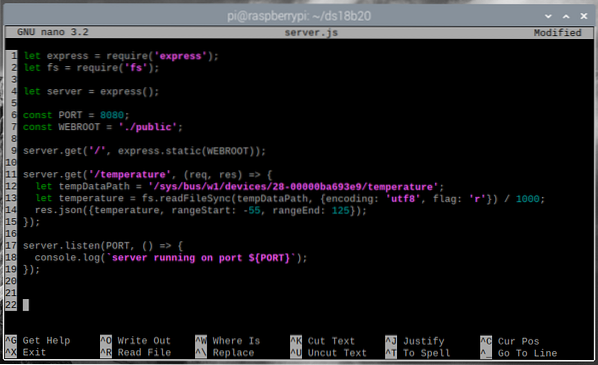
Enter the following lines of codes in the server.js file.
let express = require('express');let fs = require('fs');
let server = express();
const PORT = 8080;
const WEBROOT = './public';
server.get('/', express.static(WEBROOT));
server.get('/temperature', (req, res) =>
let tempDataPath = '/sys/bus/w1/devices/28-00000ba693e9/temperature';
let temperature = fs.readFileSync(tempDataPath, encoding: 'utf8', flag: 'r') / 1000;
res.json(temperature, rangeStart: -55, rangeEnd: 125);
);
server.listen(PORT, () =>
console.log('server running on port $PORT');
);
Once you are done, press
Here, line 1 imports express, and line 2 imports the fs module.

Line 4 initializes express.

Line 6 and 7 define the PORT and WEBROOT constant variables, respectively. The API and webserver will run on PORT (which is 8080, in this article), and the webserver will serve static contents from the WEBROOT (which is the public/ directory inside the project directory in this article).

Line 9 is used to configure express to serve static contents from the WEBROOT.

Lines 11-15 define the API endpoint /temperature, which will be used to get the temperature data into JSON format.
In line 12, the tempDataPath variable holds the absolute path to the temperature file of the DS18B20 digital thermometer module, shown in an earlier section of this article.
In line 13, the temperature data is read from the temperature file using the Node.js fs module, and the temperature data is stored in the temperature variable.
In line 14, the temperature data is printed in JSON format. The DS18B20 digital thermometer module can measure between the temperatures -55°C to 125°C. I have added that in the JSON output using the rangeStart and rangeEnd properties.

Finally, line 17-19 runs the API and webserver on PORT (which is 8080, in this article).

Create a public/ directory in the project directory, as follows:
$ mkdir -v public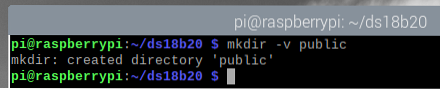
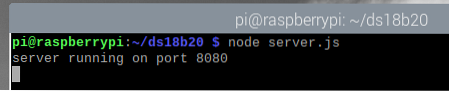
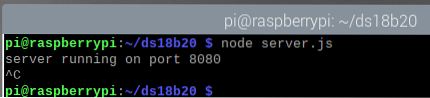
Run the server.js program with the following command:
$ node server.js
The server should be running on port 8080.
You can access the temperature data of the DS18B20 thermometer module from the /temperature endpoint of the API.
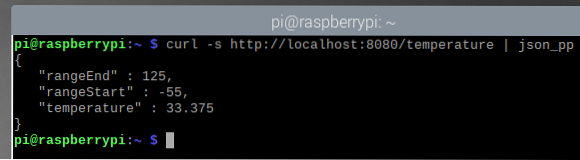
To test whether you can get the temperature data from the API, run curl, as follows:
$ curl -s http://localhost:8080/temperature | json_ppAs you can see, the temperature data is printed on the console in JSON format. So, the API is working.
Press
Now, I will create a webpage that will request the API server for the temperature data and display it nicely on the page. The temperature data will be updated every 5 seconds.
Create a new index.html file in the public/ directory of the project, as follows:
$ nano public/index.html
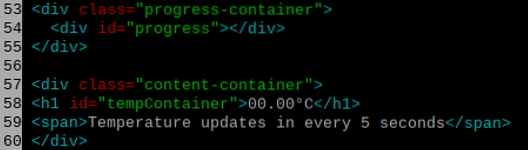
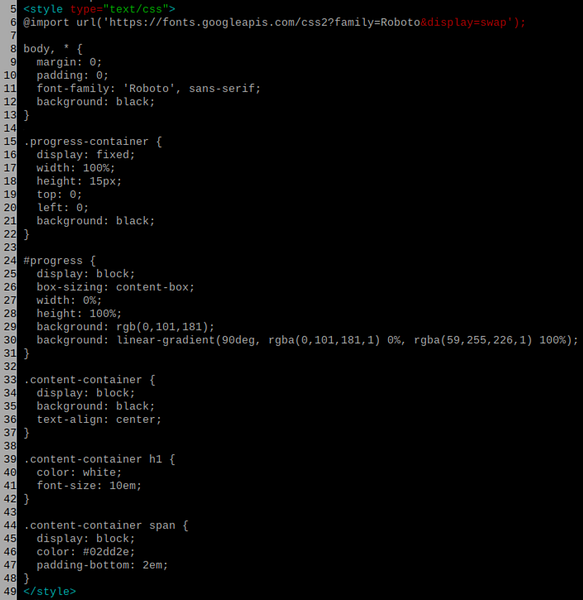
Enter the following lines of codes in the index.html file.
00.00°C
Temperature updates in every 5 seconds
Once you are done, press
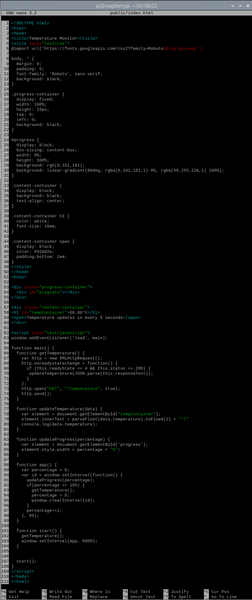
The HTML file index.html is easy to understand. It is the format in which the temperature data will be displayed in the web app.
Here, lines 53-55 are used to display a progress bar, and lines 57-60 are used to display the temperature.
Lines 5-49 are used to decorate the web app nicely using CSS (Cascading Style Sheet).
Lines 62-109 are used to make the web app functional. The JavaScript codes are used to animate the progress bar, fetch the temperature data from the API, and display the information.
Line 63 runs the main function once the web app is loaded in the browser.

The main function is very long. It spans from line 65 to line 108. Inside the main function, we have some other functions, such as getTemperature, updateTemperature, updateProgress, app, and start.
The updateProgress function, in lines 83-86, takes the percentage of progress as the input and updates the progress bar.

The updateTemperature function in lines 77-81 takes the temperature data as the input and updates the web app with the temperature data.

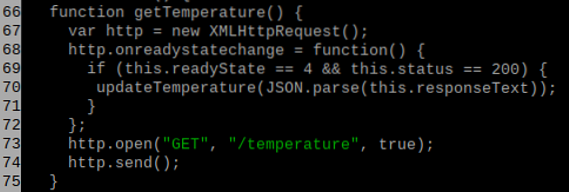
The getTemperature function in lines 66-75 makes a request to the /temperature endpoint of the API and gets the temperature data. Once the data is received, it calls the updateTemperature function with the data. The updateTemperature function then updates the web app with the new temperature data.
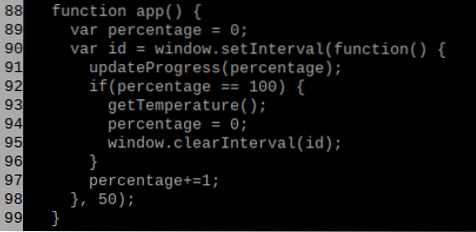
The app function, in lines 88-99, animates the progress bar and requests the temperature data from the API every 5 seconds.
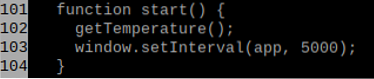
The start function, in lines 101-104, starts the web app.
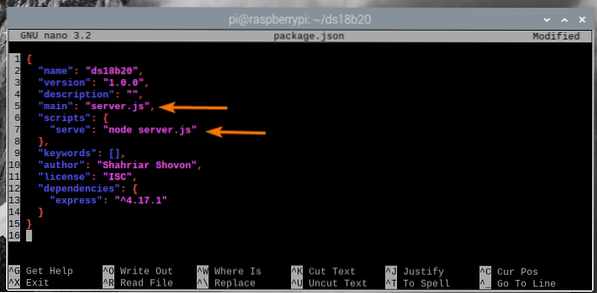
Open the package.json file with the nano text editor as follows:
$ nano package.json
Change main to server.js and add the new script serve in the scripts section, as marked in the screenshot below.
Once you are done, press
Now that everything is ready, run the web app and the API with the following command:
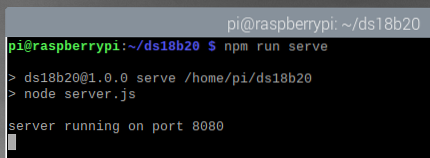
$ npm run serve
The server should be running on port 8080.
Now, open a web browser on your Raspberry Pi device and visit http://localhost:8080. The temperature data from the DS18B20 digital thermometer module should be displayed on your web browser, as you can see in the screenshot below.
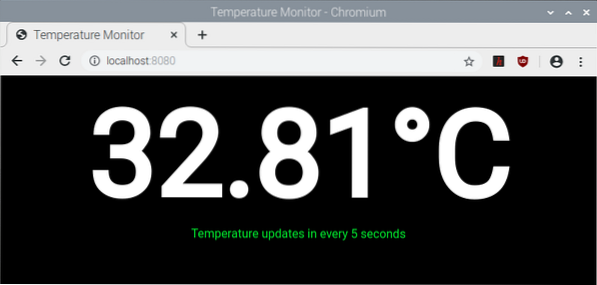
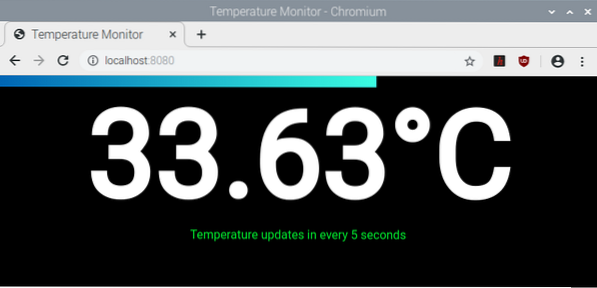
The temperature data should be updated every 5 seconds.
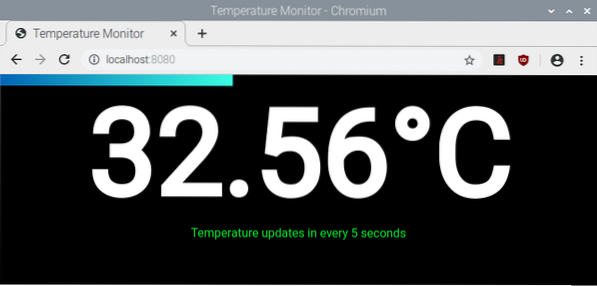
As you can see, the temperature is changing every 5 seconds.
If you want to access the web app from another computer on your network, you will need to know the IP address of your Raspberry Pi device.
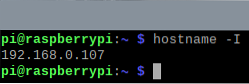
You can find the IP address of your Raspberry Pi device with the following command:
$ hostname -IAs you can see, the IP address of my Raspberry Pi device is 192.168.0.107. This will be different for you. So, make sure to replace the IP address from now on.
Once you know the IP address of your Raspberry Pi device, you should be able to access the web app from any computer on your network using a web browser. Just visit http://192.168.0.107:8080, and the web app should show the temperature data from the DS18B20 digital thermometer module.
Conclusion
In this article, you learned how to use the DS18B20 digital thermometer module in Raspberry Pi to measure the temperature. You also learned how to create a Node.js API for showing the temperature data in a web app, which accesses the temperature data from the API and displays it. This article should help you get started with Raspberry Pi temperature monitoring with the DS18B20 digital thermometer module and IoT with Raspberry Pi.


