In this article, I will show you how to install NextCloud on Ubuntu. So, let's get started.
Installing NextCloud On Ubuntu:
On Ubuntu 16.04 LTS and later, NextCloud is available as a snap package. So, it is very easy to install.
To install NextCloud snap package on Ubuntu 16.04 LTS and later, run the following command:
$ sudo snap install nextcloud
As you can see, NextCloud snap package is being installed.

NextCloud snap package is installed at this point.

Creating NextCloud Administrator User:
Now, you have to create an administrator user for managing NextCloud. To do that, you have to access NextCloud from a web browser.
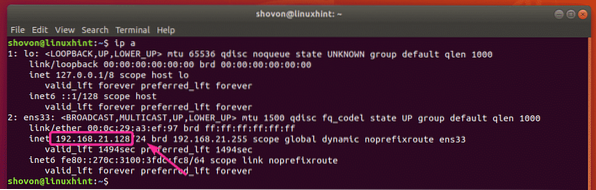
First, find out the IP address of your NextCloud server with the following command:
$ ip aAs you can see, the IP address of my NextCloud server is 192.168.21.128. It will be different for you. Make sure you replace it with yours from now on.
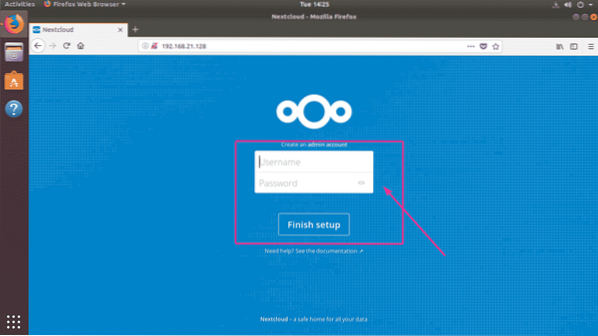
Now, from any web browser, visit the IP address 192.168.21.128. Now, type in your Administrator username and password and click on Finish setup.
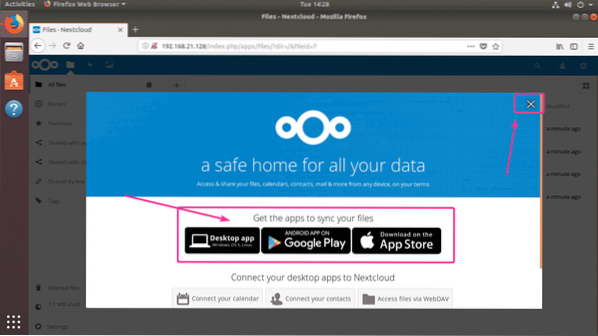
As you can see, you're logged in. As you're using NextCloud for the first time, you are prompted to download the Next Cloud app for your desktop or smart phone. If you don't wish to download the NextCloud app right now, just click on the x button at the top right corner.
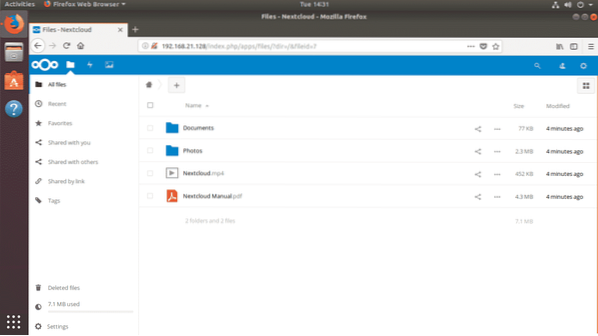
This is the NextCloud dashboard. Now, you can manage your files from the web browser using NextCloud.
Using Dedicated Storage for NextCloud:
By default, NextCloud stores files in your root partition where the Ubuntu operating system is installed. Most of the time, this is not what you want. Using a dedicated hard drive or SSD is always better.
In this section, I will show you how to use a dedicated hard drive or SSD as a data drive for NextCloud. So, let's get started.
Let's say, you have a dedicated hard drive on your Ubuntu NextCloud server which is recognized as /dev/sdb. You should use the whole hard drive for NextCloud for simplicity.
First, open the hard drive /dev/sdb with fdisk as follows:
$ sudo fdisk /dev/sdb
/dev/sdb should be opened with fdisk partitioning utility. Now, press o and then press
NOTE: This will remove all your partitions along with data from the hard drive.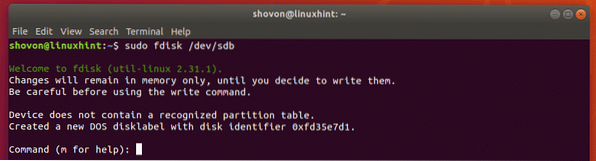
As you can see, a new partition table is created. Now, press n and then press

Now, press

Now, press

Press

Press

A new partition should be created. Now, press w and press

The changes should be saved.

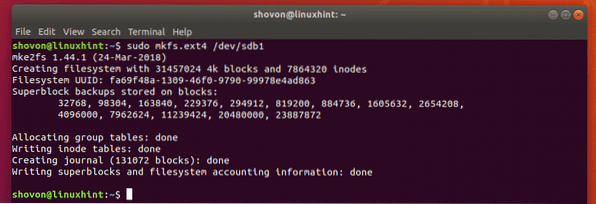
Now, format the partition /dev/sdb1 with the following command:
$ sudo mkfs.ext4 /dev/sdb1
The partition should be formatted.
Now, run the following command to mount /dev/sdb1 partition to /mnt mount point:
$ sudo mount /dev/sdb1 /mnt
Now, copy everything (including the dot/hidden files) from the /var/snap/nextcloud/common/nextcloud/data directory to /mnt directory with the following command:
$ sudo cp -rT /var/snap/nextcloud/common/nextcloud/data /mnt
Now, unmount the /dev/sdb1 partition from the /mnt mount point with the following command:
$ sudo umount /dev/sdb1
Now, you will have to add an entry for the /dev/sdb1 in your /etc/fstab file, so it will be mounted automatically on the /var/snap/nextcloud/common/nextcloud/data mount point on system boot.
First, run the following command to find out the UUID of your /dev/sdb1 partition:
$ sudo blkid /dev/sdb1As you can see, the UUID in my case is fa69f48a-1309-46f0-9790-99978e4ad863
It will be different for you. So, replace it with yours from now on.

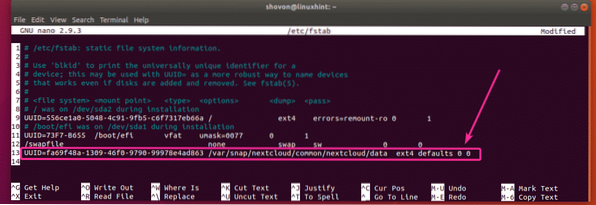
Now, open the /etc/fstab file with the following command:
$ sudo nano /etc/fstab
Now, add the line as marked in the screenshot below at the end of the /etc/fstab file. Once you're done, press
Now, reboot your NextCloud server with the following command:
$ sudo reboot
Once your computer boots, run the following command to check whether the /dev/sdb1 partition is mounted to the correct location.
$ sudo df -h | grep nextcloudAs you can see, /dev/sdb1 is mounted in the correct location. Only 70MB of it is used.

As you can see I uploaded some files to NextCloud.
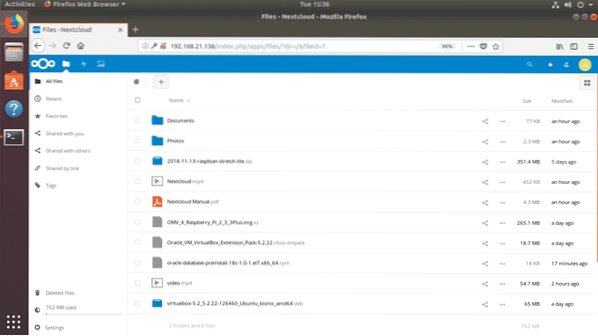
As you can see, the data is saved on the hard drive that I just mounted. Now, 826 MB is used. It was 70MB before I uploaded these new files. So, it worked.

That's how you install NextCloud on Ubuntu. Thanks for reading this article.


