Install IntelliJ IDEA Community Edition Java IDE on Ubuntu 17.10
JetBrains IntelliJ IDEA is a great IDE (Integrated Development Environment) for Java developers. It is available as a free version known as IntelliJ IDEA Community Edition, and paid version known as IntelliJ IDEA Professional Edition. In this article, I will show you how to install IntelliJ IDEA Community Edition on Ubuntu 17.10 Artful Aardvark. Let's get started.
Downloading IntelliJ IDEA Community Edition:
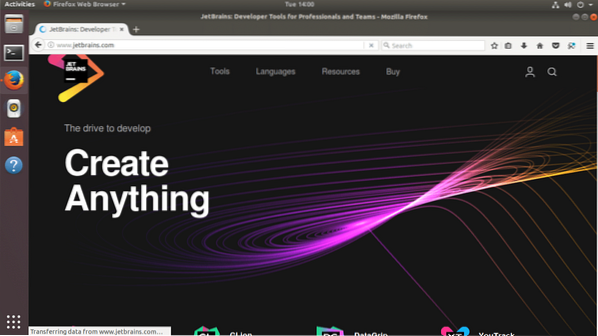
First go to the official website of JetBrains at https://www.jetbrains.com/ and you should see the following page.
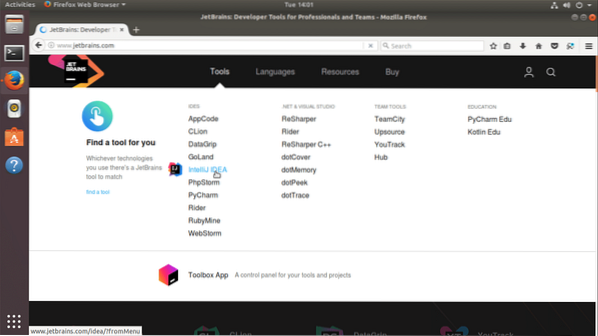
Now hover over “Tools” from the menu as shown in the screenshot below. All the JetBrains products should show up.

Now from the IDES section, click on 'IntelliJ IDEA' as shown in the screenshot below.
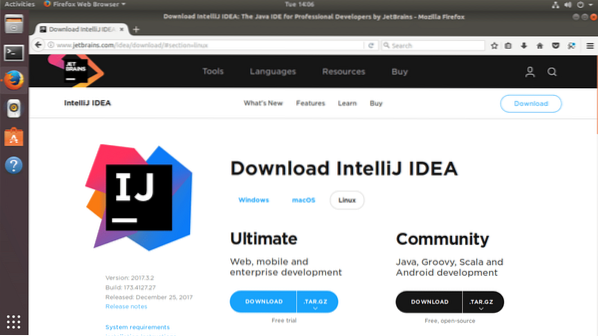
You should see the following page. This is the product page of IntelliJ IDEA.

Now click on the black “Download” button as shown on the screenshot below.

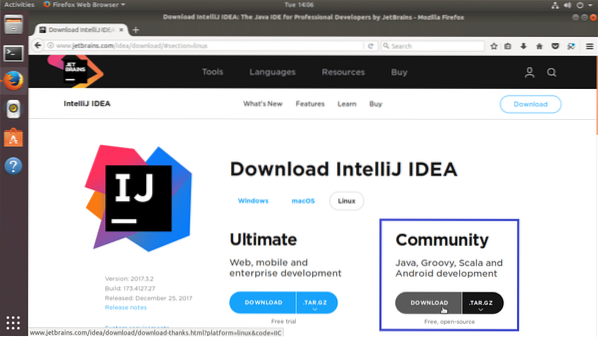
You should see the following page.
Click on “Download” from the Community section as marked in the screenshot below.
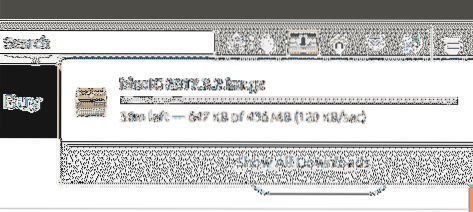
Your download should begin.

If it doesn't start within few seconds, click on the “direct link” as marked orange in the screenshot below.

Your browser should prompt you to save the file. Click on “Save File” and click on “OK”.
Your download should begin.
Installing IntelliJ IDEA Community Edition:
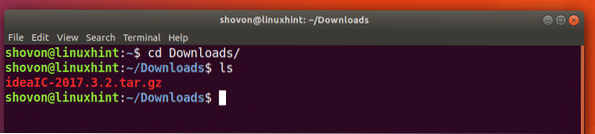
Once the download is complete, go to the directory where you downloaded IntelliJ IDEA. In my case it is the 'Downloads' directory in my user's home directory.
Run the following command to navigate to the directory where you downloaded IntelliJ IDEA.
$ cd ~/DownloadsYou can see that; the downloaded file is 'ideaIC-2017.3.2.tar.gz'. It is a compressed tar archive.
Now you have to extract the compressed tar archive to a location of your choice. I will extract it on '/opt' directory.
Run the following command to extract the tar archive to your desired location:
$ sudo tar xvzf idealIC-2017.3.2.tar.gz -C PATH_WHERE_YOU_WISH_TO_INSTALL
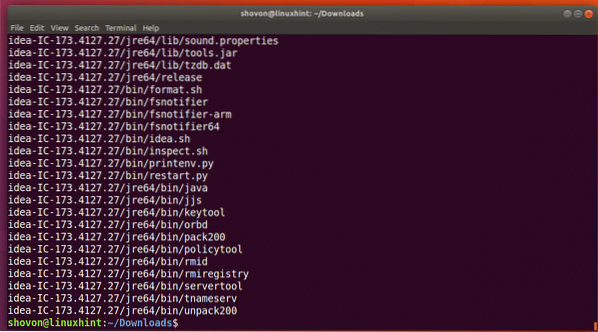
The tar file should be extracted.
Before you start IntelliJ IDEA, make sure you have Java Development Kit or JDK installed. Otherwise you won't be able to run or compile Java codes. If you do not have it installed, you can install OpenJDK 8 with the following command:
$ sudo apt-get install openjdk-8-jdk
Press 'y' and press
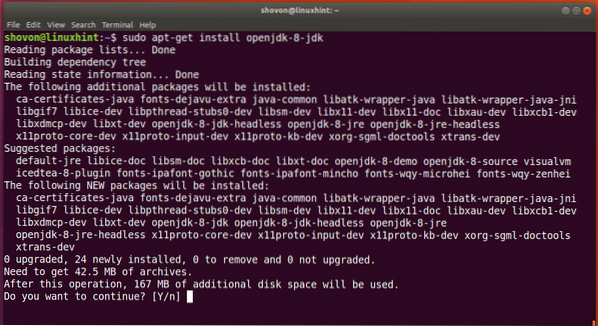
OpenJDK 8 should be installed.
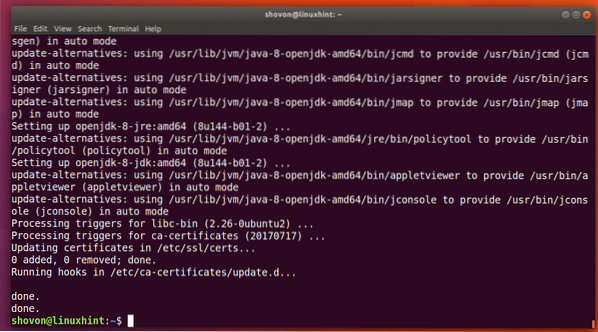
Now run the following command to check whether JDK is working correctly.
$ javac -versionIf you see no errors, then everything is working correctly. You should see something like this

If you run the following command you should see a directory 'idea-IC-*'. This is where I installed IntelliJ IDEA.
$ ls /optNote the name of the folder, as you need it for the rest of this article.

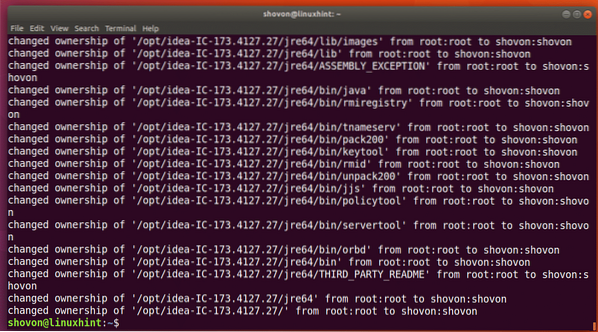
Now change the owner of all the files in the directory where you installed IntelliJ IDEA with the following command:
$ sudo chown -Rfv YOUR_USER:YOUR_GROUP /opt/idea-IC-173.4127.27For me the USER and GROUP is 'shovon'

The owner of all the files and directories should be changed.
Now run IntelliJ IDEA with the following command:
$ /opt/idea-IC-173.4127.27/bin/idea.sh
You should see the following window. Just click on “OK”.
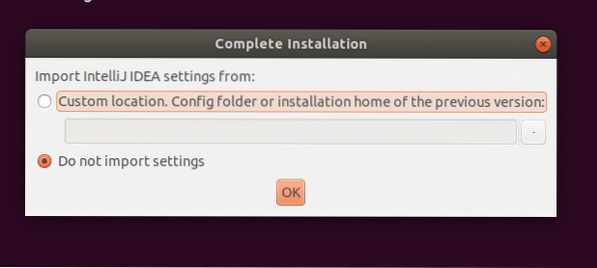
Accept the License agreement by clicking on “Accept”.

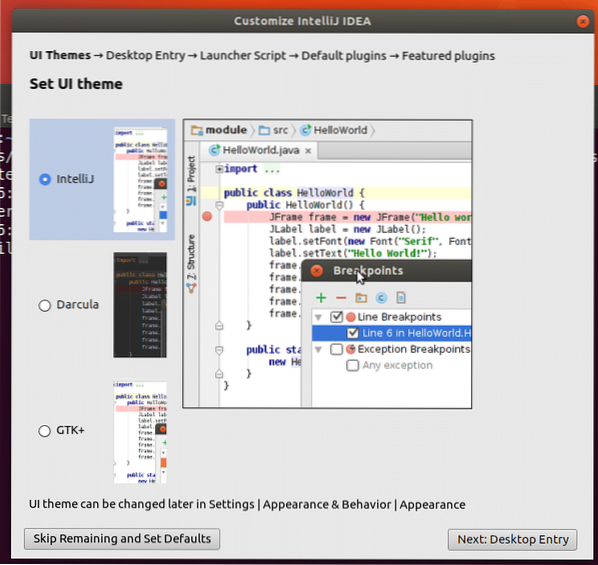
Now choose a UI theme. Once you're done click on “Next: Desktop Entry”
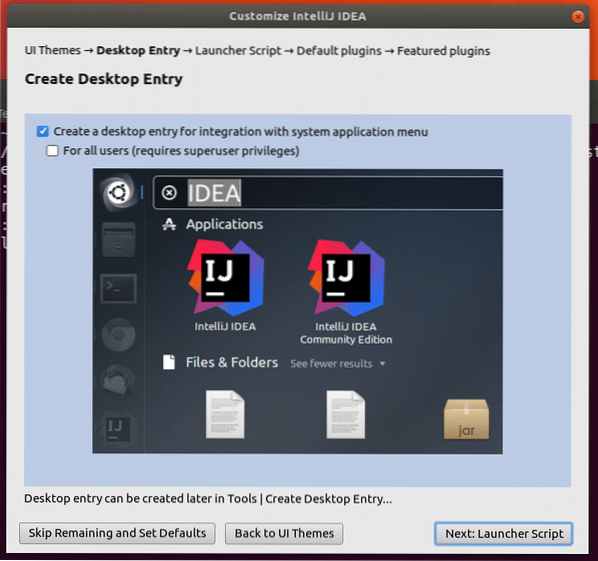
Now create a desktop shortcut, just click on “Next: Launcher Script”.
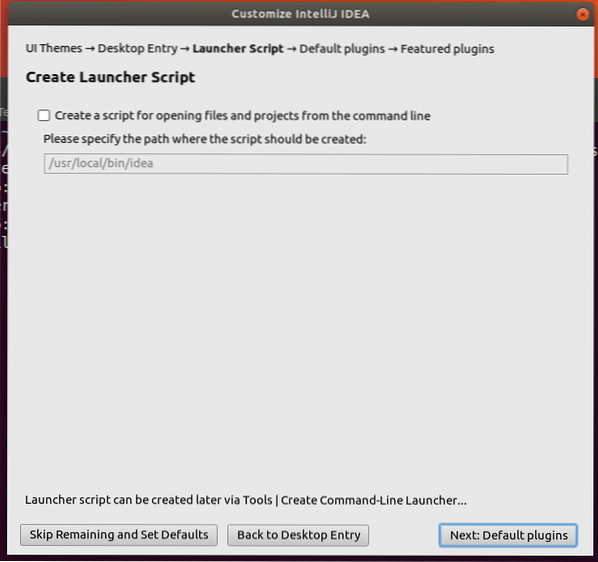
Now click on “Next: Default plugins”.
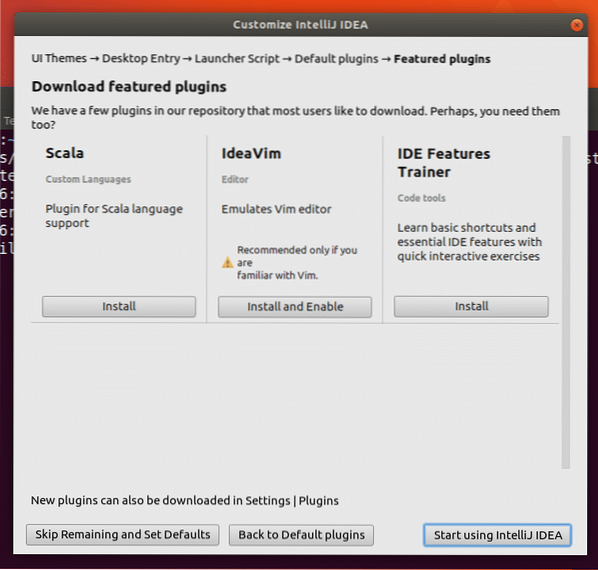
Click on “Next: Featured plugins”.

Click on “Start using IntelliJ IDEA”.
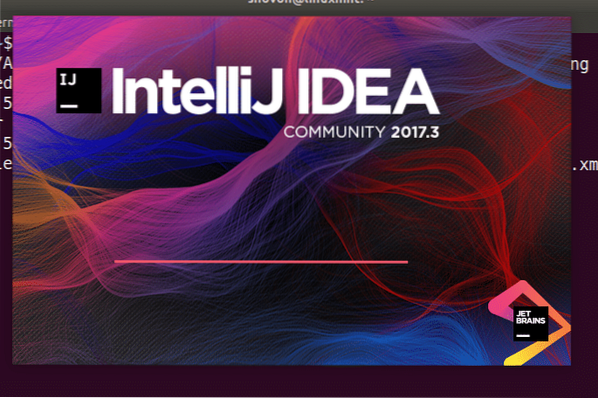
You should see the IntelliJ IDEA loading screen.
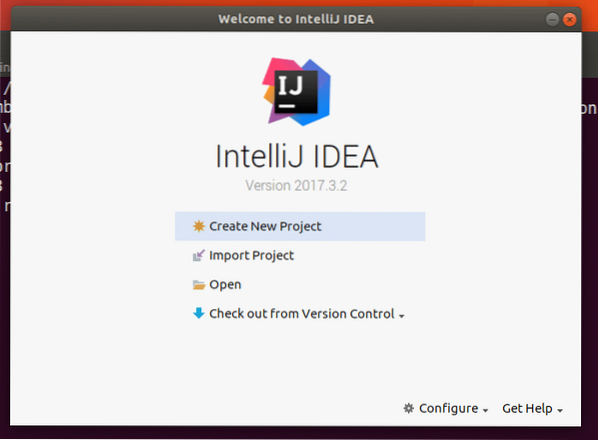
IntelliJ IDEA should start. Now you can click on “Create New Project” to create a new project.
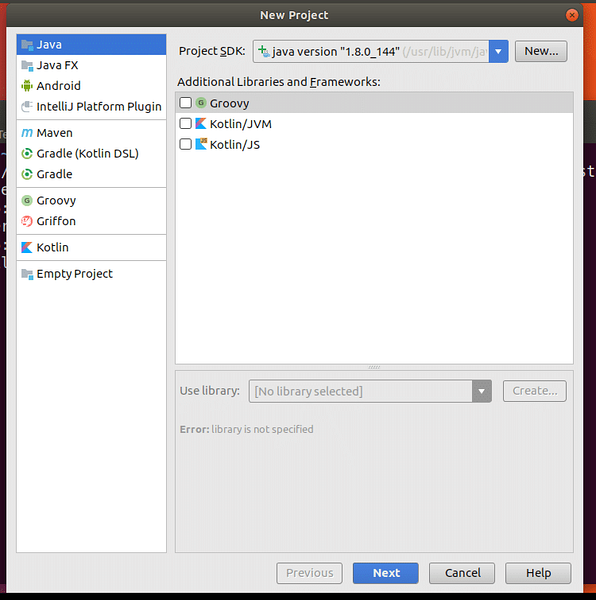
Once you click on “Create a new project”, you should see the following window. Choose the type of project you want to create and click on “Next”. I will create a simple Java project.
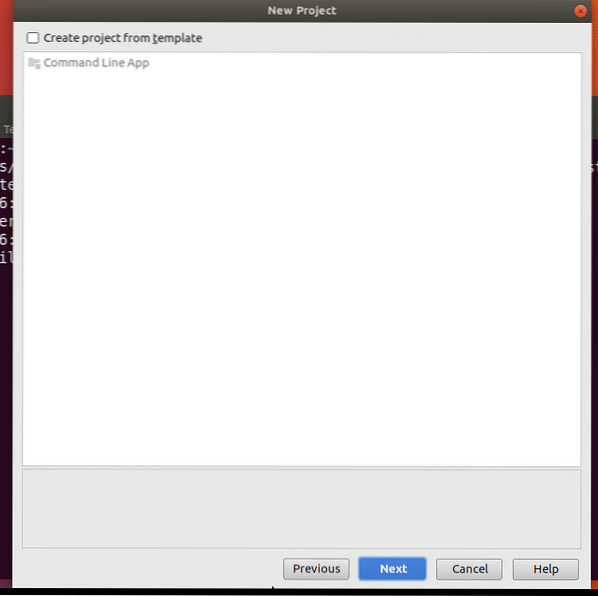
You may create a project from templates. Click on “Next” to continue.
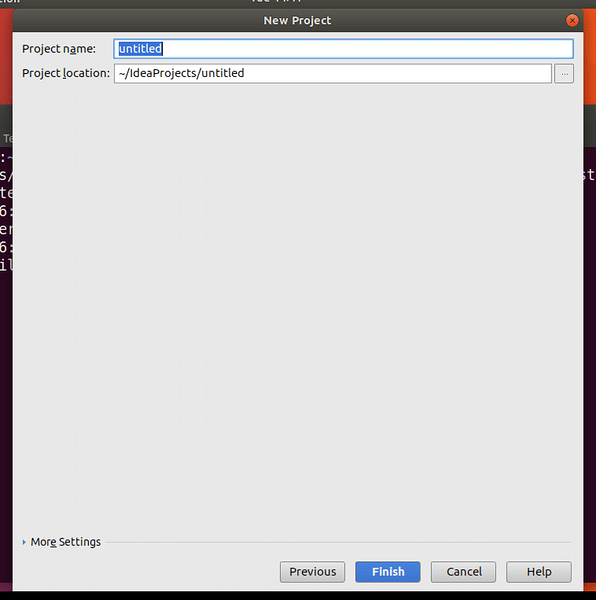
Now enter a project name and location. Then click on “Finish”.
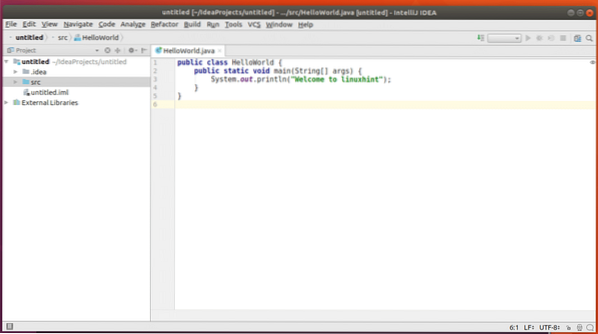
This is the main window of IntelliJ IDEA IDE. Close the tip of the day window by clicking on “Close”.

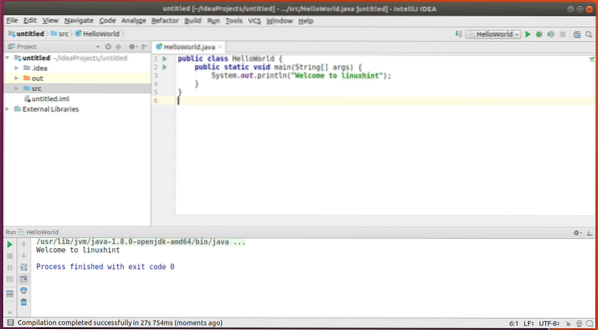
Now I am going to write a simple Java hello world program and run it just to see that everything is working.
You can see that “Welcome to linuxhint” is printed on the console when I ran this code. So everything is working perfectly.
That's how you install and configure IntelliJ IDEA Community Edition Java IDE on Ubuntu 17.10 Artful Aardvark. Thanks for reading this article.


