Adding Additional Repositories
Some of the libraries that Maya depends on are not available in the official package repository of Ubuntu 18.04. But it is available in the official package repository of Ubuntu 16.04. So you have to add it to your Ubuntu 18.04 with the following command:
$ echo 'deb http://archive.ubuntu.com/ubuntu xenial main restricted universe multiverse' |sudo tee /etc/apt/sources.list.d/xenial.list

Now update the package repository cache with the following command:
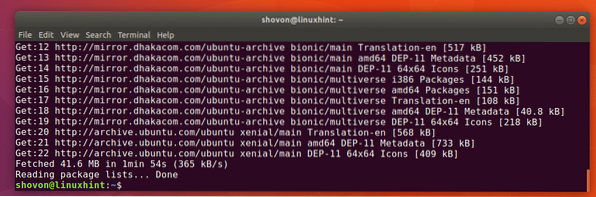
$ sudo apt-get update
The package repository cache should be updated.
Installing Dependencies
Maya needs some development package in order to work. Install them with the following command:
$ sudo apt-get install -y libtbb-dev libtiff5-dev libssl-dev libpng12-dev libssl1.0.0 gcclibjpeg62


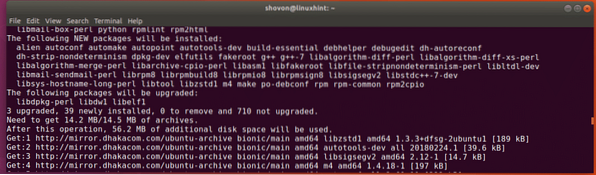
To install Maya, you must convert some rpm to deb file. Alien can be used to do that. Run the following command to install Alien:
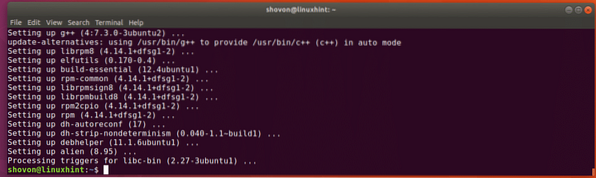
$ sudo apt-get install -y alien elfutils
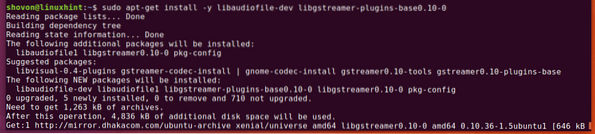
Now install the required multimedia libraries with the following command:
$ sudo apt-get install -y libaudiofile-dev libgstreamer-plugins-base0.10-0
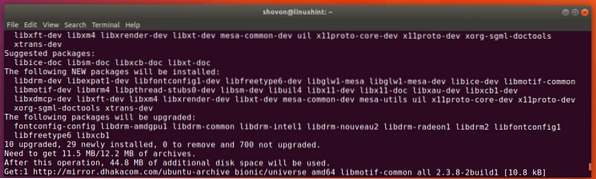
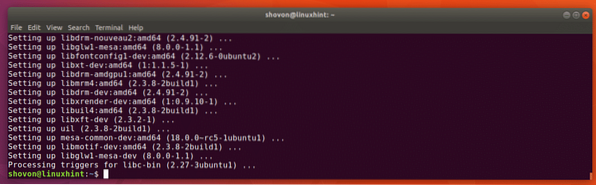
Install the required graphics libraries with the following command:
$ sudo apt-get install -y libglw1-mesa libglw1-mesa-dev mesa-utils
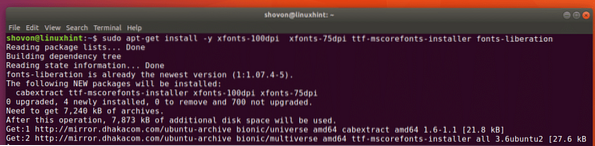
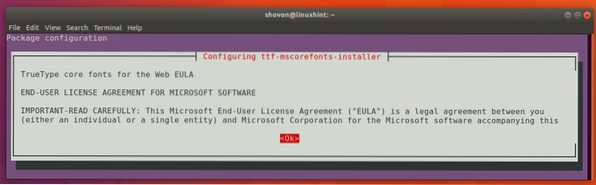
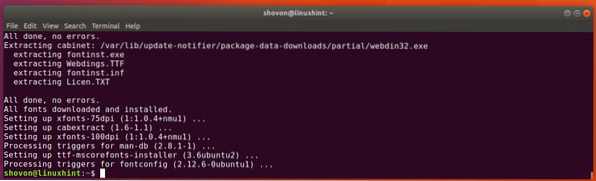
Install the required fonts with the following command:
$ sudo apt-get install -y xfonts-100dpi xfonts-75dpi ttf-mscorefonts-installer fonts-liberation

Some of the other packages required by Maya can be installed with the following command:
$ sudo apt-get install -y csh tcsh libfam0 libfam-dev xfstt

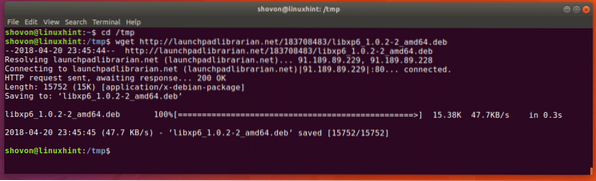
Download and install libxp6 with the following commands:
$ cd /tmp$ wget http://launchpadlibrarian.net/183708483/libxp6_1.0.2-2_amd64.deb
Downloading and Configuring Maya Installer
Navigate to ~/Downloads directory with the following command:
$ cd ~/Downloads
Now download Maya installer with the following command:
$ wget http://edutrial.autodesk.com/NET17SWDLD/2017/MAYA/ESD/Autodesk_Maya_2017_EN_JP_ZH_Linux_64bit.tgz

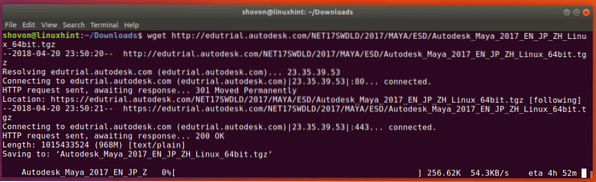
Once the download is completed, you should see Autodesk_Maya_2017_EN_JP_ZH_Linux_64bit.tgz file in the ~/Downloads directory.

Now create a new directory maya2017Installer/ with the following command:
$ mkdir maya2017Installer
Now run the following command to extract the Maya installer to the maya2017Installer/ directory:
$ tar xvzf Autodesk_Maya_2017_EN_JP_ZH_Linux_64bit.tgz -C maya2017Installer
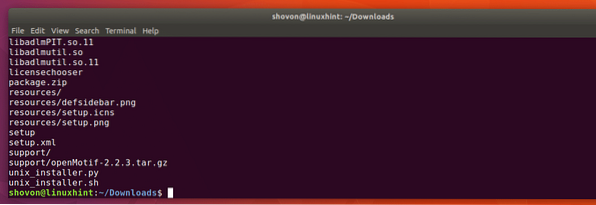
Now navigate to the maya2017Installer/ directory with the following command:
$ cd maya2017Installer/
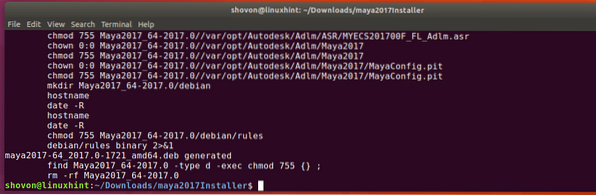
The Maya installer packages are all rpm files. Run the following command to convert them to deb file:
$ sudo alien -cv *.rpm
It should take a very long time to complete. So sit back and relax.

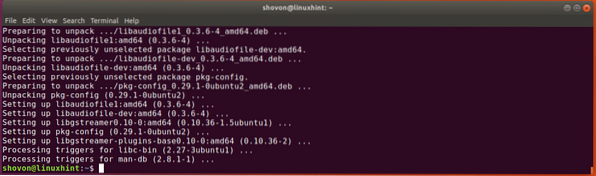
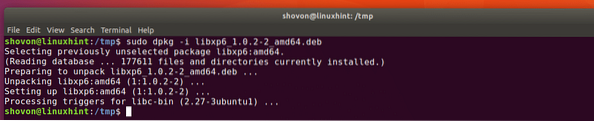
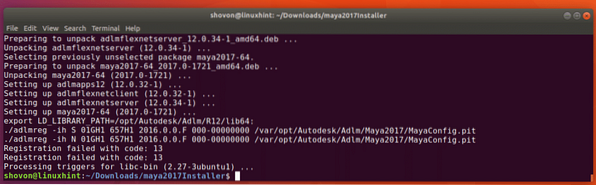
Now install the deb files with the following command:
$ sudo dpkg -i *.deb
Now run the following commands to create an executable that always returns true:
$ echo "int main (void) return 0;" > mayainstall.c


Linking Library Files
Now you have to make some symbolic link of library files that Maya 2017 depends on, otherwise Maya 2017 won't work. Run the following command to do that:
$ sudo ln -s /usr/lib/x86_64-linux-gnu/libtbb.so /usr/lib/x86_64-linux-gnu/libtbb_preview.so.2$ sudo ln -s /usr/lib/x86_64-linux-gnu/libtiff.so /usr/lib/libtiff.so.3
$ sudo ln -s /usr/lib/x86_64-linux-gnu/libssl.so /usr/autodesk/maya2017/lib/libssl.so.10
$ sudo ln -s /usr/lib/x86_64-linux-gnu/libcrypto.so /usr/autodesk/maya2017/lib/libcrypto.so.10

Starting Maya Installer
Run the following command to make the Maya installer executable:
$ chmod +x setup
Now start Maya 2017 installer with the following command:
$ sudo ./setup
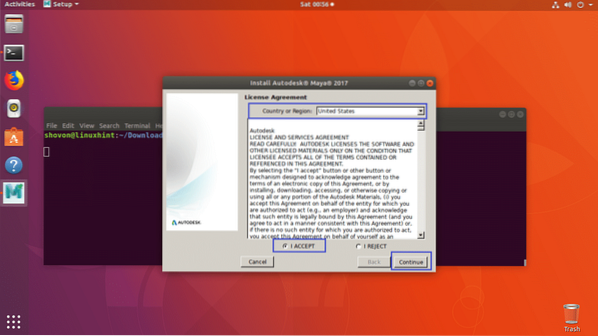
The Maya installer should start. Click on Continue.

Select your Country or Region, then click on I ACCEPT and then click on Continue.
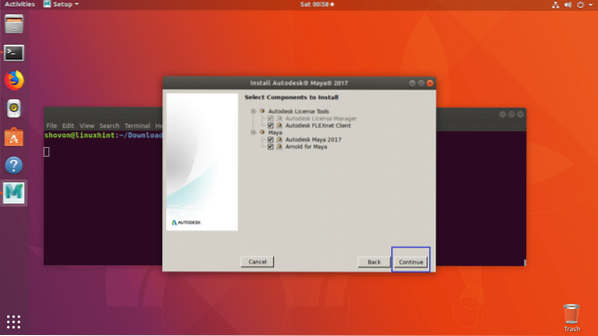
Now enter your Maya 2017 serial number and product key and then click on Continue. You should be able to find it on your account in the official website of Autodesk Maya.

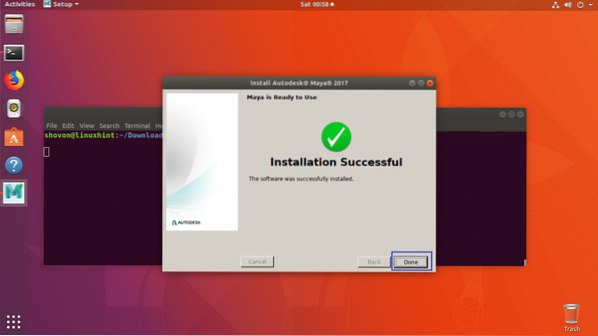
Click on Continue.
Now click on Done.
Now we have to make some additional directories for Maya.
Make /usr/tmp with the following command:
$ sudo mkdir -p /usr/tmp
Change the permission of /usr/tmp:
$ sudo chmod 777 /usr/tmp
Now make some directories for Maya configuration file with the following command:
$ mkdir -p ~/maya/2017 ~/maya/2017/syncColor/Shared
Run the following command to fix segmentation fault errors:
$ echo "MAYA_DISABLE_CIP=1" >> ~/maya/2017/Maya.en
Run the following command to fix color management errors:
$ echo "LC_ALL=C" >> ~/maya/2017/Maya.env
Now change the permission of everything in the ~/maya directory with the following command:
$ chmod -Rfv 777 ~/maya

Configuring Fonts
Now run the following commands to configure the fonts for Maya:
$ xset +fp /usr/share/fonts/X11/100dpi/$ xset +fp /usr/share/fonts/X11/75dpi/
$ xset fp rehash

Fix Maya Camera Modifier Key
Now fix the Maya camera modified key with the following command:
$ gsettings set org.gnome.desktop.wm.preferences mouse-button-modifier "
Restoring rpm Utilities
Run the following command to restore rpm utilities:
$ sudo rm -v /usr/bin/rpm$ sudo mv -v /usr/bin/rpm_backup /usr/bin/rpm
Running Maya
Now that everything is configured, you can run Maya 2017 with the following command:
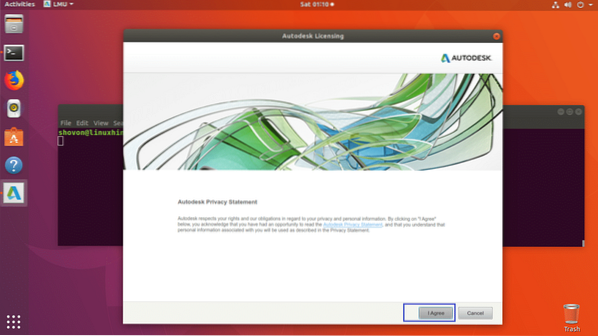
$ /usr/autodesk/maya2017/bin/maya.bin
Click on I Agree.
Maya 2017 should be loading as you can see in the screenshot below.

This is the Maya 2017 main window.

That's how you install Maya 2017 on Ubuntu 18.04. Thanks for reading this article.


