.NET core is not available in the official package repository of Ubuntu 18.04 LTS. But, you can easily add the official Microsoft package repository on Ubuntu 18.04 LTS and install .NET Core from there using the APT package manager.
In this article, I am going to show you how to install and get started with .NET Core on Ubuntu 18.04 LTS. So, let's get started.
Prerequisites:
The official Microsoft package repository of uses HTTPS to deliver the DEB packages for Ubuntu. So, you must have apt-transport-https package installed on your Ubuntu 18.04 LTS machine.
First, update the APT package repository cache with the following command:
$ sudo apt update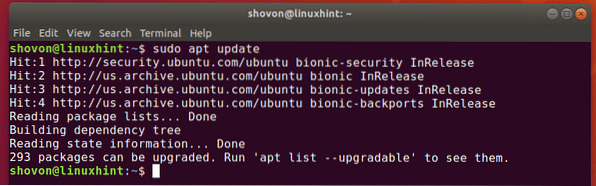
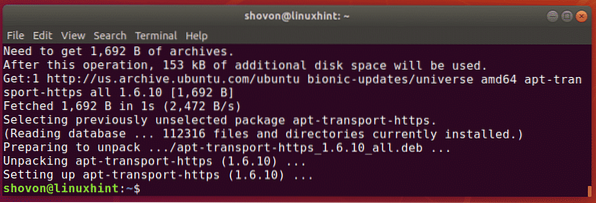
Now, install the apt-transport-https package with the following command:
$ sudo apt install -y apt-transport-https
The apt-transport-https package should be installed.
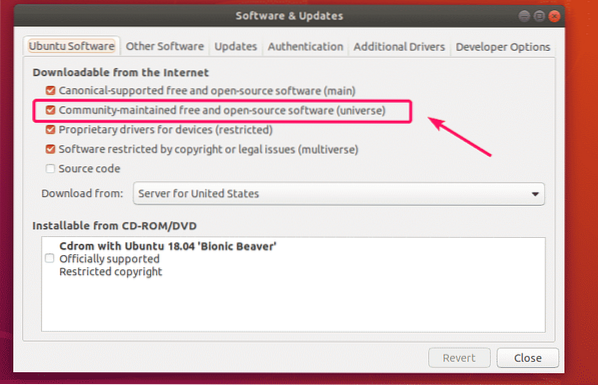
.NET Core also relies on some packages from the universe package repository. So, make sure the universe package repository is enabled.
You can check whether the universe package repository is enabled from the Software & Updates app if you're using Ubuntu 18.04 LTS Desktop version. Just make sure Community-maintained free and open-source software (universe) is checked.
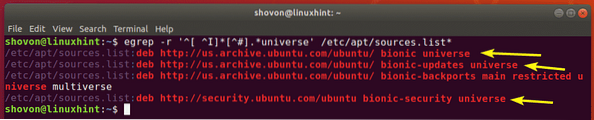
If you're using Ubuntu 18.04 LTS server version, then you can run the following command to check whether the universe repository is enabled.
$ egrep -r '^[ ^I]*[^#].*universe' /etc/apt/sources.list*As you can see, universe repository is enabled on my Ubuntu 18.04 LTS machine.
If in any case you don't have the universe package repository enabled and you want to enable it from the command line, then, run the following command:
$ sudo add-apt-repository universe
Adding Microsoft Package Repository:
Now, you have to add the Microsoft package repository on your Ubuntu 18.04 LTS machine. Microsoft provides a DEB package file that you can download and install to easily enable the Microsoft package repository.
First, navigate to the /tmp directory with the following command:
$ cd /tmp
Now, download the Microsoft package repository installer DEB package file with the following command:
$ wget -q https://packages.microsoft.com/config/ubuntu/18.04/packages-microsoft-prod.deb

Now, install the DEB package file that you just downloaded with the following command:
$ sudo apt-get install ./packages-microsoft-prod.deb
The DEB package should be installed.

Finally, update the APT package repository cache for the changes to take effect as follows:
$ sudo apt update
As you can see, the Microsoft package repositories are in the list. So, it's enabled.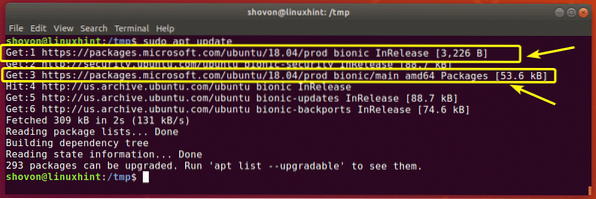
Installing .NET Core on Ubuntu 18.04 LTS:
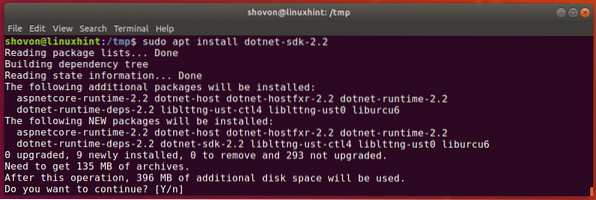
Now, you can easily install the .NET Core SDK on your Ubuntu 18.04 LTS machine with the following command:
$ sudo apt install dotnet-sdk-2.2
Now, press y and then press
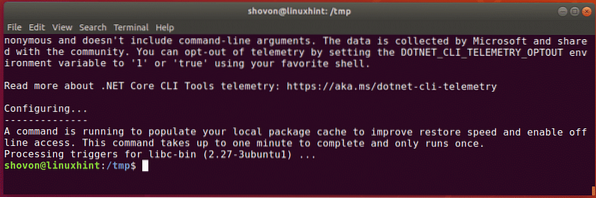
.NET Core SDK should be installed.
Now, to check whether the .NET Core SDK is working correctly, run the following command:
$ dotnet --versionAs you can see, the version information is printed on the screen. So, it's working.

Writing and Running Your First .NET Program:
In this section, I am going to show you how to write and run your first .NET program. I will write a very simple program that will print something on the screen.
First, navigate to a directory where you want to save your .NET project files. It can be any directory.
I am navigating to my ~/Projects/ directory.
$ cd ~/Projects
Now, create a new .NET project helloWorld with the following command:
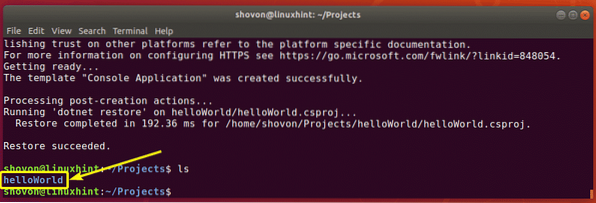
$ dotnet new console -o helloWorldNOTE: Here, helloWorld is the name of the project. You can change it to anything you want.

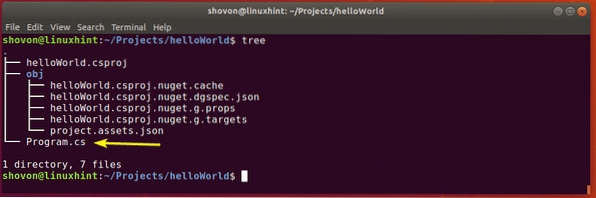
A new project should be created. A dedicated project directory should also be created as you can see in the screenshot below.
Now, navigate to the project directory with the following command:
$ cd helloWorld/
In the project directory, you will have a Program.cs file. This is the main source code file… NET Core uses C# (C-Sharp) programming language. So, you have to put your C# code in the Program.cs file.
By default, a simple program is written in the Program.cs file. The contents of the Program.cs file is shown in the screenshot below.
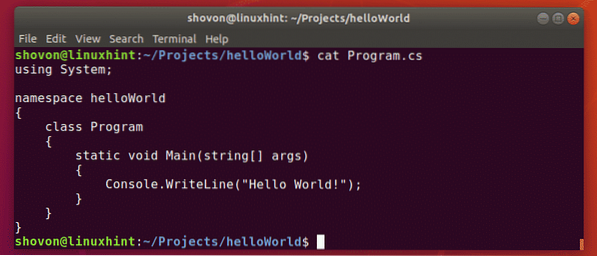
Here, the System library is imported. Then, a namespace helloWorld is created for the program. C# is an Object-Oriented programming language. So, even a simple program as this needs to have a class of its own. Here, a Program class is created. Notice that the class name is the same as the filename.
The Program class has a Main method. It takes an array of string as an argument. The Main method has void as the return type, so, it returns nothing.
Then, Console.WriteLine() function is used to print the text “Hello World” on the screen.
Now, let's run the program to see if we really get the output we are expecting.
Now, run your .NET project as follows:
$ dotnet run
As you can see, the expected text is printed on the screen.

So, that's how you install and run .NET projects on Ubuntu 18.04 LTS. Thanks for reading this article.


