This article will show you how to enable rsync on your Synology NAS and sync files from your computer to your Synology NAS. So, let's get started.
Enable SSH Service on Synology NAS:
Before you can enable rsync on your Synology NAS, you need to enable the SSH service on your Synology NAS because rsync uses the SSH protocol for syncing files between your computer and the Synology NAS.
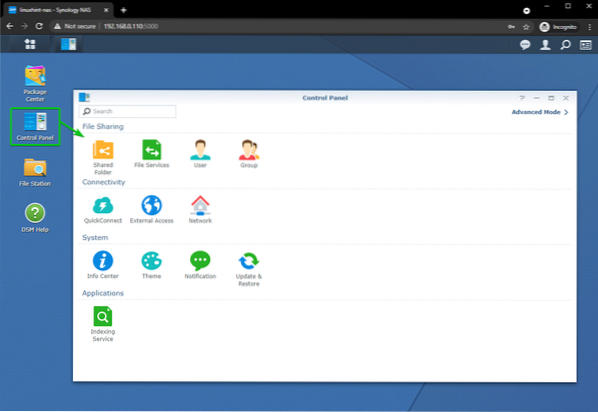
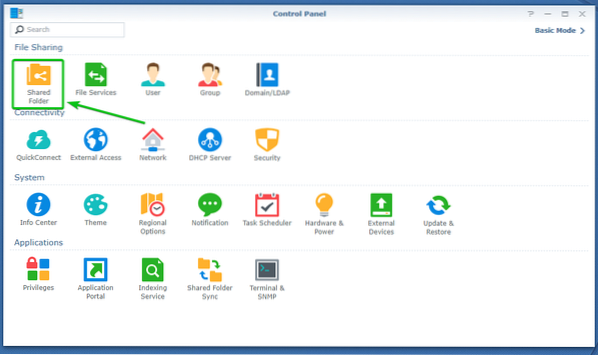
To enable the SSH service on your Synology NAS, open the Control Panel app from your Synology NAS DSM web GUI.
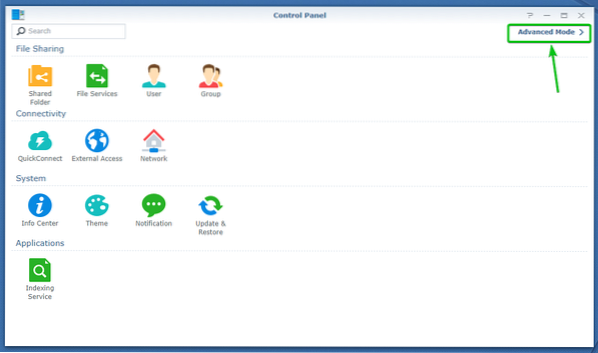
Click on Advanced Mode from the Control Panel app's top-right corner, as marked in the screenshot below.
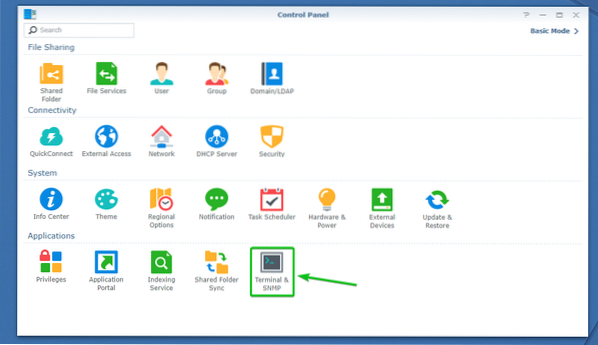
Now, click on the Terminal & SNMP icon as marked in the screenshot below.
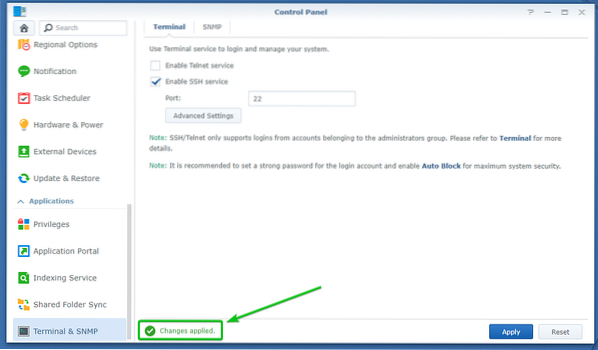
The Terminal & SNMP section of the Control Panel app checks the Enable SSH service checkbox and clicks on Apply as marked in the screenshot below.

The SSH service should be enabled on your Synology NAS.
Enable rsync File Service on Synology NAS:
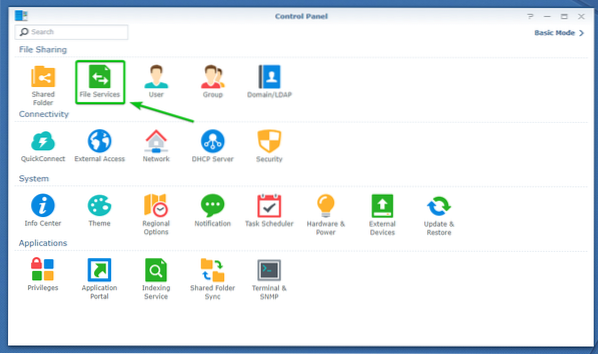
To enable the rsync file service on your Synology NAS, click on the File Services icon from the Control Panel app.
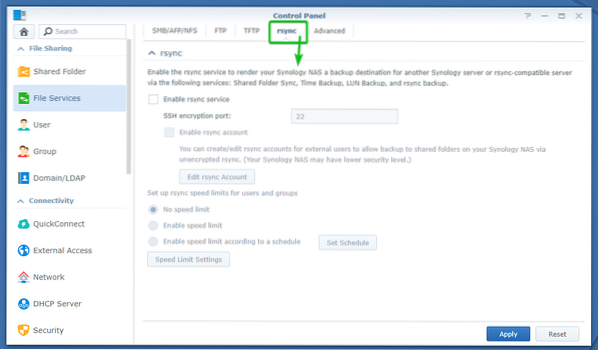
Now, navigate to the rsync tab of the File Services section of the Control Panel app as marked in the screenshot below.
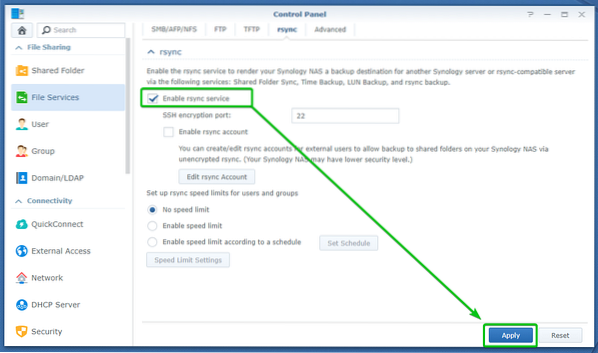
Check the Enable rsync service checkbox and click on Apply as marked in the screenshot below.
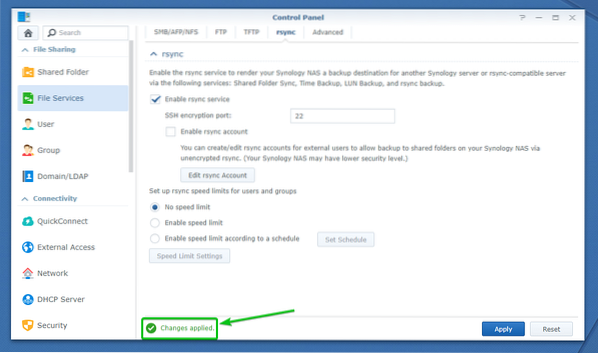
The rsync file service should be enabled.
Configuring a File Share on Synology NAS for rsync:
Once you enable the rsync file service, a new shared folder should be created. To sync files in the newly created shared folder, you have to configure it depending on your needs.
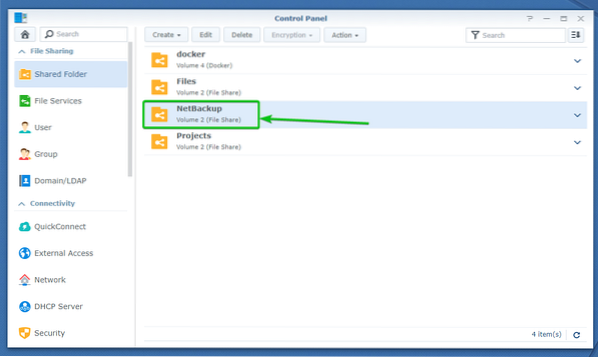
To configure the newly created shared folder, click on the Shared Folders icon from the Control Panel app as marked in the screenshot below.
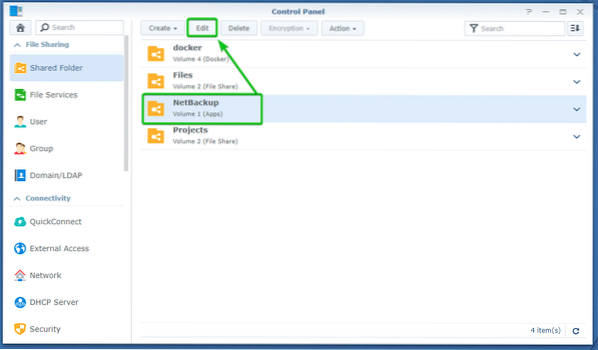
As you can see, a new shared folder, NetBackup, is created.

To configure the shared folder NetBackup, select it and click on Edit as marked in the screenshot below.
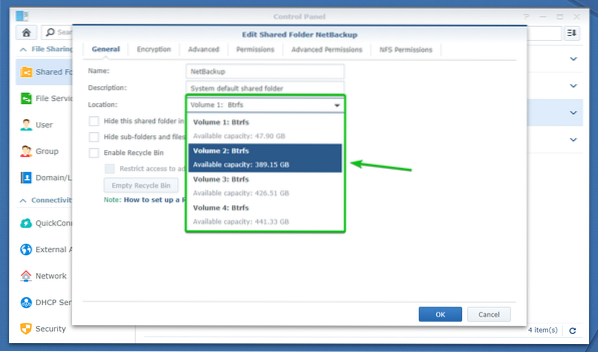
By default, the shared folder NetBackup is created in Volume 1 of your Synology NAS, as you can see in the screenshot below.
If you want to store the backup files in a different volume, you can use the Location dropdown menu to change the volume.

I want to store the rsync backup files in Volume 2, so I will select Volume 2 from the Location dropdown menu, as shown in the screenshot below.
As you can see, Volume 2 is selected as the NetBackup shared folder Location.

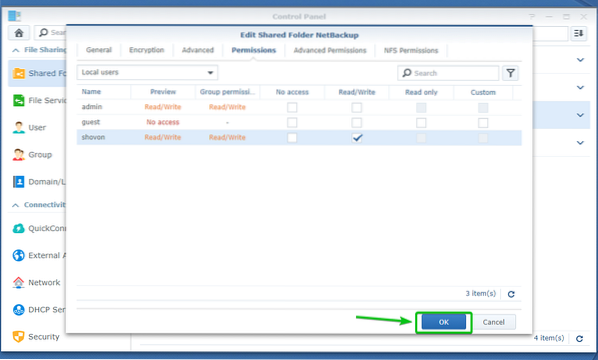
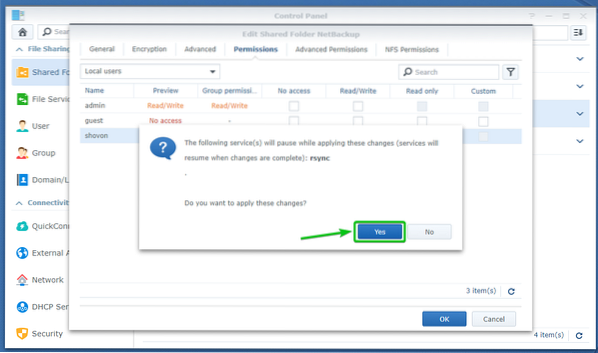
Now, navigate to the Permissions tab and set Read/Write permissions to the users you want to access the NetBackup share.

Once you're done, click on OK.
Click on Yes.

Click on Yes.
The changes are being applied. It may take a few seconds to complete.
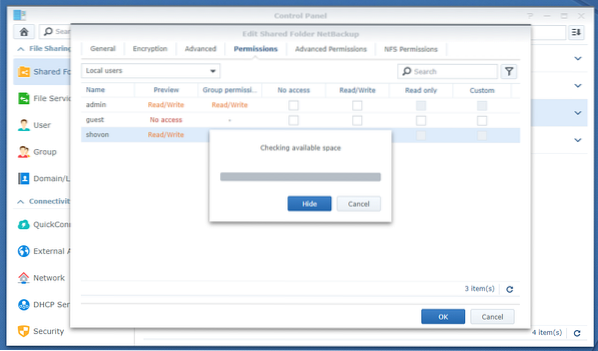
As you can see, the NetBackup shared folder is moved to Volume 2 of my Synology NAS.
Installing rsync on Your Computer:
To sync files from your computer to your Synology NAS with rsync, the rsync command-line program must be installed on your computer. There is a high chance that rsync is already installed on your computer. If, in any case, rsync is not installed on your computer, you can easily install it from the official package repository of the Linux distribution (operating system) you've installed on your computer.
To install rsync on your computer, run one of the following command groups depending on the Linux distribution you're using.
Ubuntu 20.04 LTS:
$ sudo apt update$ sudo apt install rsync -y
Debian 10:
$ sudo apt update$ sudo apt install rsync -y
Linux Mint 20:
$ sudo apt update$ sudo apt install rsync -y
CentOS 8 and RHEL 8:
$ sudo dnf makecahce$ sudo dnf install rsync -y
Arch Linux:
$ sudo pacman -Syu$ sudo pacman -S rsync
Backing Up Files with rsync:
Once you have rsync installed, you can backup files from your computer to your Synology NAS with rsync.
To keep things organized, I would recommend you to create a folder in the NetBackup shared folder of your Synology NAS with the same name as the hostname of the computer you will backup files from.
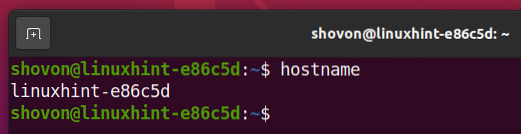
To find the hostname of your computer, run the following command:
$ hostname
The hostname of your computer should be printed, as you can see in the screenshot below.
In my case, the hostname of my computer is linuxhint-e86c5d. It will be different for you, so make sure to replace it with yours from now on.
To create a new folder in the NetBackup shared folder, open the File Station app on your Synology NAS, navigate the NetBackup shared folder and click on Create as marked in the screenshot below.

Click on Create folder as marked in the screenshot below.
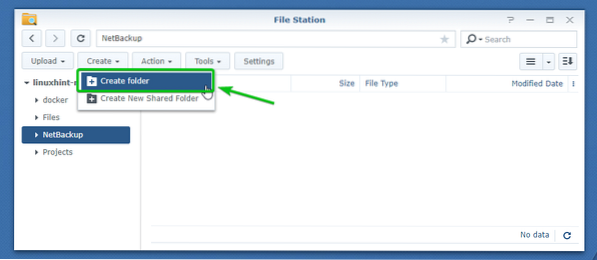
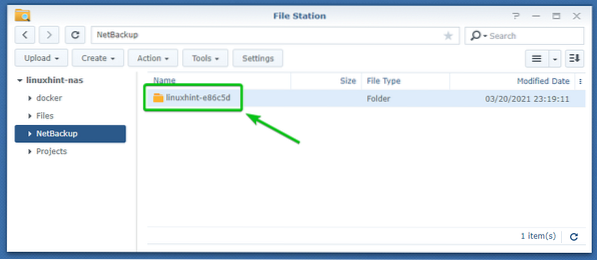
Please type in the hostname (in my case, linuxhint-e86c5d) of your computer and click on OK.

A new folder should be created, as you can see in the screenshot below.
Now, let's back up the /home folder of your computer to your Synology NAS.
Before you do the actual rsync backup, it's a good idea to test whether rsync will work as you expected.
To test whether rsync is working, you can run rsync with the -n option as follows:
$ rsync -avnzx
If everything goes well, run the rsync command without the -n option to do the actual backup.
$ rsync -avzx
Here,
The path will be in the following format:
/volume
In this case, the
The NetBackup shared folder is created in Volume 2 of my Synology NAS. So, in my case,
The
In my case, the
NOTE: The value of the
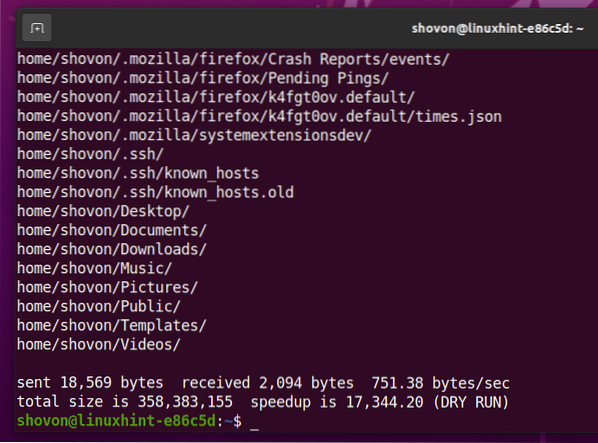
To test whether rsync backup is working, run the rsync command with the -n option as follows:
$ rsync -avnzx /home [email protected]:/volume2/NetBackup/$(hostname)
NOTE: In the previous command, I have used $(hostname) as the
If you want to specify the

As you're connecting to your Synology NAS via SSH for the first time, you will see the following prompt.
Type in yes and press

Now, type in the login password of your Synology NAS and press

As you can see, the desired folder structure is displayed. The hidden files and folders are included in the backup as well. So, the rsync command is working just fine.
Now, to do the actual backup, run the same rsync command without the -n option as follows:
$ rsync -avnzx /home [email protected]:/volume2/NetBackup/$(hostname)
Type in the log in the password of your Synology NAS and press

As you can see, rsync is backing up all the files and folders from the /home directory of your computer to your Synology NAS. It may take a while to complete depending on the size of the file being backed up and your network connection speed.
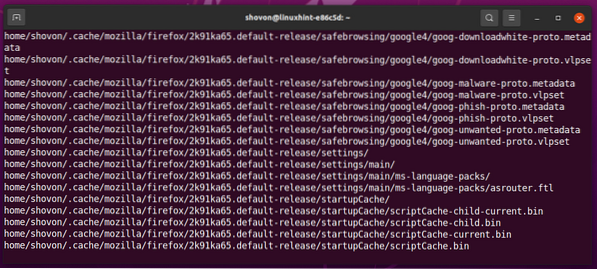
At this point, the backup is complete.

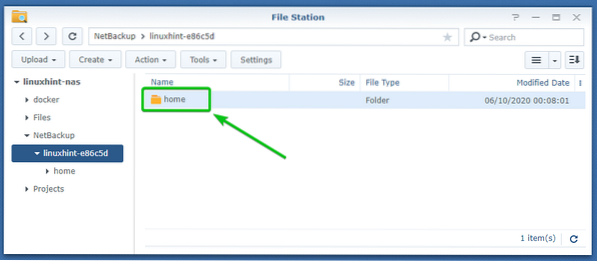
Once the backup is complete, you should see the home/ folder in the NetBackup shared folder of your Synology NAS, as you can see in the screenshot below.
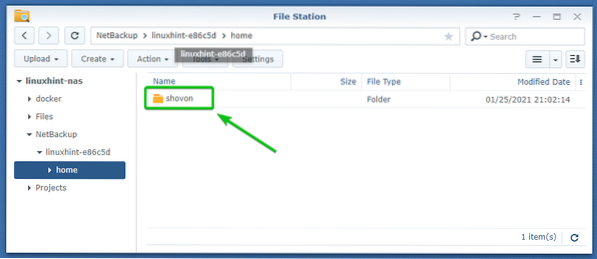
The user's home folders should also be backed up recursively, as shown in the screenshot below.
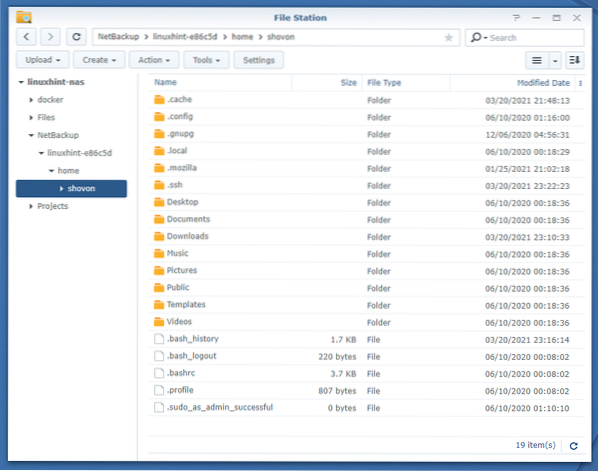
As you can see, all the files and folders (even the hidden ones) of the user's home folder are backed up nicely.
Taking Incremental Backups with rsync:
Once you've taken a backup of a folder from your computer to your Synology NAS, you can take an incremental backup of that folder the next time you backup using rsync.
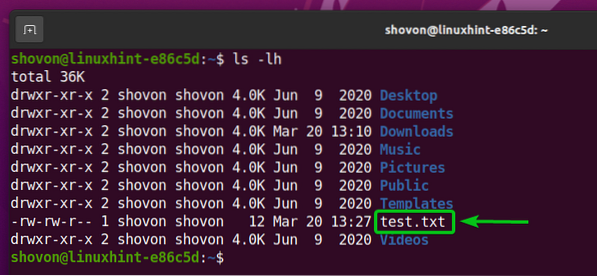
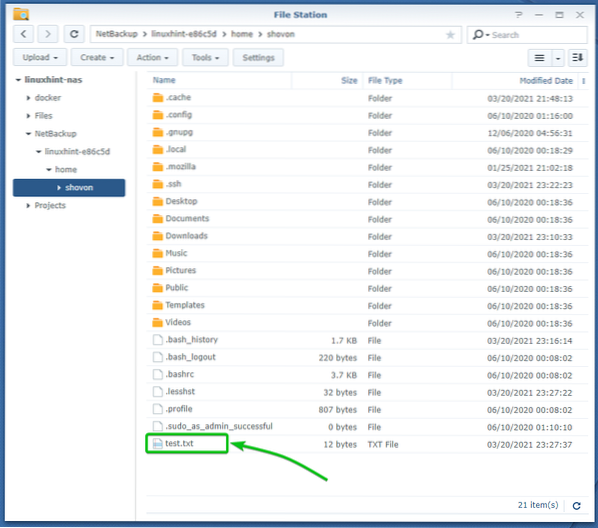
For example, let's create a new file test.txt in the HOME folder of your computer.
$ echo "Hello World" > test.txt
As you can see, a new file test.txt is created in the HOME folder.
Now, back up the /home folder from your computer to your Synology NAS with rsync as follows:
$ rsync -avnzx /home [email protected]:/volume2/NetBackup/$(hostname)
Type in the login password of your Synology NAS and press

As you can see, only the newly created files and the files that have changed since the last backup was made are backed up on the Synology NAS.

As you can see, the newly created file test.txt is backed up on the NetBackup shared folder of my Synology NAS. So, incremental backup is working just fine.
Where to Go Next?
To efficiently backup files from your computer to your Synology NAS with rsync, you must have a good understanding of how rsync works.
If you need any help with rsync, you can read the article How to Use rsync Command to Copy Files on Ubuntu to learn the basics of rsync. Hopefully, this article will help you take efficient backups using the rsync program.
You can also read the rsync program's manpage to learn about all the options of rsync and what each of the options does. Nothing beats the Linux manpages.
To access the manpage of rsync, run the following command:
$ man rsync
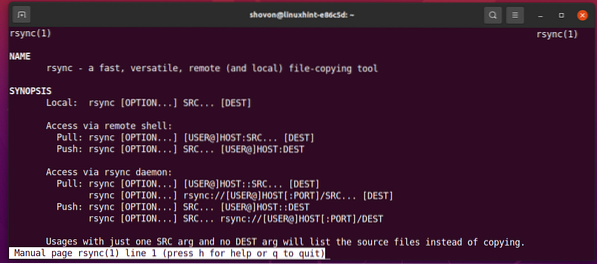
The rsync man page should be opened. The rsync man page contains everything that you will ever need to know about rsync.
Conclusion:
In this article, I have shown you how to enable SSH on your Synology NAS. I have also shown you how to enable the rsync file service on your Synology NAS and configure a shared folder for taking backups with rsync. I have shown you how to take backups from your computer and take incremental backups from your computer to your Synology NAS with rsync.


