You can easily upgrade your Ubuntu 18.04 LTS to Ubuntu 19.04. In this article, I am going to show you how to do that.
Before you proceed, make sure you don't do it on a production server because Ubuntu 19.04 is not a LTS version. Ubuntu 19.04 may not be as stable as Ubuntu 18.04 LTS. Also, make sure to backup all of your important data before you upgrade.
Removing PPAs and Third Party Package Repositories:
Before you start the upgrade, you should remove all the PPAs and third party repositories you've added as the packages may conflict during the upgrade process.
Each PPA and third party repositories are commonly added as separate files under /etc/apt/sources.list.d directory.
I think it's best to remove all files you have in this directory. Doing so would remove all of these repositories. Once you upgraded to Ubuntu 19.04, you will have to add these repositories again anyway. The old ones won't work correctly.
To remove all the files in the /etc/apt/sources.list.d directory, run the following command:
$ sudo rm -rfv /etc/apt/sources.list.d/*.list
Upgrading to Ubuntu 19.04 from Ubuntu 18.04 LTS:
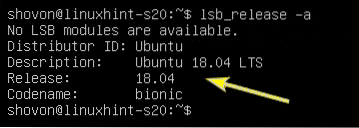
As you can see, I am running Ubuntu 18.04 LTS server. I am going to upgrade it to Ubuntu 19.04.
First, update the APT package manager cache with the following command:
$ sudo apt update
The APT package repository cache should be updated.
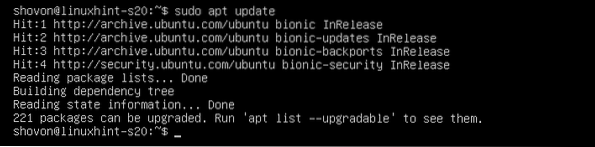
Now, upgrade all the existing packages on your Ubuntu 18.04 LTS with the following command:
$ sudo apt dist-upgrade
As you can see, about 221 packages need an upgrade. To confirm, press y and then press
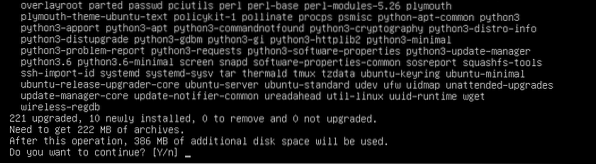
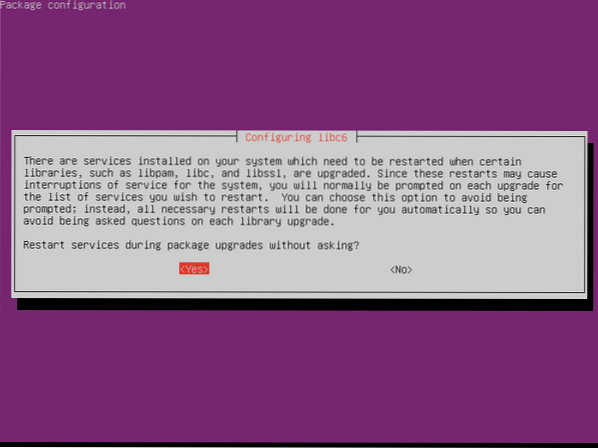
APT will download and install all the required packages.

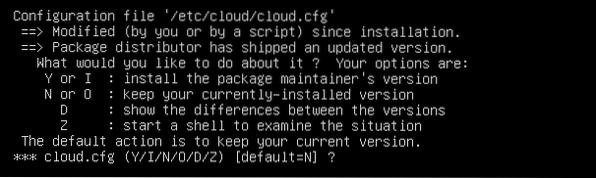
Ubuntu 18.04 LTS may ask you whether you want to keep the existing /etc/cloud/cloud.cfg configuration file or replace it with the default one that comes with the updated package. I will keep the one I already have. So, I will just press
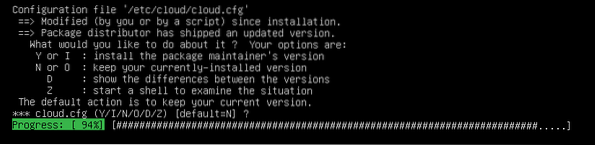
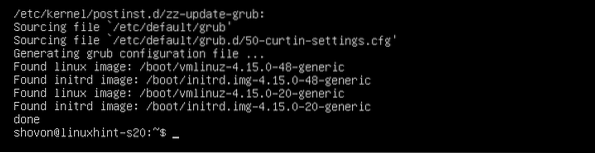
All the existing packages should be updated at this point.
By default, Ubuntu 18.04 LTS will be configured to upgrade to only LTS versions. So, upgrade to non-LTS versions such as Ubuntu 19.04 is disabled.
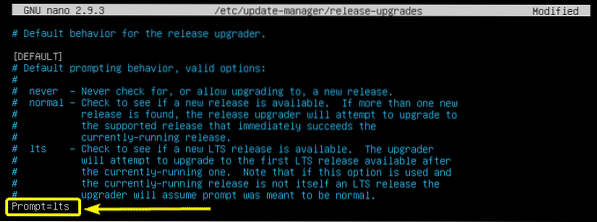
To enable upgrade to non-LTS version, open the /etc/update-manager/release-upgrades configuration file for editing as follows:
$ sudo nano /etc/update-manager/release-upgrades
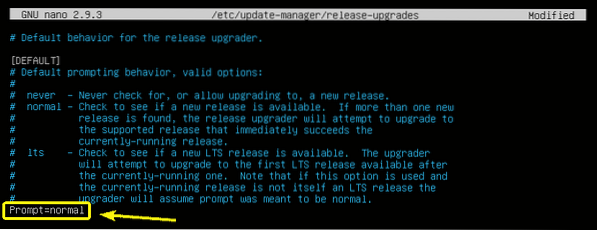
Now, you have to change Prompt=lts to Prompt=normal.
The final configuration file should look as follows. Once you're done, save the configuration file by pressing
Before you start the upgrade process, one thing you should know is that you can't directly upgrade from Ubuntu 18.04 LTS to Ubuntu 19.04. Instead, you have to upgrade from Ubuntu 18.04 LTS to Ubuntu 18.10 first. Then upgrade from 18.10 to 19.04. This is the recommended way to upgrade Ubuntu.
Ubuntu 18.04 LTS > Ubuntu 18.10 > Ubuntu 19.04
Now, to upgrade to Ubuntu 18.10, run the following command:
$ sudo do-release-upgrade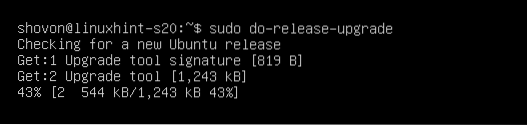
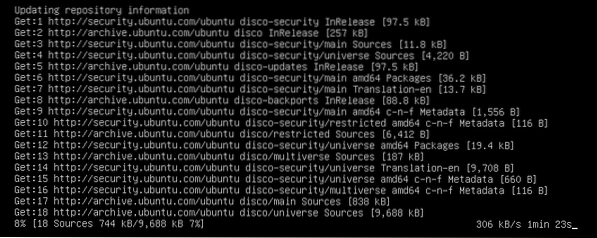
do-release-upgrade will automatically add the required package repositories and update the APT package repository cache.

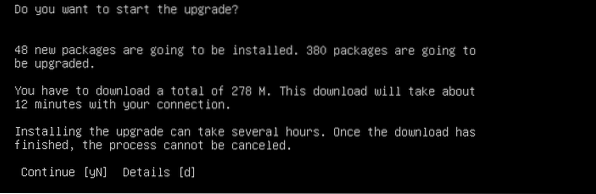
Then, it will show you an overview of the upgrade. To learn more about the upgrade, press d and press
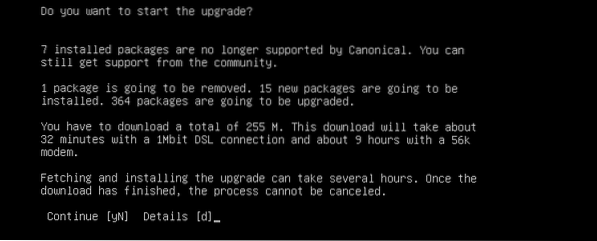
The upgrade process should start.

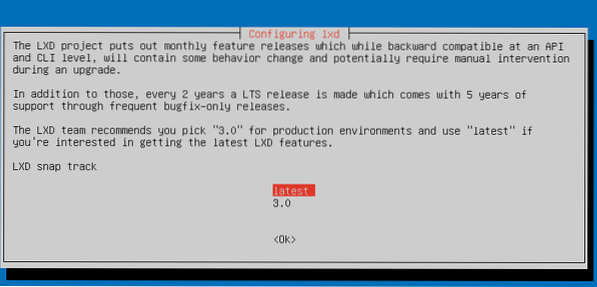
You may be asked to select an LXD version. Select 3.0 if you're upgrading a production server. Otherwise, it does not matter which one you select unless you have your own specific reason. Once you've decided which one you want to install, press
When you see the following prompt, press
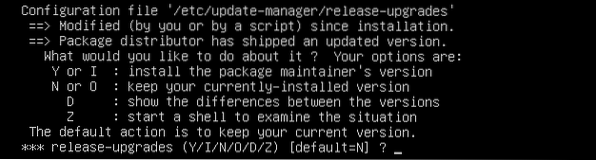
If any packages you're using is no longer supported or used in the version you're trying to upgrade to, you will be asked whether you want to remove it or keep it. You can press d followed by
Now, press y and then
As you can see, Ubuntu 18.04 LTS is upgraded to Ubuntu 18.10.

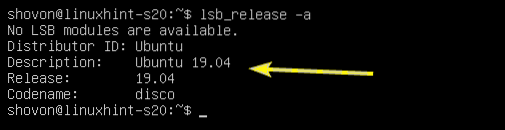
You can further verify this with the following command:
$ lsb_release -a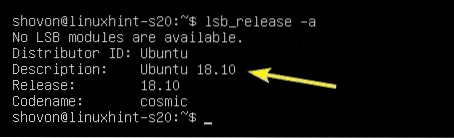
Now, to upgrade to Ubuntu 19.04 from 18.10, do another release upgrade as follows:
$ sudo do-release-upgrade
Ubuntu 19.04 package repositories are added and APT package repository cache is being updated.
Then, you will see an overview of the upgrade. To confirm, press y and then press
Now, select
Once you see this prompt, just press
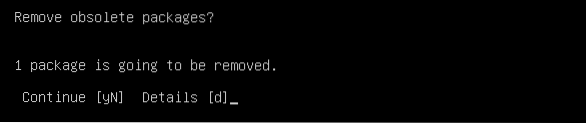
Same as before, you will be prompted to remove obsolete packages. To confirm, press y and then press

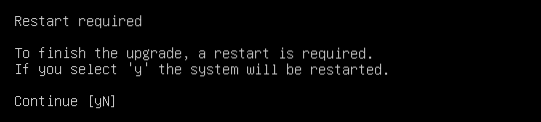
Once the upgrade is complete, you will be asked to restart your server. Press y and then press

Once your server boots, you should see Ubuntu 19.04 written on the login screen. So, the upgrade seems to be successful.

You can further verify whether the upgrade was successful or not with the following command:
$ lsb_release -aAs you can see, Ubuntu 18.10 is upgrade to Ubuntu 19.04 correctly.
So, that's how you upgrade to Ubuntu 19.04 from Ubuntu 18.04 LTS. Thanks for reading this article.