NFS is a distributed file system protocol that lets users mount remote files and directories on their systems. It works in a client-server environment where the server shares part of its file system and clients access the shared files and directories. It lets the client view and store their files on a remote system as if they were on their system.
This guide will describe how to open a firewall for NFS share in Linux OS. Remember, you will need sudo privilege to allow/block any connection in the Linux firewall.
Open Firewall for NFS share
When you install an NFS server, you have to allow connections from the clients to the NFS server. NFS listens on TCP port 2049. By default, the firewall blocks the incoming connections to port 2049. Therefore, you will have to configure the firewall on your NFS server to allow incoming connections to this port.
For Ubuntu/Debian/Mint
Ubuntu ships with a default firewall utility known as ufw, which manages the incoming and outgoing requests.
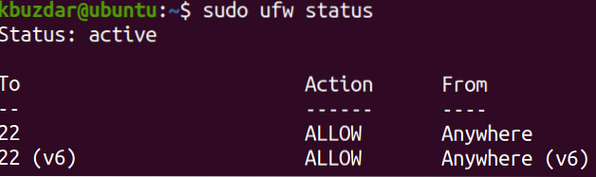
To verify if ufw is running or not, issue the command below in your terminal prompt:
$ sudo ufw statusIf the firewall is active, you should see the Status: active in the output. Also, it will list the pre-configured rules, if any.
In ufw, you can open a port by its port number or the application name. For instance, to open port 2049 on your NFS server, you can use the command below in your Terminal prompt:
$ sudo ufw allow nfs
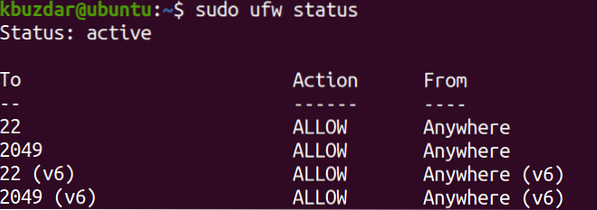
To verify if the rule has been added, issue the command below in the Terminal:
$ sudo ufw statusYou should see the rule added in the output.
For CentOS/Fedora/Redhat/OpenSUSE
This method is for the Linux distributions using the firewalld firewall in their systems. Firewalld firewall can be managed through the firewall-cmd utility.
To verify if firewalld is running, issue the command below in your Terminal prompt:
$ sudo firewall-cmd --state
In order to open port 2049 on your NFS server, use the command below in your Terminal prompt:
$ sudo firewall-cmd --permanent --add-port=2049/tcp
The -permanent option in the above command indicates that the rule will be added to the permanent configurations. This command will add the rule in the default zone of your firewall. To see which zone is currently configured as the default, you can use the below command in Terminal:
$ firewall-cmd --get-default-zoneYou will see the output like this showing you the default zone, which in our case is public.

After permanently adding the rules, you will need to reload the firewall to test if the rule will remain effective after the system reboot or the firewall service reload:
$ sudo firewall-cmd --reload
Now to verify if the rule has been successfully added, issue the below command in the Terminal:
$ sudo firewall-cmd --permanent --list-portsThe output below verifies that the NFS port 2049 has been allowed in the firewall.
That is all there is to it! By following the procedure shared in this guide, you can easily open a firewall for NFS share in Linux OS. Now client systems can easily access the shared directories.


