In this article, I will show you how to install Zabbix 5 on Raspberry Pi 4. So, let's get started!
Things You Will Need
To follow this article, you will need the following things to set up your Raspberry Pi 4 in headless mode:
- A Raspberry Pi 4 single-board computer
- A USB Type-C power adapter
- A 16 GB or higher capacity microSD card with Raspberry Pi OS flashed
- Network connectivity on the Raspberry Pi 4
- A laptop or a desktop computer for VNC remote desktop access to the Raspberry Pi 4
If you don't want to set up your Raspberry Pi 4 in headless mode, you will also need:
- A monitor
- An HDMI or micro-HDMI cable
- A keyboard
- A mouse
If you need any assistance on flashing the Raspberry Pi OS image on the microSD card, check my article How to Install and Use Raspberry Pi Imager.
If you're a Raspberry Pi beginner and need any assistance on installing Raspberry Pi OS on your Raspberry Pi 4, check my article How to Install Raspberry Pi OS on Raspberry Pi 4.
Also, if you need any assistance on the headless setup of Raspberry Pi 4, check my article How to Install and Configure Raspberry Pi OS on Raspberry Pi 4 Without External Monitor.
Updating Raspberry Pi OS
Before installing Zabbix 5, it would be a good idea to update all the existing packages of Raspberry Pi OS.
First, update the APT package repository cache of your Raspberry Pi OS with the following command:
$ sudo apt update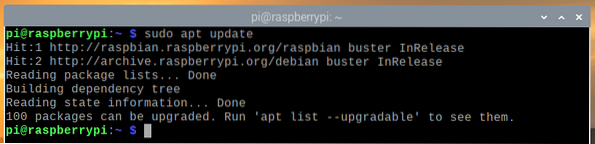
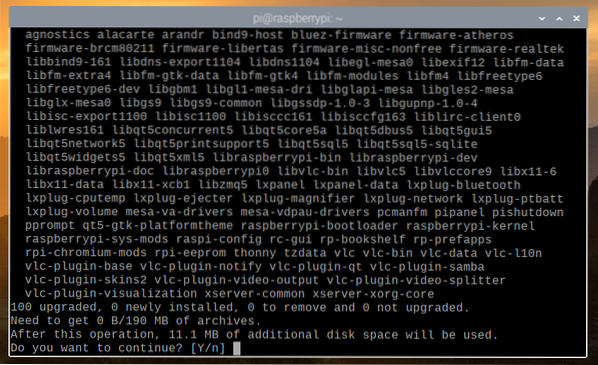
To update all the existing packages of your Raspberry Pi OS, run the following command:
$ sudo apt full-upgrade
To confirm the installation, press Y, and then press
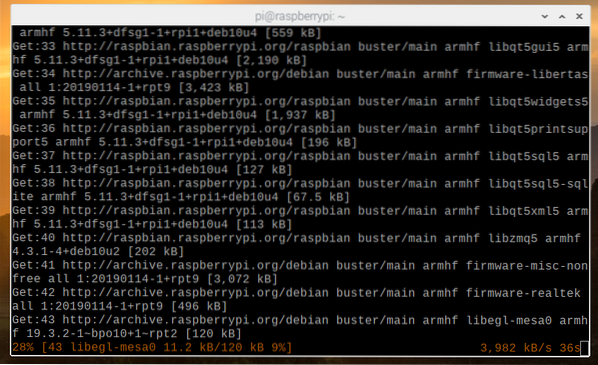
The APT package manager will download all the required packages from the internet. It may take a few minutes to complete.
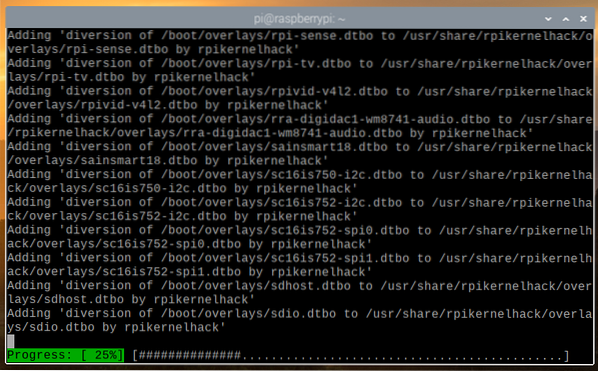
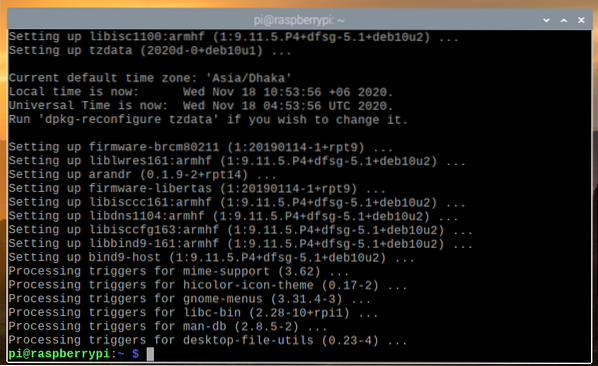
Once all the required packages are downloaded, the APT package manager will install them one by one. Although, it may take a few minutes to complete.
At this point, all the existing packages should be updated.
For the changes to take effect, reboot your Raspberry Pi 4 with the following command:
$ sudo reboot
Adding Zabbix 5 Official Package Repository
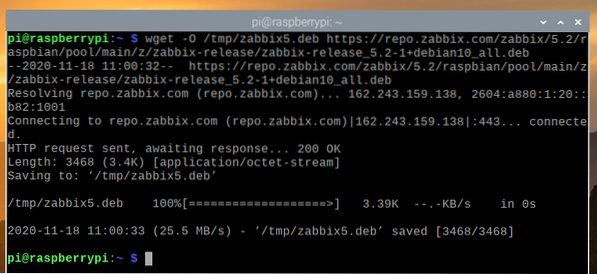
Once your Raspberry Pi 4 boots, download the Zabbix package repository DEB file with the following command:
$ wget -O /tmp/zabbix5.deb https://repo.zabbix.com/zabbix/5.2/raspbian/pool/main/z/zabbix-release/zabbix-release_5.2-1+debian10_all.deb

Once the download is complete, the Zabbix 5 package repository DEB file should be available in the path /tmp/zabbix5.deb.
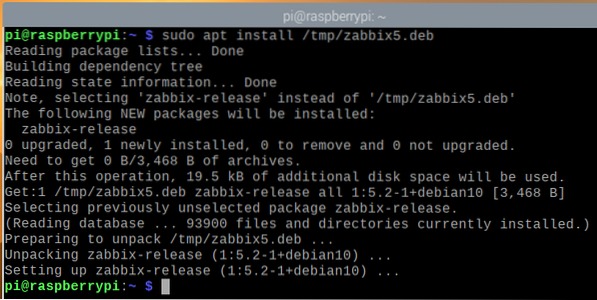
Install the zabbix5.deb file with the following command:
$ sudo apt install /tmp/zabbix5.deb
The Zabbix 5 package repository should be added.
Now, update the APT package repository cache with the following command:
$ sudo apt update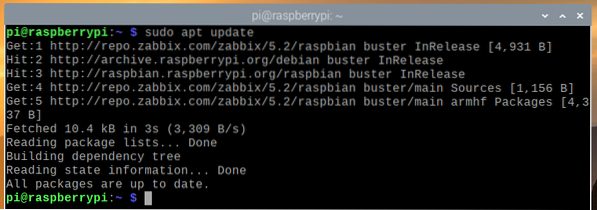
Installing MariaDB Database Server
You need to install the MariaDB database server for storing the Zabbix 5 data.
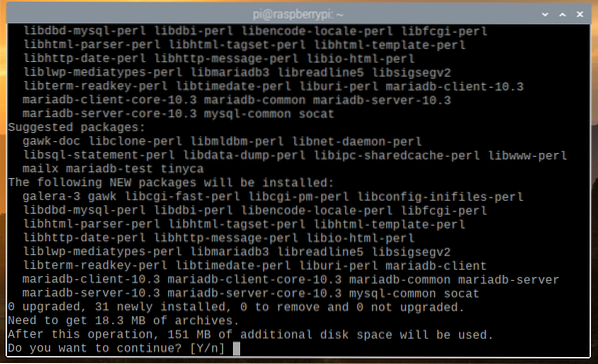
You can install the MariaDB database server with the following command:
$ sudo apt install mariadb-server mariadb-client
To confirm the installation, press Y, and then press
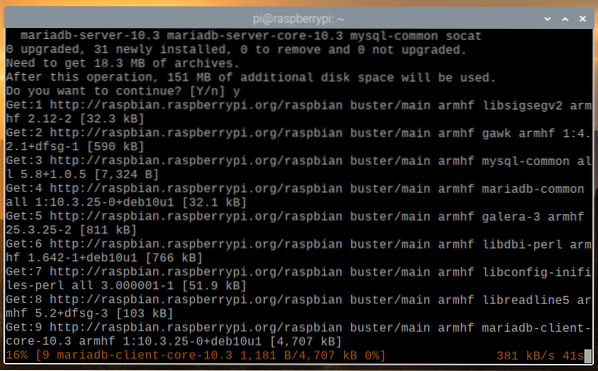
The APT package manager will download all the required packages from the internet. It may take a while to complete.
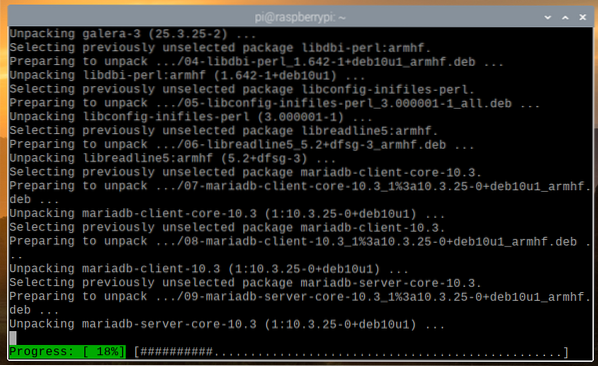
Once the packages are downloaded, the APT package manager will install them one by one. This may take a while to complete.
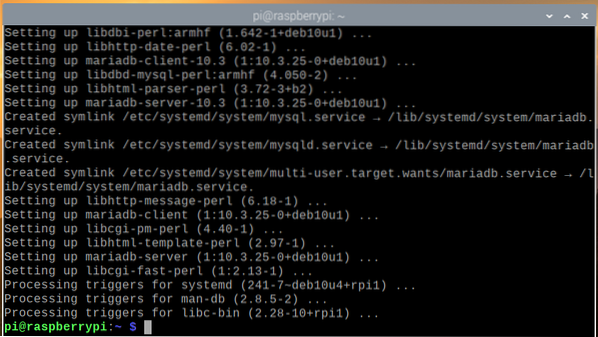
At this point, MariaDB should be installed.
Once MariaDB is installed, the MariaDB database service mysqld should be running.
$ sudo systemctl status mysqld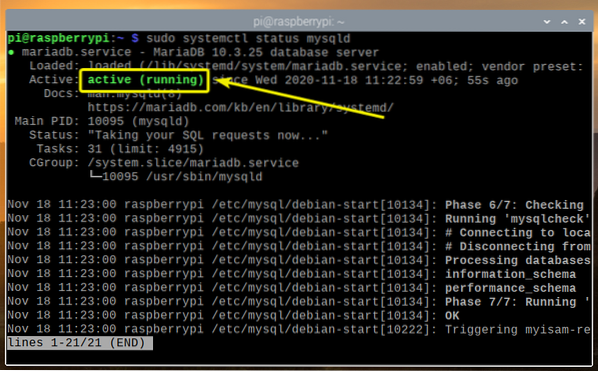
If in any case, the MariaDB database service mysqld is not running, you can start it with the following command:
$ sudo systemctl start mysqldInstalling Zabbix 5
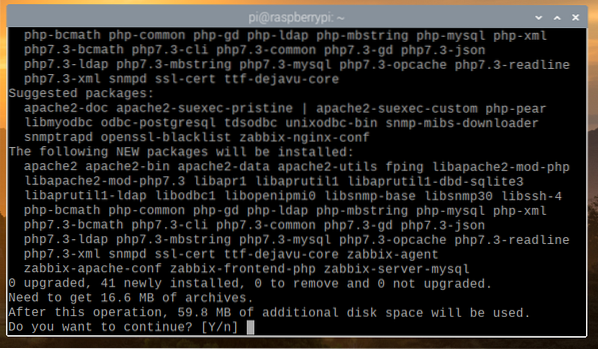
Now, you can install Zabbix 5 with the following command:
$ sudo apt install zabbix-server-mysql zabbix-frontend-php zabbix-apache-confzabbix-agent

To confirm the installation, press Y, and then press
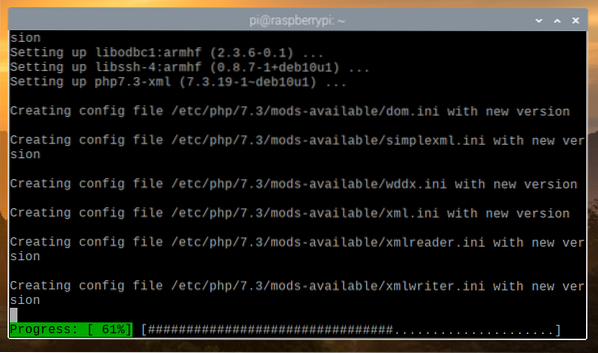
The APT package manager will download all the required packages from the internet, and it may take a while to complete.
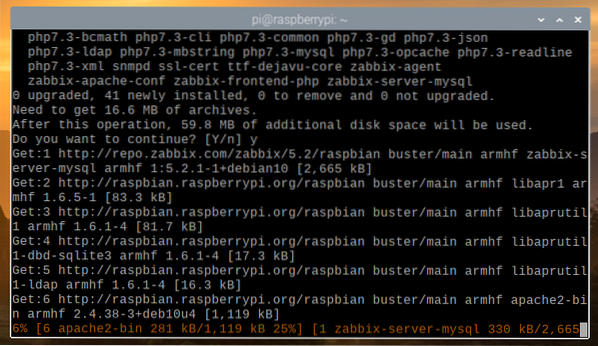
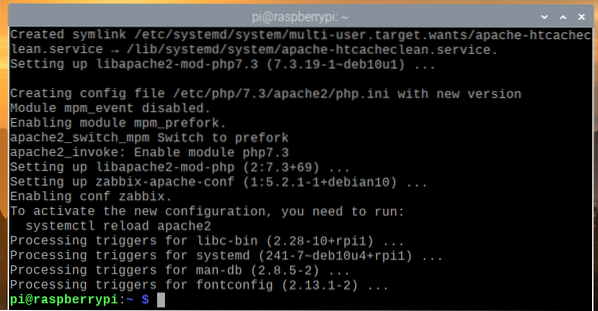
Once all the packages are downloaded, the APT package manager should install them one by one.
At this point, Zabbix 5 should be installed.
Creating a Database for Zabbix 5
Before you can use Zabbix 5, you must create a MariaDB user and database for Zabbix 5.
To create a MariaDB user zabbix, set the password to secret for the zabbix user, then run the following command:
$ sudo mysql -u root -e 'create user [email protected] identified by "secret";'
To create a MariaDB database zabbix, run the following command:
$ sudo mysql -u root -e 'create database zabbix character set utf8 collate utf8_bin;'
Allow the MariaDB user zabbix full access to the MariaDB database zabbix by running the following command:
$ sudo mysql -u root -e 'grant all privileges on zabbix.* to [email protected];'
For the MariaDB database changes to take effect, run the following command:
$ sudo mysql -u root -e 'flush privileges;'
Importing Zabbix 5 Schemas on the Zabbix Database
Once a MariaDB database zabbix and MariaDB user zabbix is created, you have to import the Zabbix 5 database schemas to the MariaDB zabbix database.
You can import the Zabbix 5 database schemas to MariaDB zabbix database with the following command:
$ zcat /usr/share/doc/zabbix-server-mysql*/create.sql.gz | mysql -uzabbix-Dzabbix -psecret

Configuring Zabbix 5
Once you have created the zabbix MariaDB database and imported the Zabbix 5 database schemas, you have to configure the Zabbix server to use the MariaDB database you've created.
To do that, open the /etc/zabbix/zabbix_server.conf file with the nano text editor as follows:
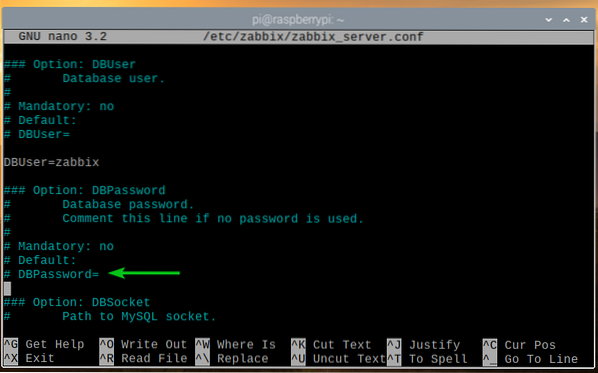
$ sudo nano /etc/zabbix/zabbix_server.conf
Scroll down a little bit and find the DBPassword= line as marked in the screenshot below.
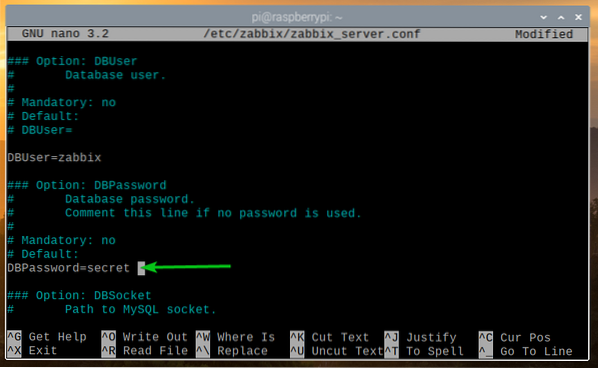
Then, uncomment the line (remove the # sign from the beginning of the line) and set DBPassword to the MariaDB zabbix user password. In this case, it is secret.
Once you're done, press
For the changes to take effect, restart the zabbix-server systemd service with the following command:
$ sudo systemctl restart zabbix-server.service
If everything is okay, the zabbix-server service should be running.
To check whether the zabbix-server systemd service is running, run the following command:
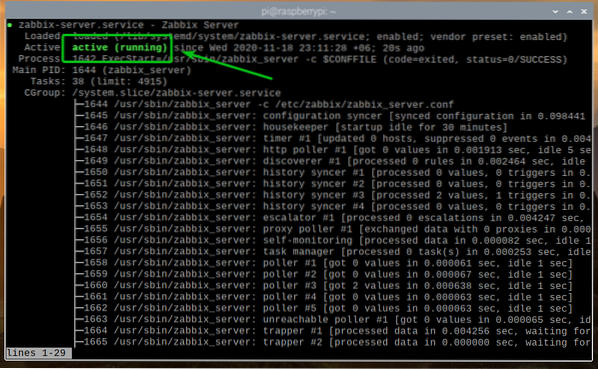
$ sudo systemctl status zabbix-server.service
As you can see, the zabbix-server systemd service is running.
For the changes to take effect, restart the zabbix-agent systemd service with the following command:
$ sudo systemctl restart zabbix-agent.service
The zabbix-agent systemd service should be running, as you can see in the screenshot below.
$ sudo systemctl status zabbix-agent.service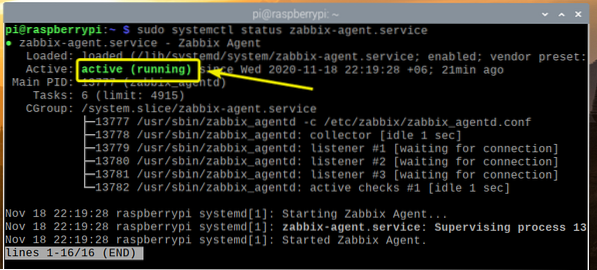
Also, restart the apache2 systemd service with the following command:
$ sudo systemctl restart apache2
The apache2 systemd service should also be running, as you can see in the screenshot below.
$ sudo systemctl status apache2.service
Adding Zabbix Server to the System Startup
To make sure that the Zabbix server starts automatically when your Raspberry Pi 4 boots, add the zabbix-server systemd service to the system startup with the following command:
$ sudo systemctl enable zabbix-server.service
Accessing Zabbix 5 Web Application
Once Zabbix 5 is installed and configured, you can access the Zabbix 5 web app from any device on your home network using a web browser.
To access the Zabbix 5 web app from other devices on your home network, you need the IP address of your Raspberry Pi 4.
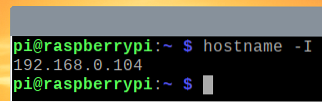
You can find the IP address of your Raspberry Pi 4 with the following command:
$ hostname -I
As you can see, the IP address of my Raspberry Pi 4 is 192.168.0.104. It will be different for you. So, make sure to replace it with yours from now on.
To access the Zabbix 5 web app, visit http://192.168.0.104/zabbix from a web browser.
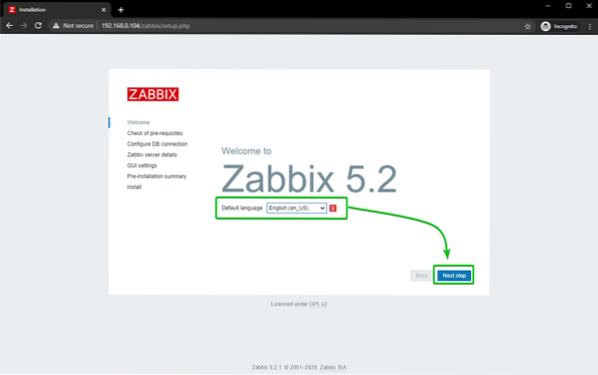
As you're running Zabbix 5 web app for the first time, you need to configure it.
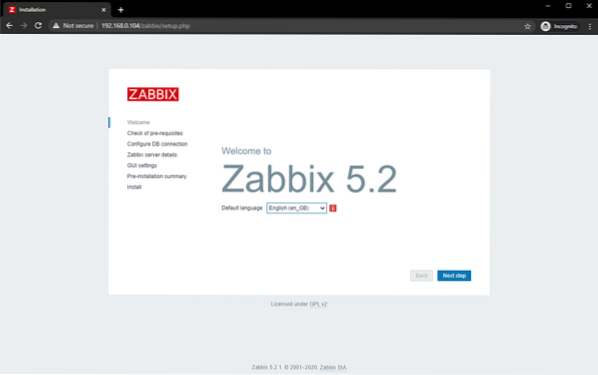
Select your language, and click on Next step.
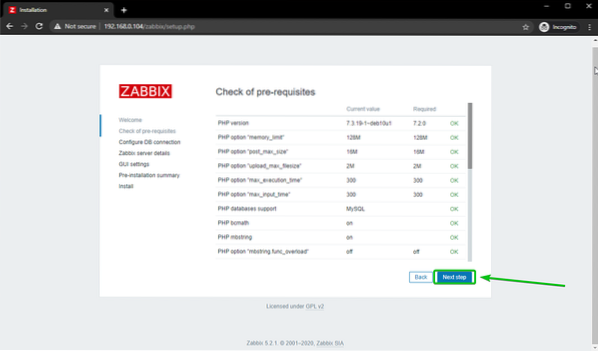
Make sure everything is okay and click on Next step.
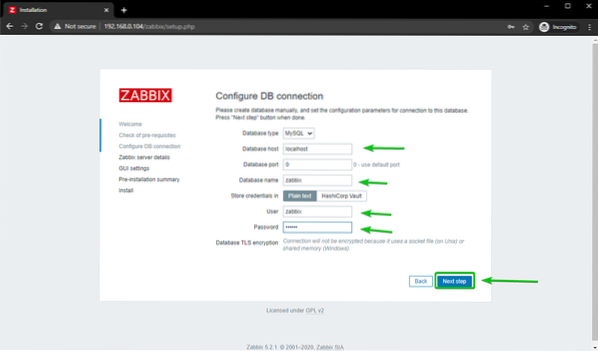
Select MySQL as the database type. Then, type in zabbix as the database name, zabbix as the user name, and secret as the password.
Once you're done, click on Next step.
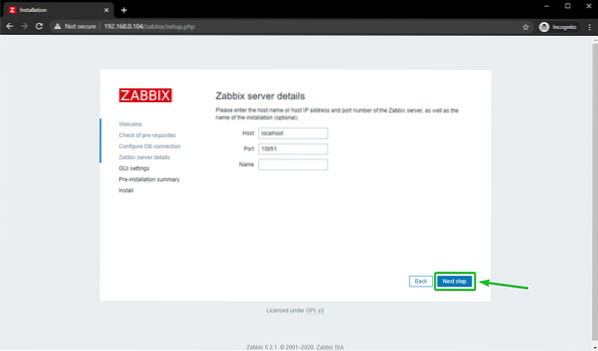
Click on Next step.
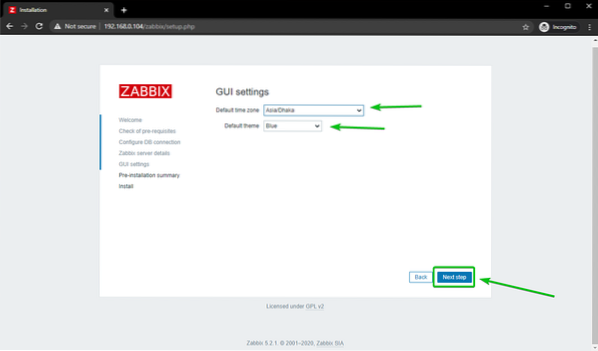
Select your time zone and default theme for the Zabbix 5 web app. Once you're done, click on Next step.
Make sure all the information is correct. If it is, click on Next step.
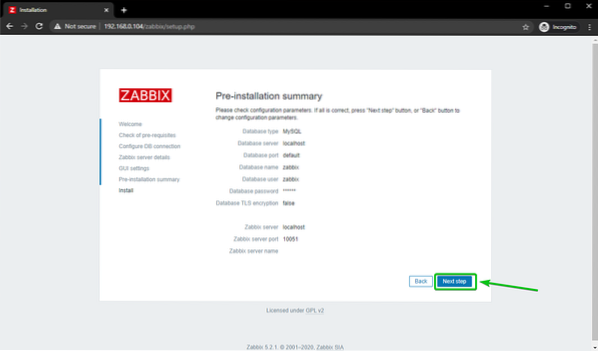
Zabbix 5 web app should be configured. Click on Finish.

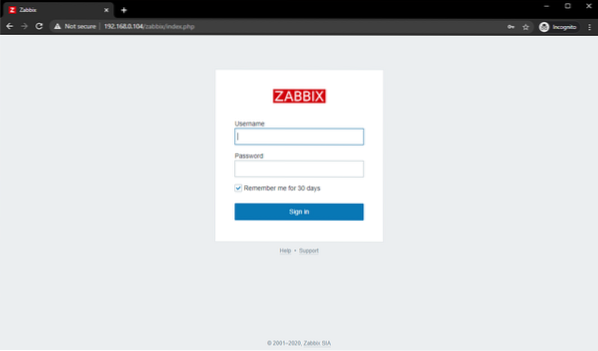
You should see the Zabbix 5 login window.
Type in Admin as the username and zabbix as the password. Then, click on Sign In.
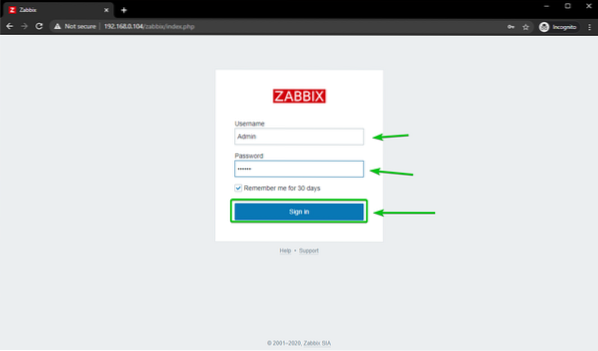
You should be logged in to the Zabbix 5 web app.
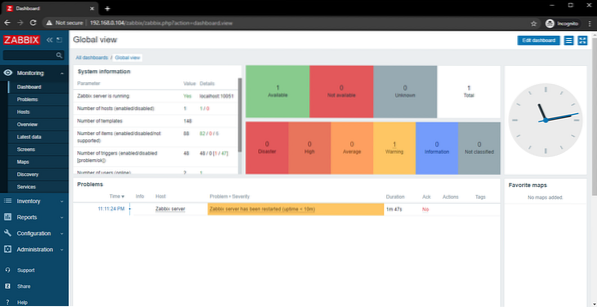
Changing the Admin Login Password of Zabbix 5
The first thing you want to do after you have logged in to the Zabbix 5 web app is to change the default password for the Admin user for security purposes.
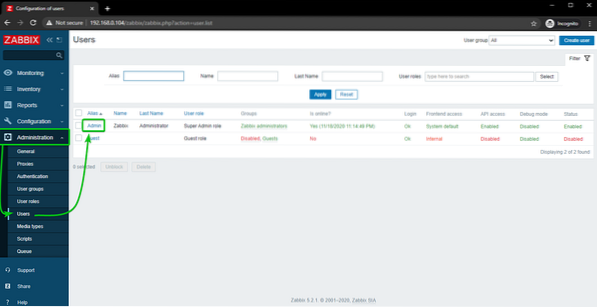
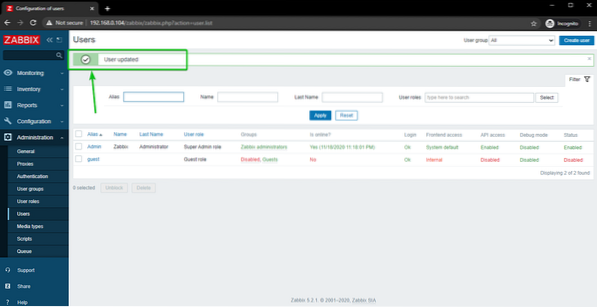
To do that, click on Administration > Users > Admin from the Zabbix 5 web app as marked in the screenshot below.
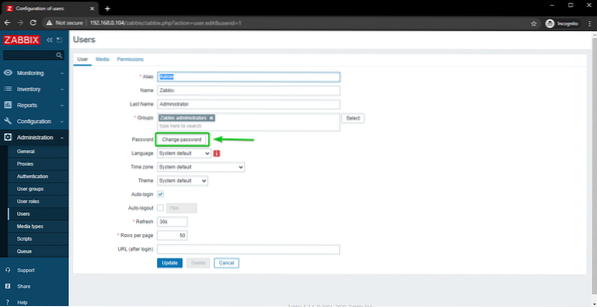
Click on Change password.
Type in your desired password and click on Update.
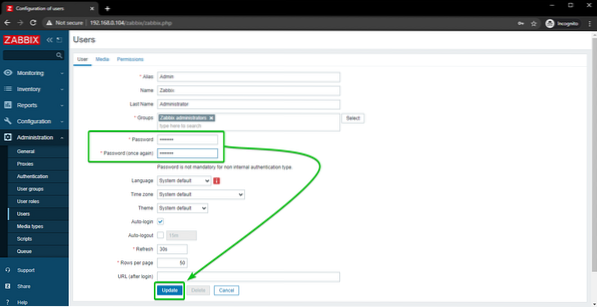
The default password of the Admin user should be changed. Now, you should be able to log in to the Zabbix 5 web app using your newly set password.
Summary
In this article, I have shown you how to install Zabbix 5 on Raspberry Pi 4 single-board computer and access the Zabbix 5 web app from other devices on your home network. This article should help you to get started with Zabbix 5 on your Raspberry Pi 4.


