When it comes to Ubuntu SimpleScreenRecorder is the best screen video recorder in terms of reliability and popularity among Ubuntu users. So today we are going to have a look at step-by-step guide to install and setup SimpleScreenRecorder on Ubuntu.
How to Install SimpleScreenRecorder
SimpleScreenRecorder is available in Ubuntu Software Centre in most of the recent Ubuntu releases. But somehow if you don't find it there you can run following command in Terminal to install this screen video recorder.
$ sudo add-apt-repository ppa:marten-baert/simplescreenrecorder$ sudo apt-get update
$ sudo apt-get install simplescreenrecorder
Now the Terminal will download the installation package and then install SimpleScreenRecorder on your system. Once the installation is complete you can notice that SimpleScreenRecorder is added to the dashboard.
How to Setup SimpleScreenRecorder to Start Screen Recording
SimpleScreenRecorder might need some changes in changes in settings before you start recording. Here is how you can do that.
First of all launch the application from the dashboard, below screen will appear. It's a welcome screen, just click on the Continue button and proceed further.

In the next window, you can configure screen resolution and select your preferred Video Input among Record the entire screen, Record a fixed rectangle, Follow the cursor and Record OpenGL.

Here you can also set frame rate, I personally prefer 60fps. You can also set Audio Input Backend and Source. Once you are done with your preferred configuration click on Continue button.
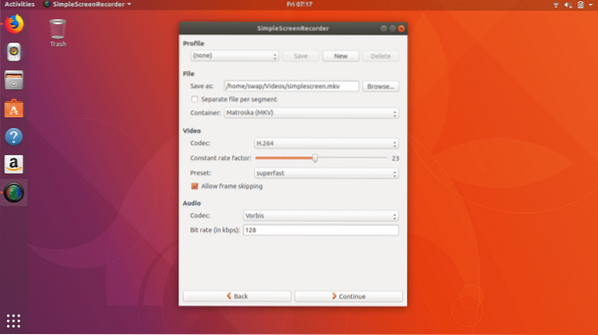
Here on next screen you have to set the destination folder where your recorded video file will be saved and you can also select in which video format screen will be recorded as well as configure Video and Audio codecs. Set the parameters as shown in screenshot below and click on Continue.
That's it, now you are finished with configuration and ready to start screen recording on next screen. On this screen you can see buttons like Start recording, Start preview, Save recording and Cancel recording.
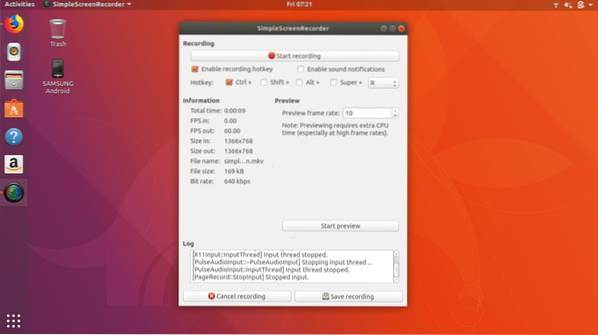
Now you just need to click on Start recording button and minimize the window. That's it now you can perform your task while SimpleScreenRecorder records your screen in background.
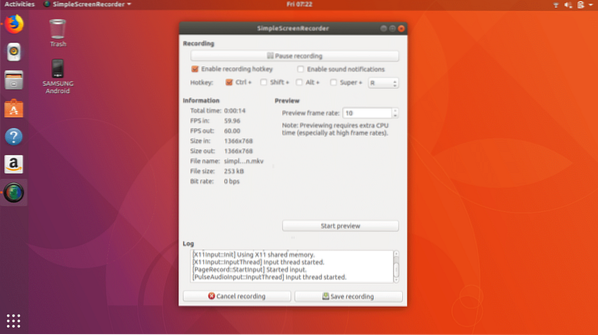
You can also pause screen recording whenever you need. When your task is complete just click on Save recording then recorded video file will be saved on your computer.
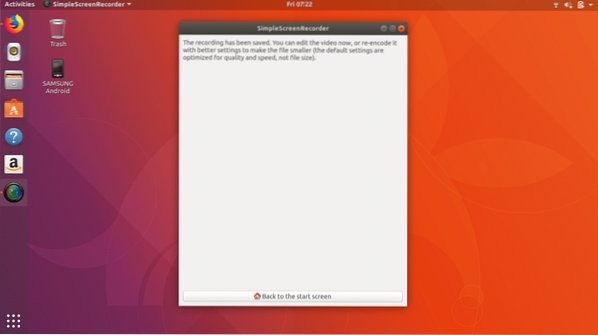
So this is how you can record screen in Ubuntu in most simple and reliable way. Having tested other screen recorders on Ubuntu, I have to admit SimpleScreenRecorder is the stand out performer in all aspects as compared to others.
So that's it for now, hope you enjoyed this article about screen recording in Ubuntu. Feel free to share your views @LinuxHint.


