Things You Need:
To successfully install OwnCloud on Raspberry Pi 3 using this article, you need,
- A Raspberry Pi 3 single board computer.
- A microSD card of at least 8 GB or more.
- Network connectivity on Raspberry Pi.
Installing Raspbian on Raspberry Pi:
You must have Raspbian OS installed on your Raspberry Pi 3 in order to install OwnCloud on Raspberry Pi.
I've written a dedicated article on installing Raspbian OS on Raspberry Pi which you can read at https://linuxhint.com/install_raspbian_raspberry_pi/. I hope it will help. If you have any questions, feel free to ask at https://support.linuxhint.com/.
Connecting Raspberry Pi to the Internet:
You can connect one end of your LAN cable (CAT5E or CAT6) to your Router or Switch and the other end to your Raspberry Pi to get internet connectivity easily.
You can use Wifi on your Raspberry Pi as well. I've written a dedicated article on that which you can read at https://linuxhint.com/rasperberry_pi_wifi_wpa_supplicant/.
Connecting to Raspberry Pi Remotely:
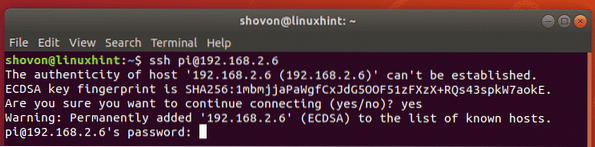
Once you have Raspbian installed and configured, can connect to your Raspberry Pi using SSH.
To do that, run the following command from your laptop or desktop.
$ ssh pi@IP_ADDRNote: Here, IP_ADDR is the IP address of your Raspberry Pi.
If you see this message, just type in yes and press

Now, type in the password of your Raspberry Pi and press
Adding OwnCloud Package Repository:
OwnCloud is not available in the official package repository of Raspbian. But you can easily add the official OwnCloud package repository on Raspbian and install OwnCloud.
First, download the GPG key of the OwnCloud package repository with the following command:
$ wget -nv https://download.owncloud.org/download/repositories/production/Debian_9.0/Release.key -O Release.key

The GPG key should be downloaded.

Now, add the GPG key to the APT package manager with the following command:
$ sudo apt-key add - < Release.key
The GPG key should be added.

Now, run the following command to add the official OwnCloud package repository to Raspbian:
$ echo 'deb http://download.owncloud.org/download/repositories/production/Debian_9.0/ /'| sudo tee /etc/apt/sources.list.d/owncloud.list

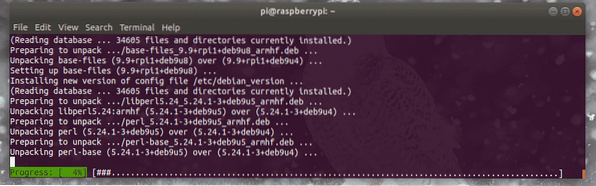
Updating Raspbian Packages:
You should upgrade the existing packages of your Raspbian OS before you install anything new.
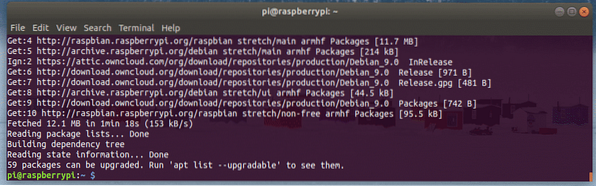
First, update the APT package repository cache with the following command:
$ sudo apt update
The APT package repository cache should be updated.
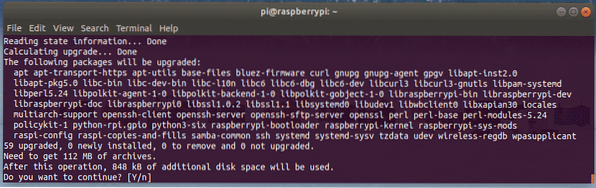
Now, update all the existing packages with the following command:
$ sudo apt upgrade
Press y and then press
If you see this message, press q.
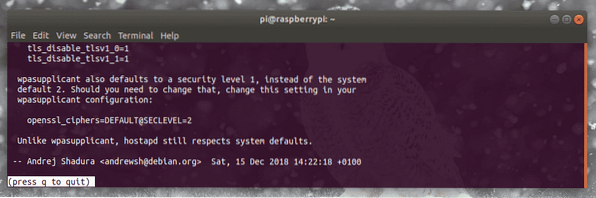
The installation should continue.
At this point, all the existing Raspbian packages should be upgraded.
Now, reboot your Raspberry Pi with the following command:
$ sudo reboot
Installing and Configuring Apache and MySQL for OwnCloud:
OwnCloud is a web application that runs on the LAMP (Linux, Apache, MySQL/MariaDB, PHP) stack. So, you need a fully working LAMP server set up before you can install OwnCloud. I am going to show you how to do that in this section.
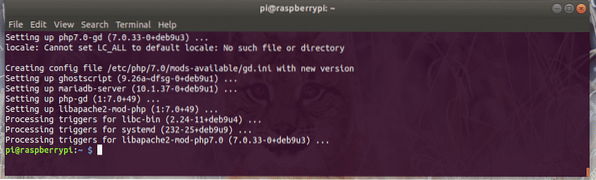
You can install Apache, PHP, MariaDB and some PHP extensions on Raspbian with the following command:
$ sudo apt install apache2 libapache2-mod-php mariadb-server mariadb-client php-bz2php-mysql php-curl php-gd php-imagick php-intl php-mbstring php-xml php-zip

Now, press y and then press

All the required packages should be installed.
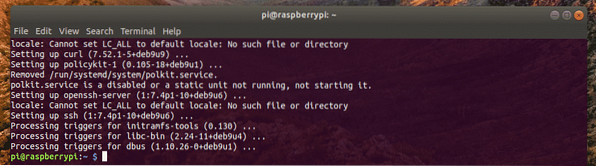
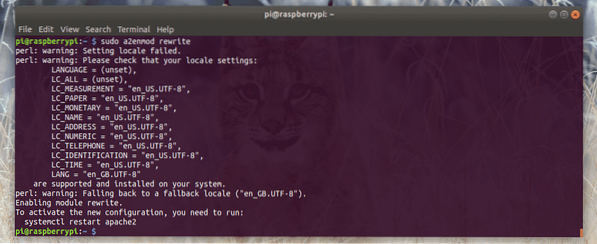
Now, run the following command to enable the Apache mod_rewrite module:
$ sudo a2enmod rewrite
mod_rewrite should be enabled.
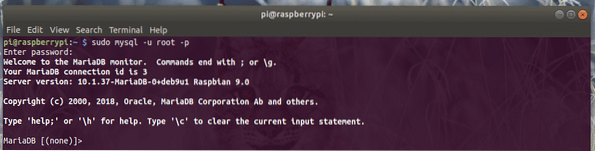
Now, login to the MariaDB console as the root user with the following command:
$ sudo mysql -u root -p
By default, no MariaDB password is set. So, you can just press

You should be logged in.
Now, create a new database owncloud with the following query:
MariaDB [(none)]> create database owncloud;
Now, create a new MariaDB user owncloud and also set the password YOUR_PASS for the user with the following query. For simplicity, I am setting the password owncloud for the user owncloud.
MariaDB [(none)]> create user 'owncloud'@'localhost' identified by 'YOUR_PASS';
Now, grant all privileges to the owncloud database to the user owncloud with the following query.
MariaDB [(none)]> grant all privileges on owncloud.* to 'owncloud'@'localhost';
Finally, exit out of the MariaDB shell as follows:
MariaDB [(none)]> exit;
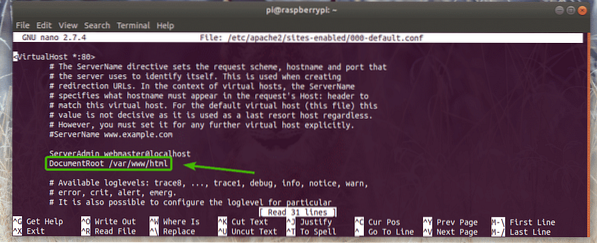
Now, you have to edit the Apache default site configuration file /etc/apache2/sites-enabled/000-default.conf.
To open the Apache default site configuration file /etc/apache2/sites-enabled/000-default.conf, run the following command:
$ sudo nano /etc/apache2/sites-enabled/000-default.conf
Now, find the line as marked in the screenshot below. Then change DocumentRoot /var/www/html to DocumentRoot /var/www/owncloud.
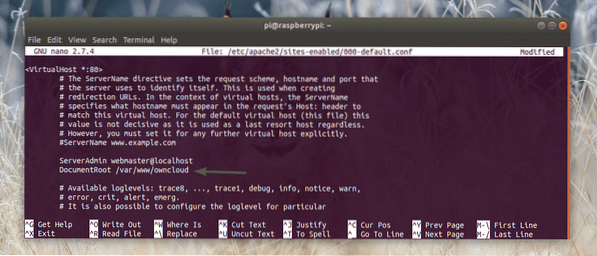
The final configuration file looks as follows. Now, save the configuration file by pressing
Installing OwnCloud:
Now, you are ready to install OwnCloud.
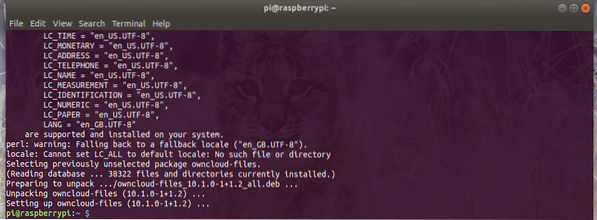
To install OwnCloud, run the following command:
$ sudo apt install owncloud-files
OwnCloud is being installed.

OwnCloud should be installed at this point.
Now, restart the Apache 2 service with the following command:
$ sudo systemctl restart apache2
Configuring OwnCloud:
You can find the IP address of your Raspberry Pi with the following command:
$ ip a | egrep "inet "As you can see, the IP address of my Raspberry Pi is 192.168.2.6. It will be different for you. So, make sure to replace it with yours from now on.

Now, from your web browser, visit http://192.168.2.6. As you're running OwnCloud for the first time, you have to configure it.
You have to create an admin user. So, type in the username and password for your admin user. Then scroll down below.
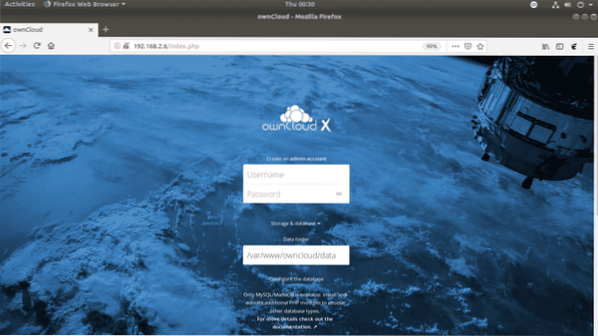
The default data directory of OwnCloud is /var/www/owncloud/data. If you want, you can also change the default data directory to some other path.

Now, type in the MariaDB database name (owncloud in my case), username (owncloud in my case), password (owncloud in my case) that you just created for OwnCloud. Once you're done, click on Finish setup.

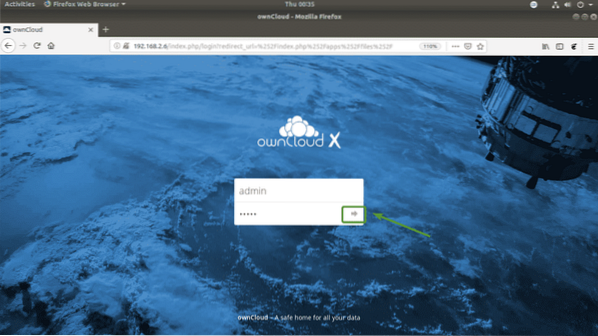
Now, you can login with the OwnCloud username and password that you just specified.
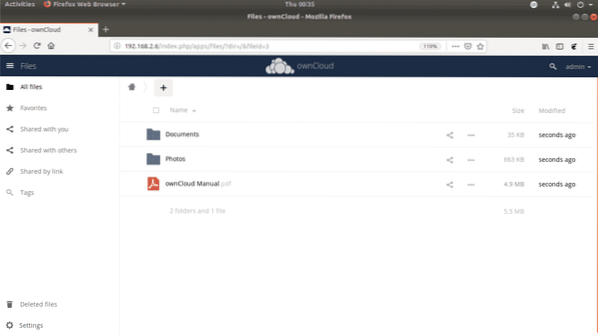
Now, click on the x button to close the popup window.

This is the OwnCloud dashboard. Now, you can upload files, movies, documents etc. You can also manage your OwnCloud users and do other administrative tasks from here.
So, that's how you install OwnCloud on Raspberry Pi 3. Thanks for reading this article.


