System Requirements
Consider the following basic requirements before installing Mint:
- The system should have at least 1 GB RAM (2GB recommended)
- The system should have at least 20 GB Disk space
- The system should have a stable power source or battery
- You will require a bootable Linux Mint 20 USB drive
Installing Linux Mint 20 from USB
Follow the below steps to install Linux Mint 20 from USB drive:
Step 1: Download Linux Mint 20 ISO
First, you will need to download Linux Mint 20 setup from its official website. Open Linux Mint official website and download the iso file.
https://www.linuxmint.com/download.php
Step 2: Create bootable Linux Mint 20 USB drive
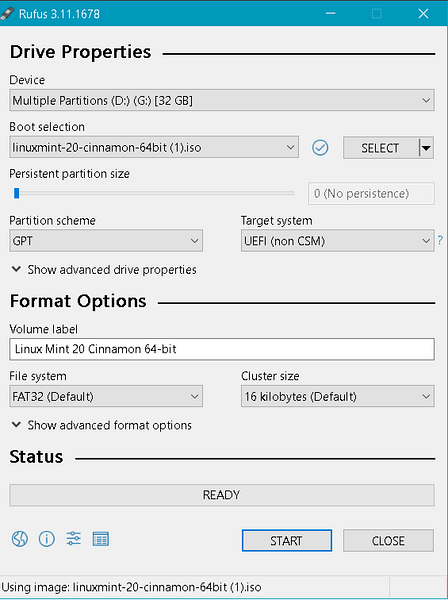
For creating a bootable Linux Mint 20 USB drive, you will require a USB drive of least 4GB space. You can create a bootable USB on any running system. If you have Windows OS, you can easily create a bootable using the Rufus utility. Follow the below steps to create a bootable USB drive in Window system:
- Plug-in the USB drive to your system.
- Download Rufus installer from https://rufus.ie/ website and run it.
- From the Device field in the Rufus window, select the USB drive.
- To the right of the Boot selection field, click the SELECT button to browse the Linux Mint 20 .iso file.
- Select the GPT or MBR as a partition scheme.
- Leave other fields as default and click the START button to write Linux Mint ISO to the USB drive.
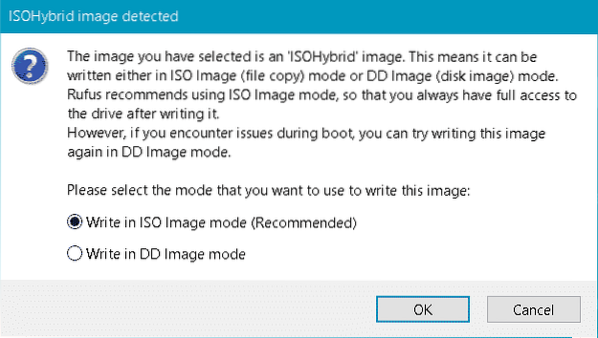
- When the following dialog appears, make sure the Write in ISO image mode is selected and click OK.
Now Rufus will start writing the Linux Mint ISO to the USB drive. This process will take a while, after which the bootable Linux Mint 20 USB drive will be ready to use.
Step 3: Configure the system to boot from the USB drive
Some systems boot from the bootable USB drive automatically. However, if it does not boot automatically, you will need to go into the BIOS to tell the system to boot from it first. Restart your system and enter into BIOS mode (based on your machine, press Del, F2, F10, or F12 key to enter into BIOS mode). BIOS menu varies for different systems. In the BIOS menu, look for something like Boot menu, Boot order, or Boot device, etc. Then modify the boot sequence to boot from USB disk. Once done, reboot the system.
Step 4: Install Linux Mint 20
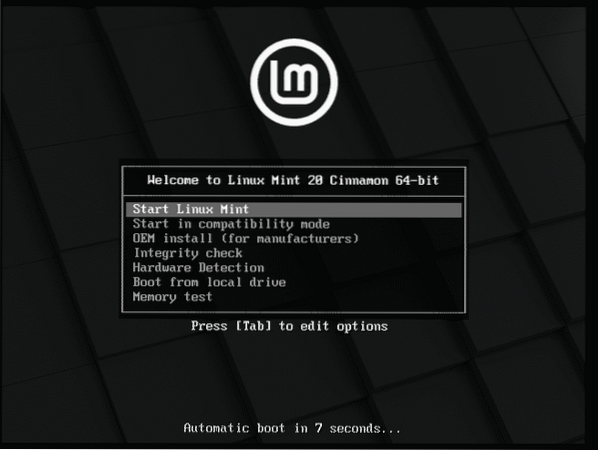
Now the system will boot from the USB drive, and you will see the following screen. Select the first option and press Enter.
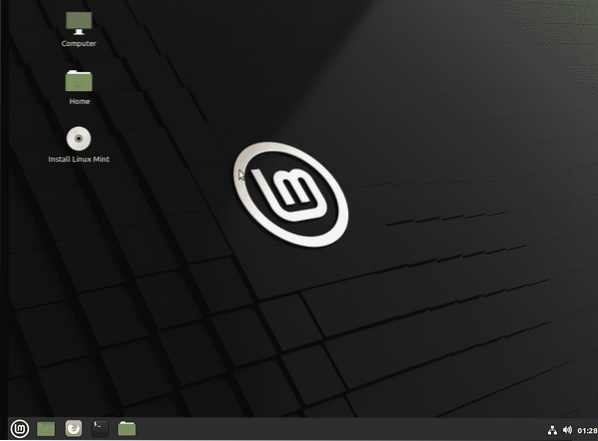
Now your live session of Mint will be started. On the desktop, you will see the “Install Linux Mint” CD icon. Click on it to start installing Linux Mint on your system.
Following installation wizard will appear. Choose your preferred language and click the Continue button.

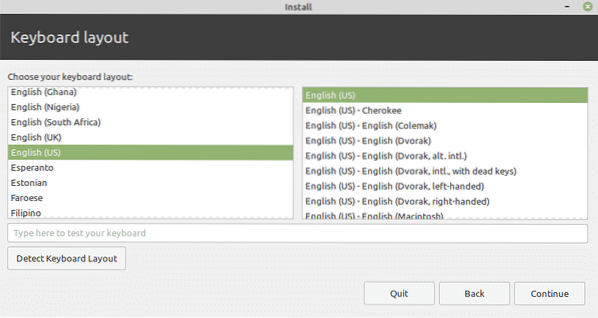
Now select the keyboard layout and click the Continue button.
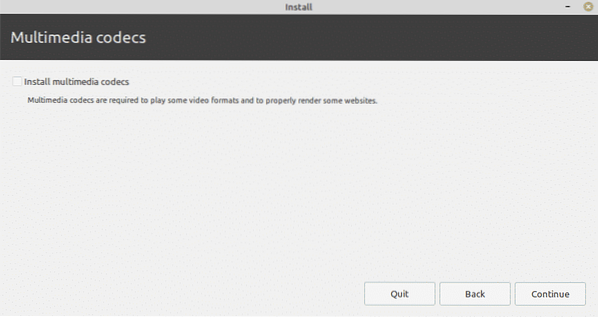
If you have an internet connection, you can install multimedia codecs right now. Check the box Install multimedia codecs and click the Continue button.
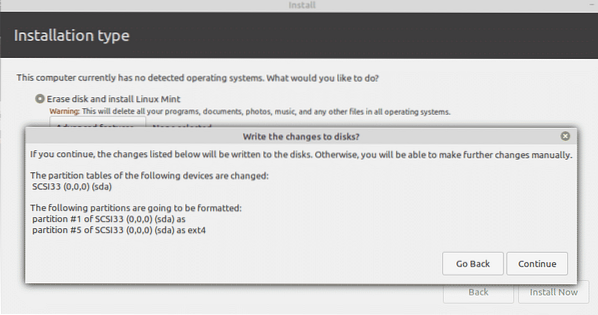
Next, in the Installation type window, select the Erase disk and install Linux Mint radio button. It will erase the entire disk, and all your files or programs will be deleted from the disk. Then click the Install Now button.

Now the following dialog will appear asking if you want to write the changes to the disks. Click the Continue button.
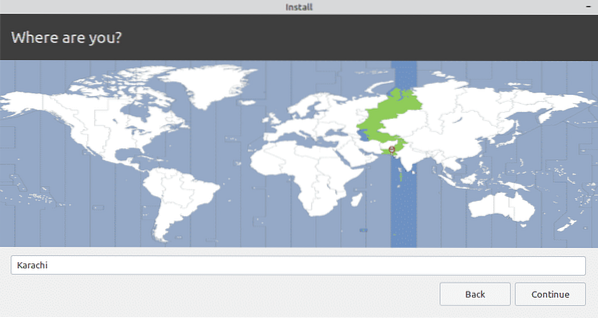
Now in the following window, select the location and click the Continue button.
Now provide the user login details. In the first field, provide your name. Based on this name, the system will automatically suggest the computer's name and a username. You can also change these names based on your preferences. Then enter a password and confirm it by re-entering it.
You can choose to Log in automatically; however, with this option, anyone else can easily log in to your system and access files and data.
If you want to protect the system, you should enable the password on login by selecting the Require my password to log in. With this option selected, you can also encrypt your Home folder by checking the Encrypt my home folder box.
Once you are done with the login configurations, click the Continue button.

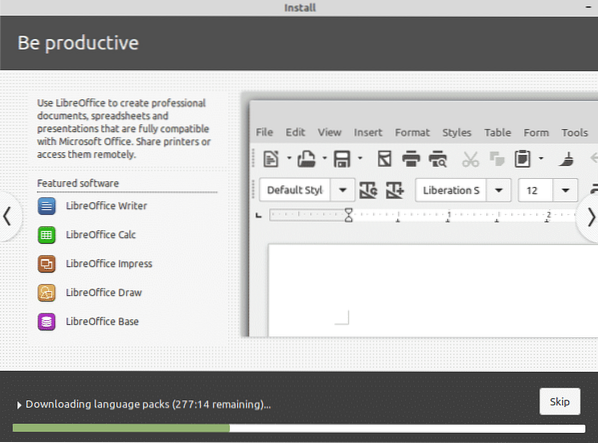
Now the installation of Linux Mint will be started, and you will have to wait for a while for the installation to finish.
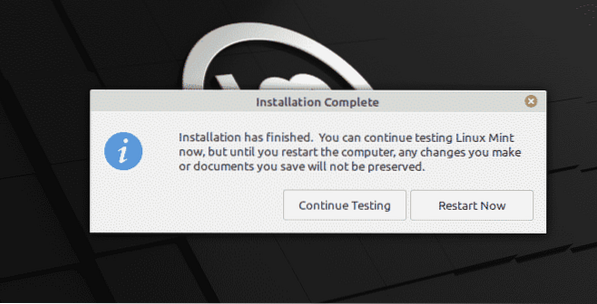
Once the installation is finished, you will see the following dialog. Click the Restart Now button to apply the changes you have configured in previous steps. Also, remove the bootable USB drive from your system.
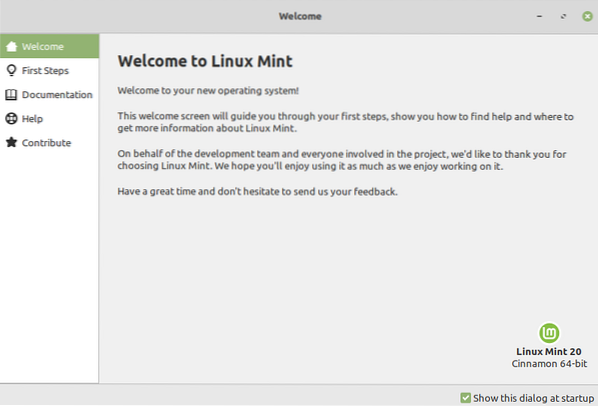
After the system is restarted, you will see the following Welcome window.
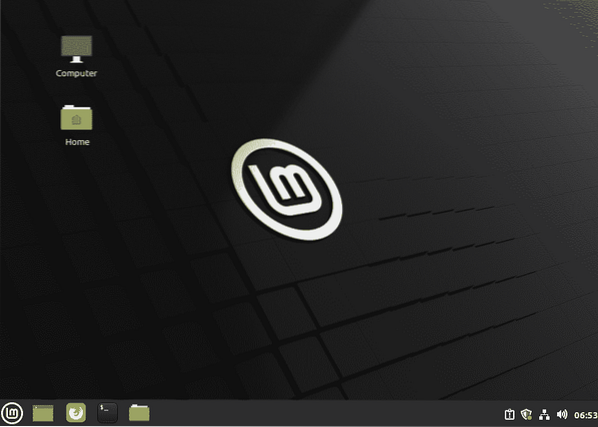
Now explore and enjoy Linux Mint 20.
That is all there is to it! In this article, we have explained how to install Linux Mint 20 from the USB drive. I hope it would be helpful for you.


