Heat sinks are metal objects that are usually placed over the chips and processor of Raspberry Pi. The heat sinks help transfer the heat generated on the processors and other chips to the air. That way, the temperature of the processors and chips remain within a certain boundary that won't hamper the productivity of the device.
In this article, I am going to show you how to install heat sinks on the Raspberry Pi. So, let's get started.
Things You Will Need:
To follow this article, you need the following items:
1) A Raspberry Pi Single-Board Computer.
2) A Case for your Raspberry Pi.

3) A 5V DC Fan for your Raspberry Pi.

4) Heat sinks for your Raspberry Pi.
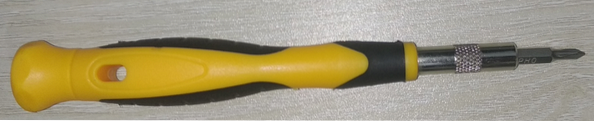
5) A star head or Philips screwdriver (PH0).
Installing Heat Sinks on the Raspberry Pi:
In this section, I am going to show you how to install heat sinks on the Raspberry Pi. I have a spare Raspberry Pi 3 Model B. I will show you how to attach heat sinks on it and give instructions on adjusting it for Raspberry Pi 4.
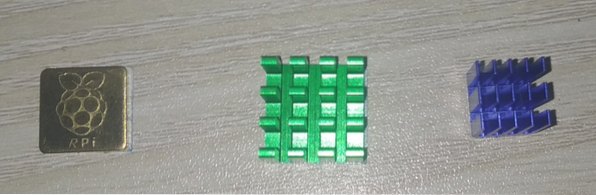
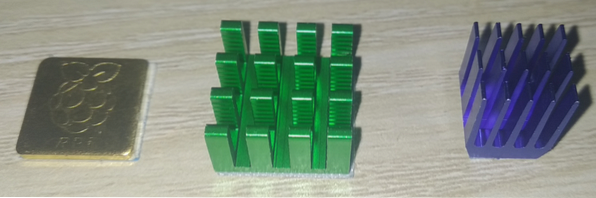
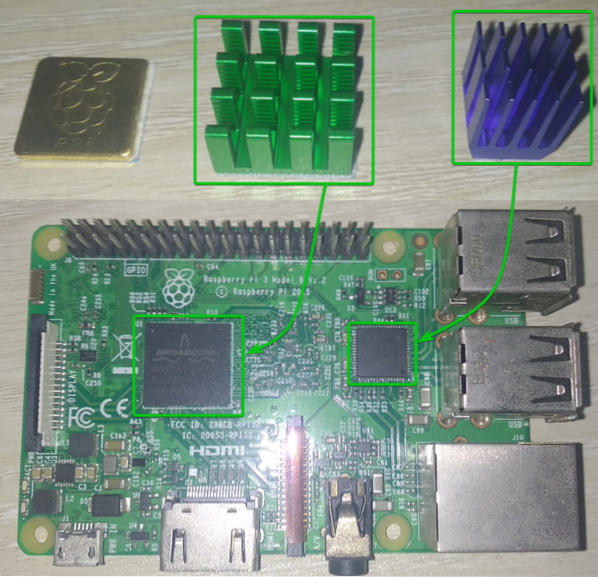
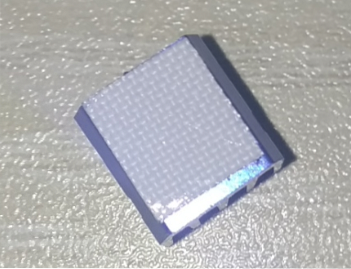
I am going to use the following heat sinks for the demonstration. Raspberry Pi heat sinks usually come in 3 pieces package.

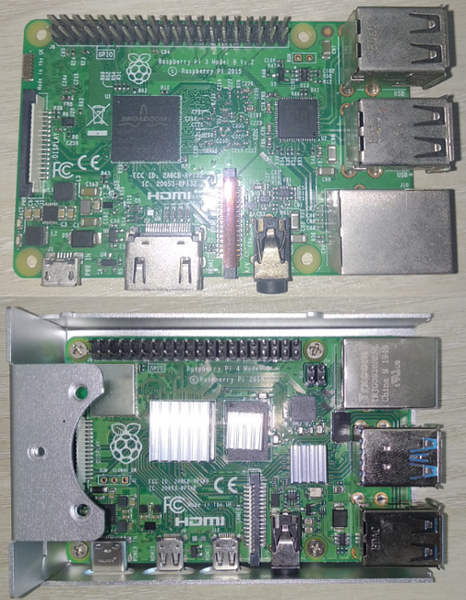
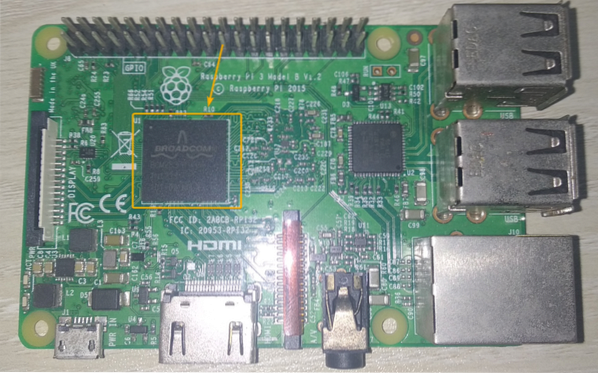
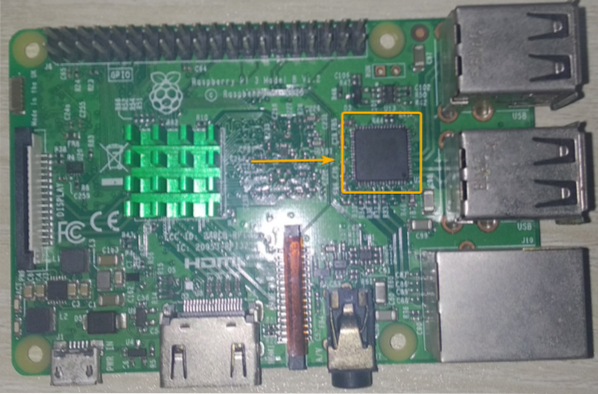
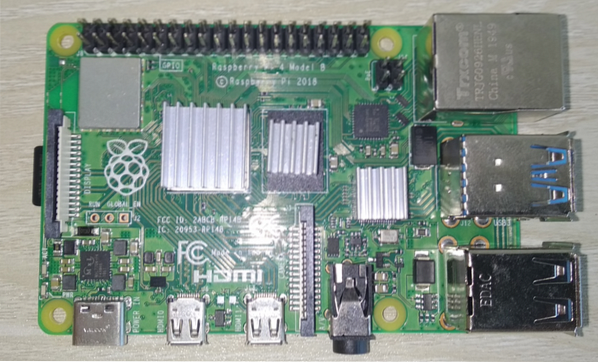
This is a Raspberry Pi 3 Model B. My Raspberry Pi 4 already has heat sinks installed on it. So, I will show you how to attach heat sinks using my Raspberry Pi 3 Model B. The process is the same on Raspberry Pi 4. So, you should not have any problems.
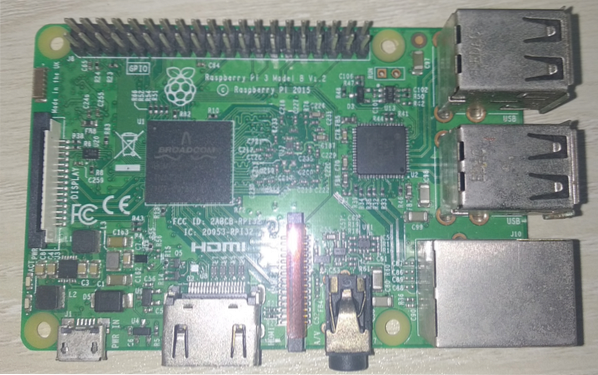
On Raspberry Pi 3 Model B, you only need 2 pieces of heat sinks for the 2 chips, as you can see in the image below.
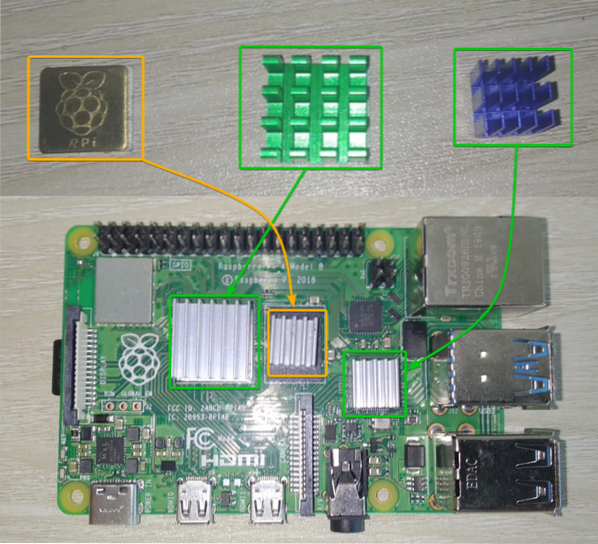
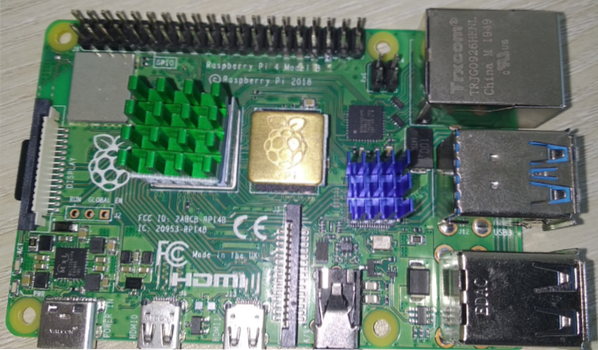
I have already said, my Raspberry Pi 4 came preinstalled with the heat sinks. But, if you were to add the heat sinks in a Raspberry Pi 4, then the heat sinks would go on your Raspberry Pi, as shown in the image below. On Raspberry Pi 4, you will need all 3 pieces of the heat sinks.
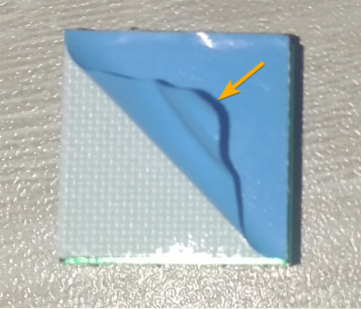
On the backside of each of the heat sink, you will see a very thin blue film.
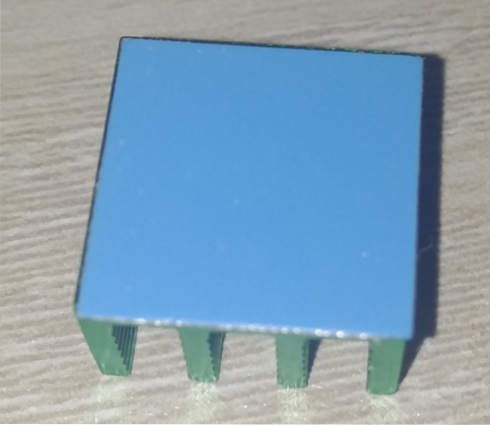
You have to pull off the thin blue film very carefully.
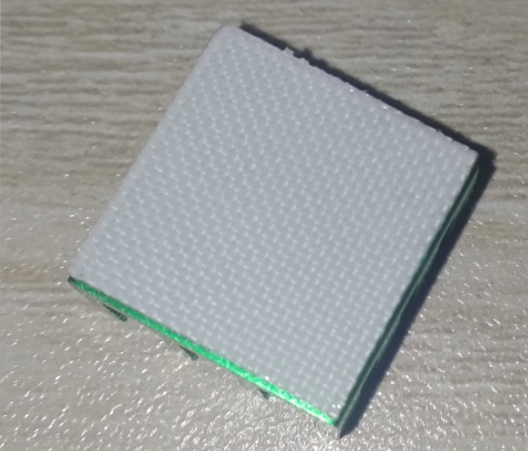
Once you have removed the thin blue film from the heat sink, you should see a white layer of glue. This glue acts as a thermal paste. It helps to transfer the heat from the chip to the heat sink.
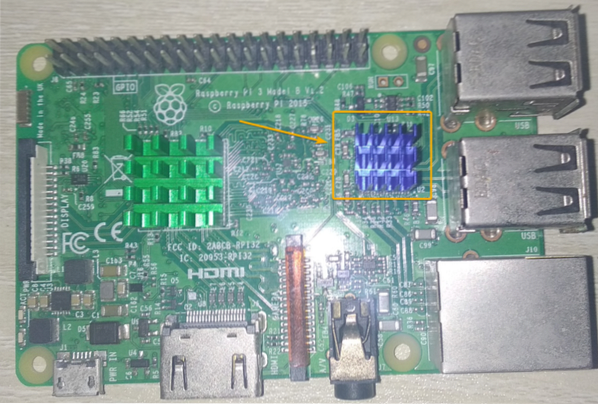
Put the heat sink (with the thin blue film removed) on the correct chip of your Raspberry Pi.
Make sure to align the heat sink nicely with the chip so that it covers all the chip areas nicely. Then, press down on the heatsink firmly so that the glue is attached to the chip nicely.

The second heat sink should also have a thin film in the back.

The same way, carefully pull it off the heat sink.
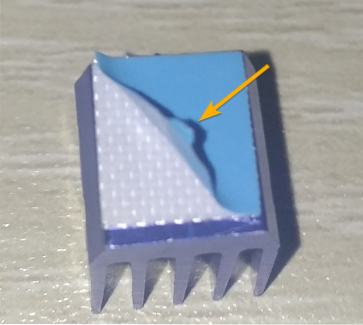
The white layer of glue should be visible once you peel the thin film off.
Put the heat sink (with the thin blue film removed) on the correct chip of your Raspberry Pi.
In the same way, align the heat sink nicely with the chip so that it covers all the chip areas nicely. Then, press down on the heatsink firmly so that the glue is attached to the chip.
If you have a Raspberry Pi 4, then the 3 pieces of heat sinks should be placed on the 3 chips, as shown in the image below.
Putting the Raspberry Pi on a Casing:
Now that you have installed the heat sinks on your Raspberry Pi, it's time to put your Raspberry Pi on a case.
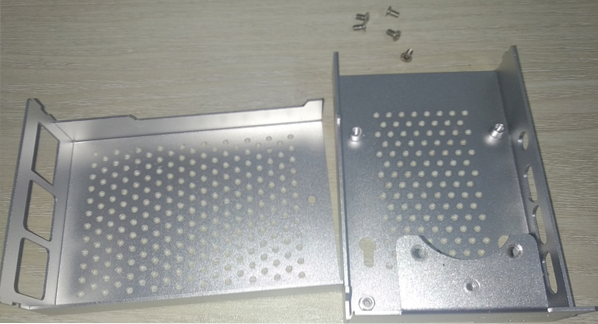
For the demonstration, I am going to use the following metal Raspberry Pi 4 case. The case comes with all the necessary screws.
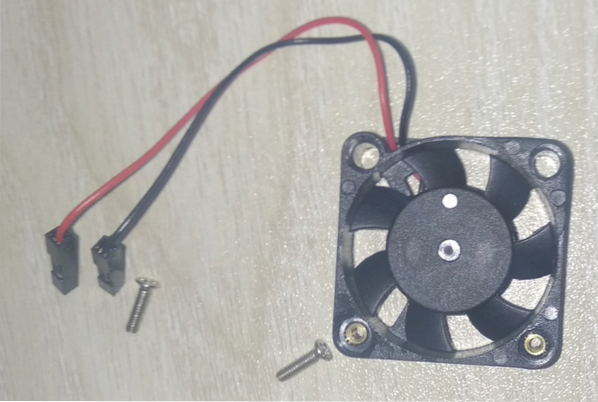
I will also use a 5V DC fan as a cooler for my Raspberry Pi 4.
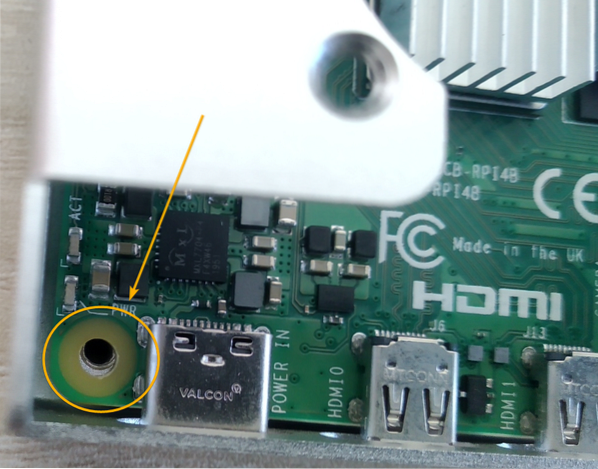
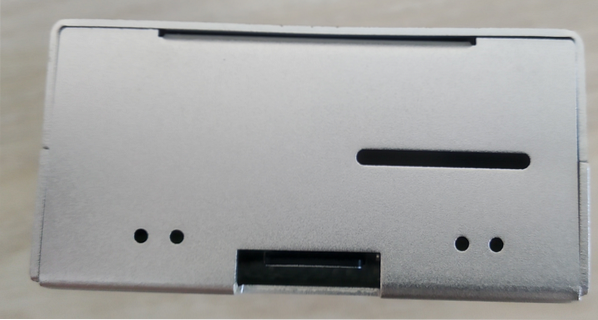
First, take the bottom part of the case. Notice that the case has 4 screw holes in 4 of the sides.

Your Raspberry Pi should also have 4 holes in 4 of the sides, as you can see in the image below.
Put your Raspberry Pi in the case.
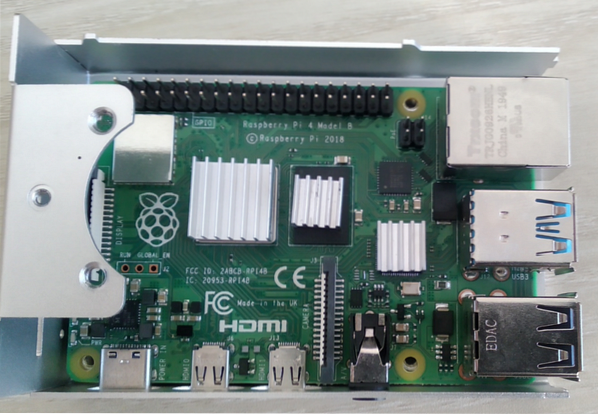
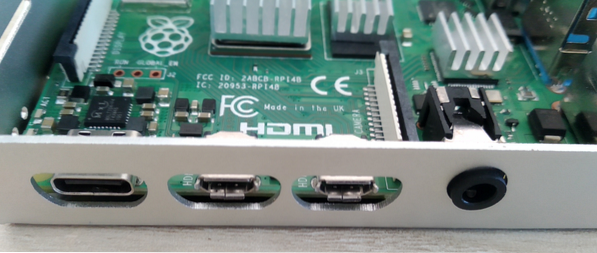
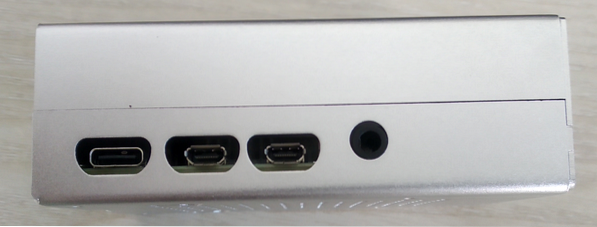
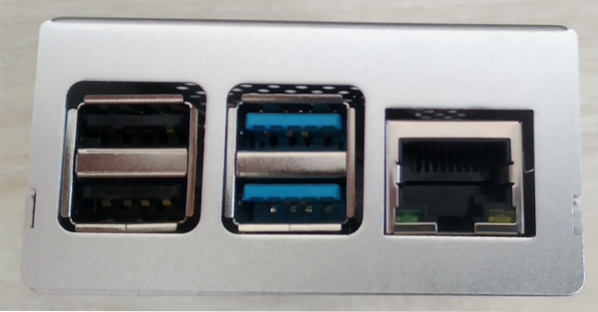
Make sure that the side I/O ports are correctly aligned with the side I/O holes of the case.
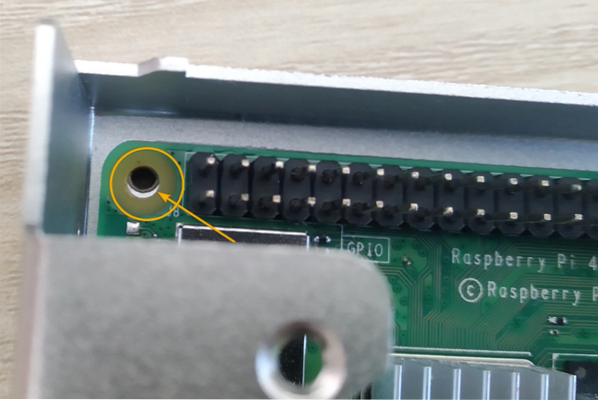
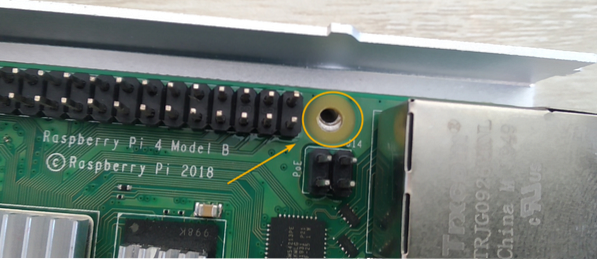
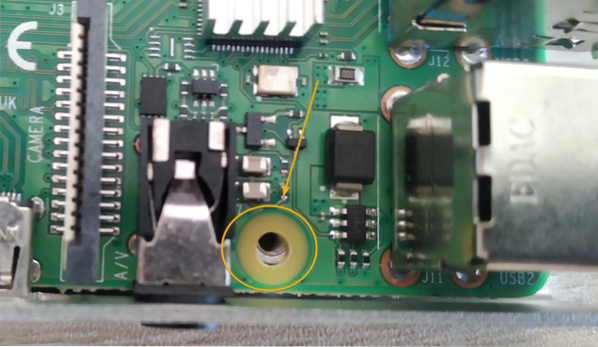
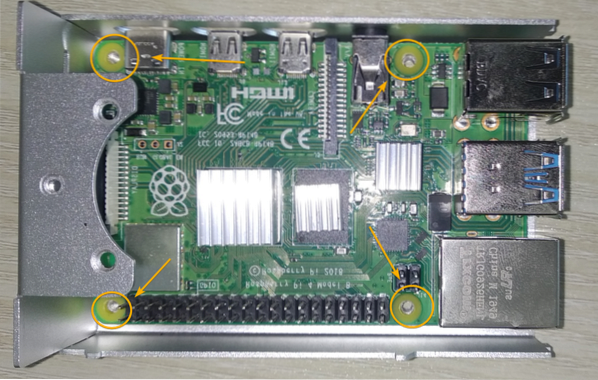
Also, make sure that all 4 of the screw holes are correctly aligned with your Raspberry Pi, as shown in the images below.
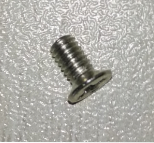
You have to screw the Raspberry Pi on the case using the 4 short screws that came with your Raspberry Pi case.
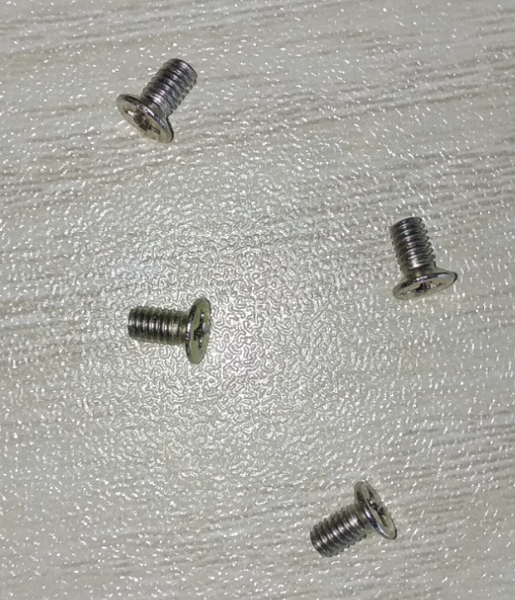
The screws should go in each of the screw holes in the corner, as shown in the image below.
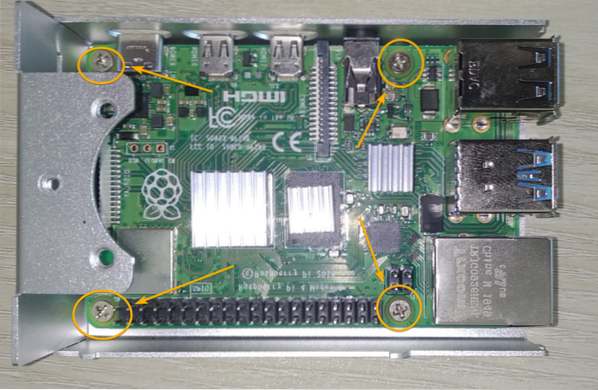
Using a Phillips screwdriver (PH0), tighten the screws of each of the corners, as shown in the image below.
Now, you can connect the 5V DC fan to your Raspberry Pi.

The RED wire should go to PIN 4 (5V - VCC), and the BLACK wire should go to PIN 6 (Ground - GND), as shown in the image below.
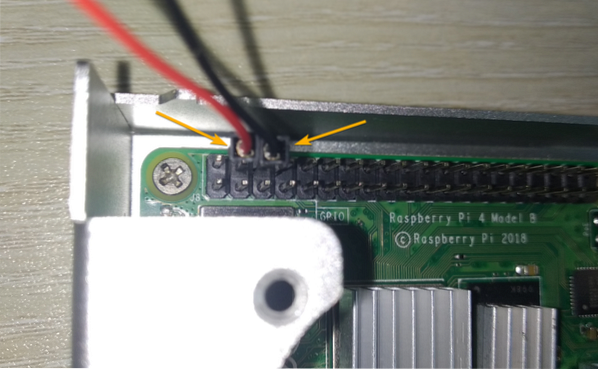
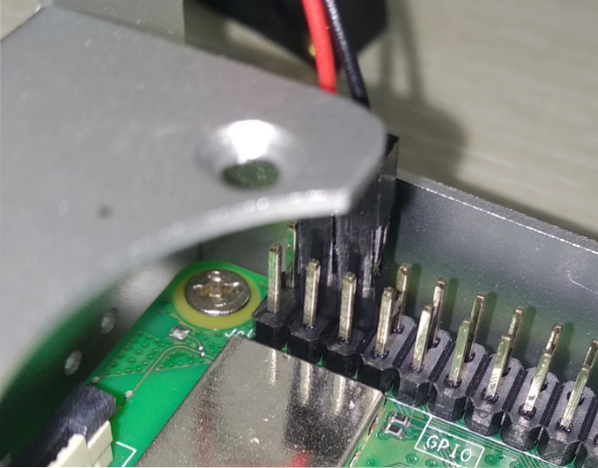
If you're still not clear on which PINS to connect the fan wires to, here is another clear image of the fan connection.
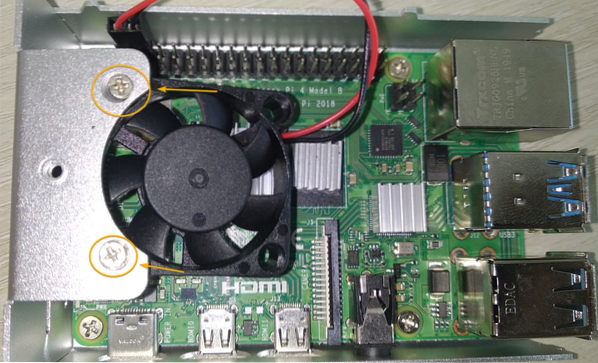
Once the fan wires are connected to your Raspberry Pi, you have to attach the fan to the case. In this particular Raspberry Pi 4 case, the two fan screw holes should go below the two holes of the case, as shown in the image below.
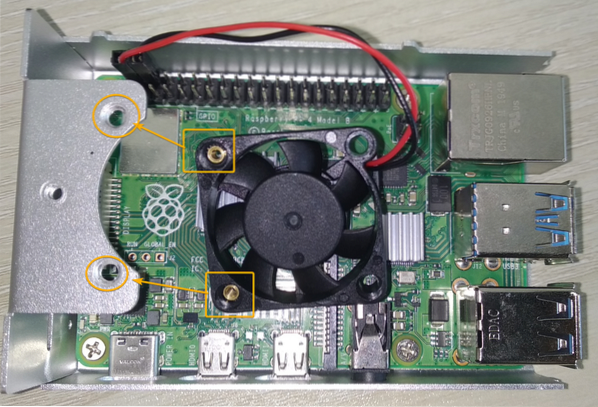
Put the two long screws (they usually come with your fan) in the hole of the Raspberry Pi case and align the fan screw holes with the case holes.
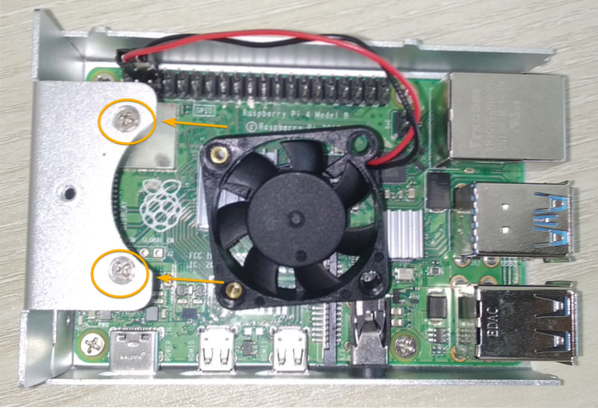
Using a Phillips screwdriver (PH0), tighten both of the screws a little bit. This way, you won't have to hold the fan any longer.
Then, tighten the screws with your screwdriver. The fan should be installed on the case.
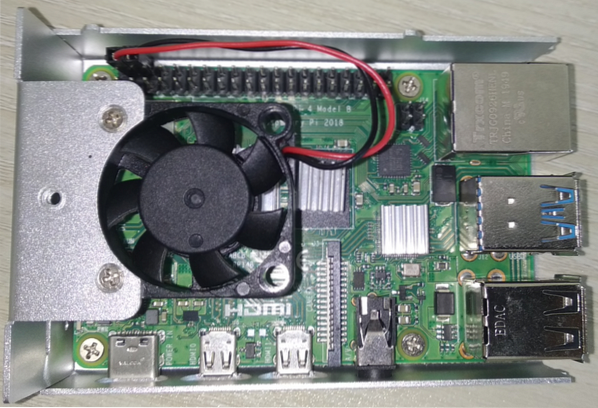
Now, you have to put the top cover to your Raspberry Pi case.

Once you put the top cover on the case, the whole setup should look as shown in the image below.
A screw should be left.
The last screw should go in the screw hole at the top of the case, as shown in the image below.
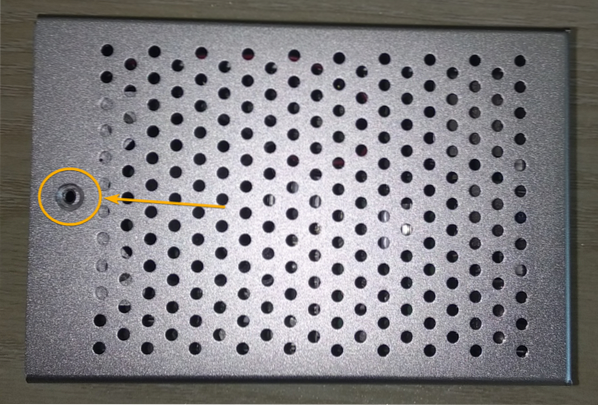
Put the last screw in the screw hole, as shown in the image below.
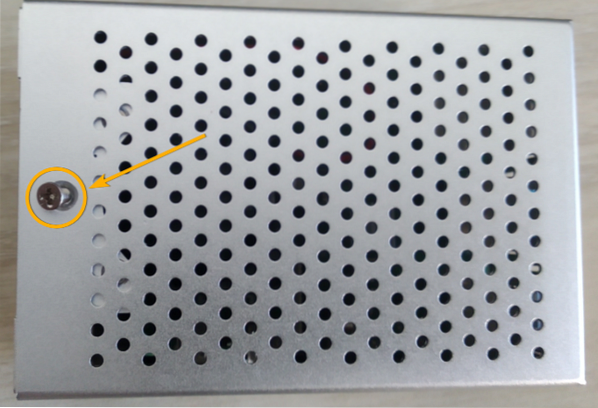
Using a Phillips screwdriver (PH0), tighten the screw.
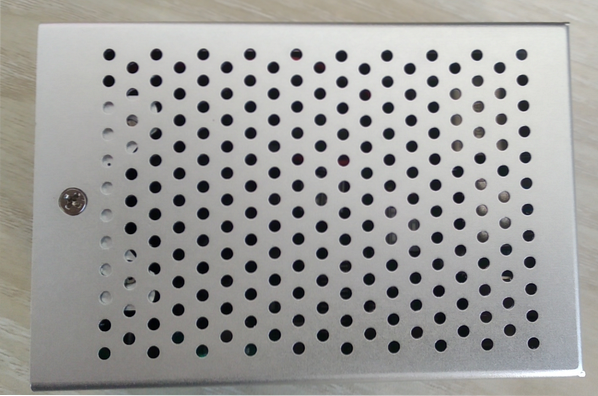
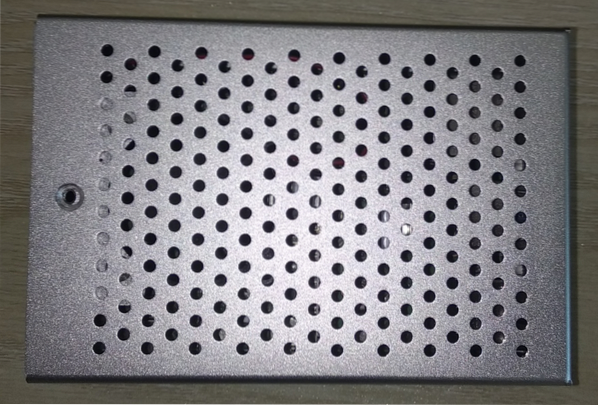
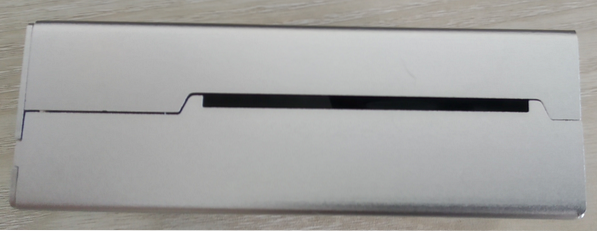
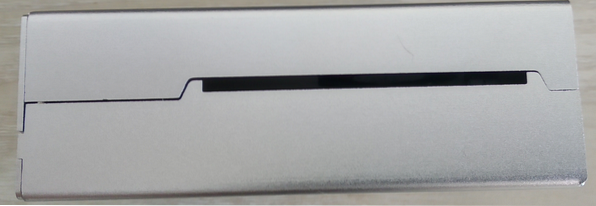
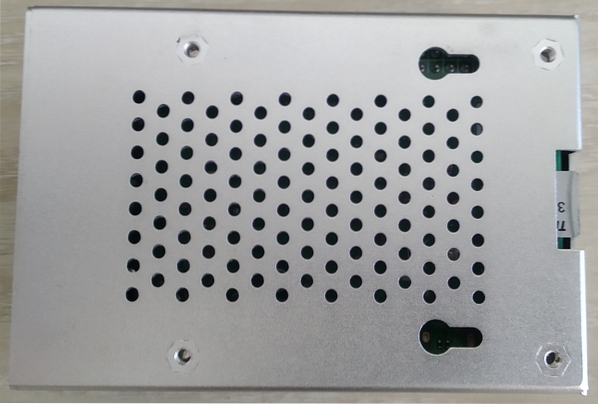
The case should look as shown in the images below once everything is set up, and all the screws are tightened in place.

Conclusion:
In this article, I have shown you how to install heat sinks on your Raspberry Pi. I have also shown you how to put your Raspberry Pi in a case and install a cooling fan for your Raspberry Pi. Your Raspberry Pi should stay cooler and perform better once you install heat sinks and a cooling fan.


