Checking for Supported GPU:
In order to use GPU to render with Autodesk Maya, you must have a supported NVIDIA GPU installed on your computer.
To check what NVIDIA GPU you have, run the following command:
$ lspci | grep NVIDIAAs you can see, I have NVIDIA 1050 Ti GPU.

You can find a list of all the Maya compatible GPUs at https://knowledge.autodesk.com/support/maya/troubleshooting/caas/simplecontent/content/maya-certified-hardware.html
If it is not compatible, you won't be able to use your GPU to render with Autodesk Maya 2019. My GPU NVIDIA 1050 Ti is not compatible with Autodesk Maya 2019. But, the procedures to get it to work should be the same if you have a supported GPU installed on your computer and the latest NVIDIA drivers installed.
Installing Required Libraries and Softwares:
You need to install a lot of softwares and libaries on Ubuntu 19.04 in order to get Autodesk Maya 2019 installed.
First, update the APT package repository cache with the following command:
$ sudo apt update
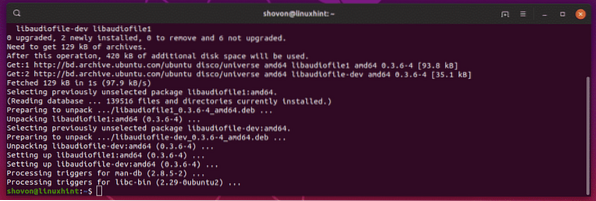
Now, install libaudiofile-dev and libgstreamer-plugins-base1.0-0 library packages with the following command:
$ sudo apt-get install -y libaudiofile-dev libgstreamer-plugins-base1.0-0
libaudiofile-dev and libgstreamer-plugins-base1.0-0 library packages should be installed.
Now, install libglw1-mesa, libglw1-mesa-dev and mesa-utils with the following command:
$ sudo apt-get install -y libglw1-mesa libglw1-mesa-dev mesa-utils
libglw1-mesa, libglw1-mesa-dev and mesa-utils should be installed.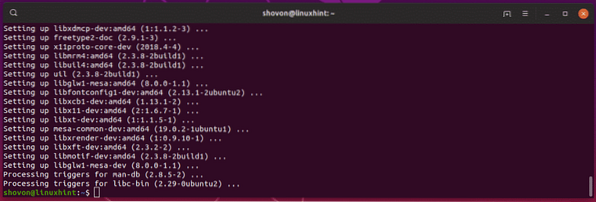
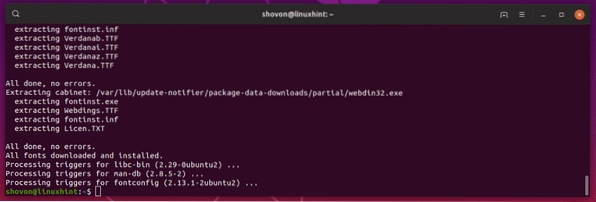
Now, install the required fonts with the following command:
$ sudo apt-get install -y xfonts-100dpi xfonts-75dpi ttf-mscorefonts-installerfonts-liberation

Now, press
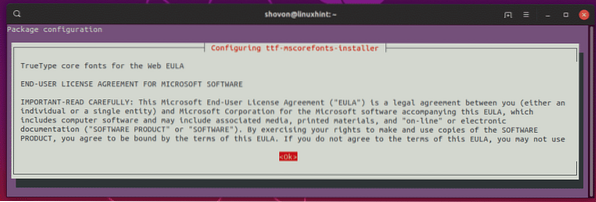
Select
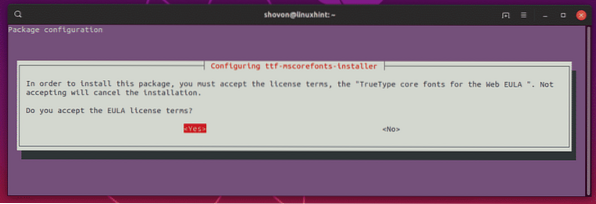
All the required fonts should be installed.
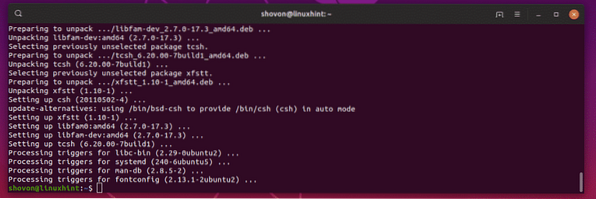
Now install csh, tcsh, libfam0, libfam-dev and xfstt with the following command:
$ sudo apt-get install -y csh tcsh libfam0 libfam-dev xfstt
csh, tcsh, libfam0, libfam-dev and xfstt should be installed.
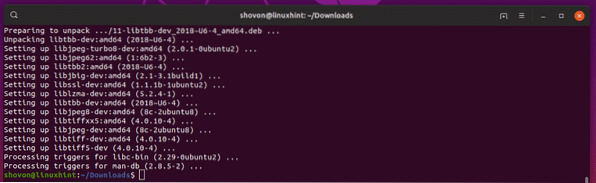
Now, install libtbb-dev, libtiff5-dev, libssl-dev, libssl1.1, gcc and libjpeg62 with the following command:
$ sudo apt install -y libtbb-dev libtiff5-dev libssl-dev libssl1.1 gcc libjpeg62
libtbb-dev, libtiff5-dev, libssl-dev, libssl1.1, gcc and libjpeg62 should be installed.
Now, download libxp6 deb package with the following command:
$ wget http://launchpadlibrarian.net/183708483/libxp6_1.0.2-2_amd64.deb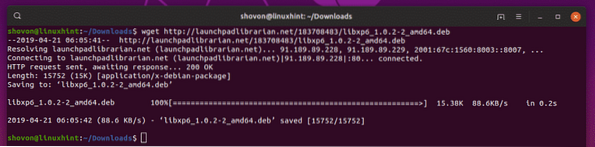
Now, install libxp6 with the following command:
$ sudo dpkg -i libxp6_1.0.2-2_amd64.deb
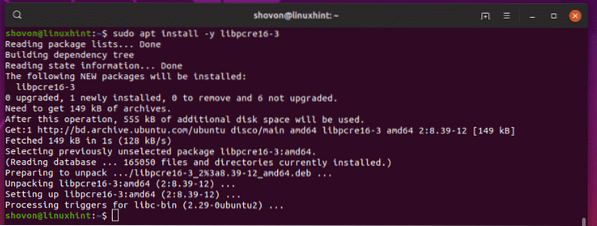
Now, install libpcre16 with the following command:
$ sudo apt install -y libpcre16-3
libpcre16 should be installed.
Now, install alien and elfutils with the following command:
$ sudo apt install -y alien elfutils
Downloading Maya 2019 and Preparing for Installation:
First, navigate to the ~/Downloads directory as follows:
$ cd ~/Downloads
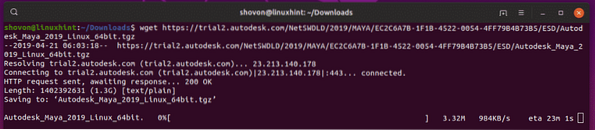
Now, download Autodesk Maya 2019 with the following command:
$ wget https://trial2.autodesk.com/NetSWDLD/2019/MAYA/EC2C6A7B-1F1B-452200544FF79B4B73B5/ESD/Autodesk_Maya_2019_Linux_64bit.tgz

It should take a while to download.
Once Maya 2019 is downloaded, create a new directory where you will extract the Maya 2019 installer as follows:
$ mkdir Maya2019
Now, extract the Maya 2019 installer archive into the newly created directory Maya2019/ as follows:
$ tar xvzf Autodesk_Maya_2019_Linux_64bit.tgz -C ./Maya2019
The Maya 2019 installer should be extracted.
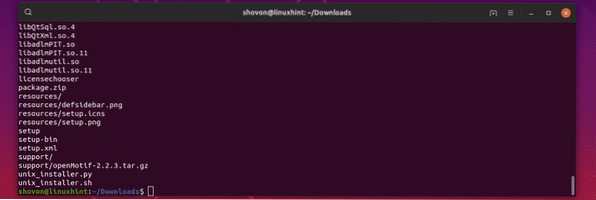
Now, navigate to the Maya2019/ directory as follows:
$ cd Maya2019/
Now, download the libpng15 rpm library package as follows:
$ wget http://downloadib01.fedoraproject.org/pub/fedora/linux/releases/29/Everything/x86_64/os/Packages/
l/libpng15-1.5.30-6.fc29.x86_64.rpm

Download libpng12 rpm library package as well.
$ wget http://download-ib01.fedoraproject.org/pub/fedora/linux/releases/29/Everything/x86_64/os/Packages/l/libpng12-1.2.57-8.fc29.x86_64.rpm

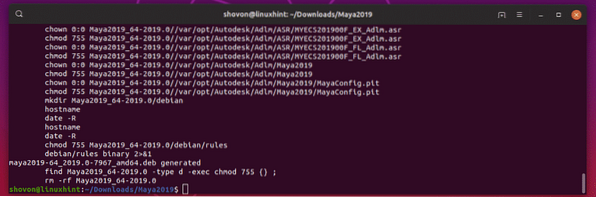
Now, convert all the rpm packages to deb packages as follows:
$ sudo alien -cv *.rpm
The process will take a long time to complete.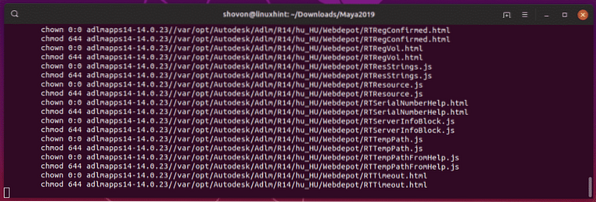
Once all the rpm packages are converted to deb packages, you should see the following output.
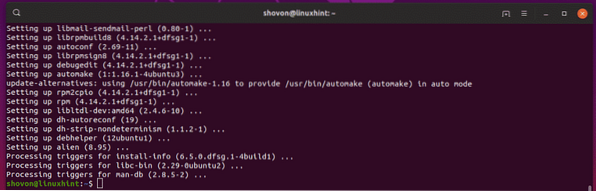
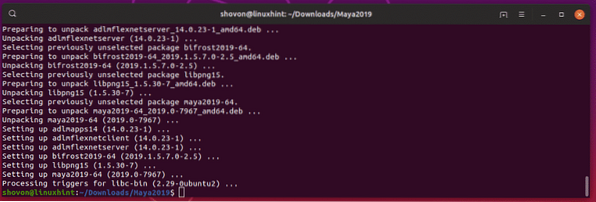
Now, install all the deb package files as follows:
$ sudo dpkg -i *.deb
All the deb packages should be installed.
Now, make symbolic links to all the required Maya libraries as follows:
$ sudo ln -s /usr/lib/x86_64-linux-gnu/libtbb.so /usr/lib/x86_64-linux-gnu/libtbb_preview.so.2


maya2019/lib/libcrypto.so.10

libssl.so.10

libpcre16.so.0


Installing Maya 2019:
Now, run the following command to create a mayainstall.c C source file.
$ echo "int main (void) return 0;" > mayainstall.c
Now, compile the mayainstall.c C source file as follows:
$ gc mayainstall.c
Now, make a backup of /usr/bin/rpm as follows:
$ sudo mv -v /usr/bin/rpm /usr/bin/rpm.backup
Now, copy the compiled C program to /usr/bin/rpm as follows:
$ sudo cp -v a.out /usr/bin/rpm
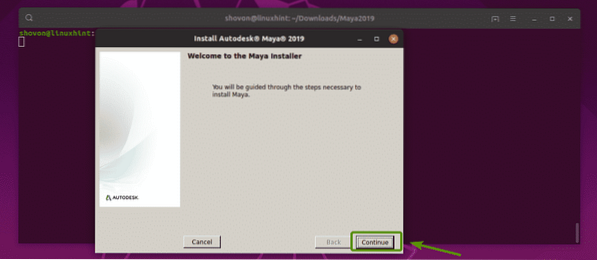
Now, run the following command to start the Maya 2019 installer:
$ sudo QT_X11_NO_MITSHM=1 ./setup
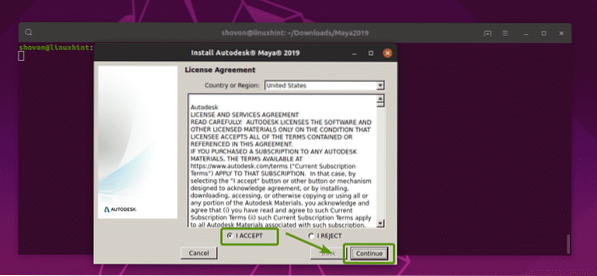
Maya 2019 installer should start. Now, click on Continue.
Select I ACCEPT and click on Continue.
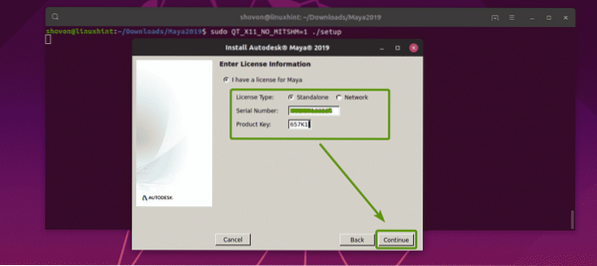
Now, type in your Maya 2019 serial number and product key and click on Continue.
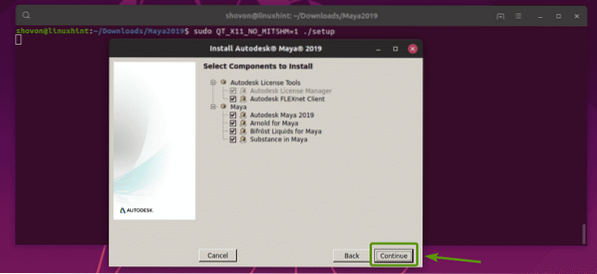
Now, click on Continue.
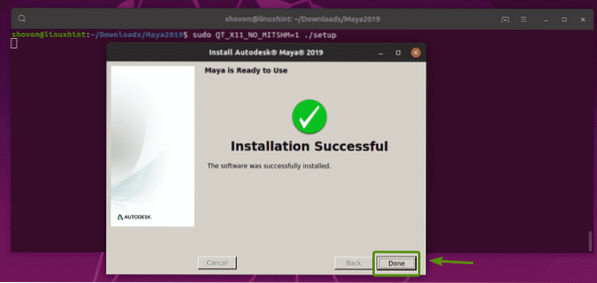
The installation should be successful. Now, click on Done.
Now, make a new directory /usr/tmp as follows:
$ sudo mkdir -p /usr/tmp
Change the directory permission of /usr/tmp directory as follows:
$ sudo chmod 777 /usr/tmp
Now, make Maya 2019 configuration directory as follows:
$ mkdir -p ~/maya/2019/syncColor/Shared
Now, create Maya.env file as follows:
$ echo "MAYA_DISABLE_CIP=1" >> ~/maya/2019/Maya.env

Now, change the permission of ~/maya directory as follows:
$ chmod -Rfv 777 ~/maya
Now, run the following commands to configure fonts:
$ xset +fp /usr/share/fonts/X11/100dpi/


Now, fix the Maya camera modified key with the following command:
$ gsettings set org.gnome.desktop.wm.preferences mouse-button-modifier "
Now, remove the /usr/bin/rpm file as follows:
$ sudo rm -v /usr/bin/rpm
Restore the original /usr/bin/rpm file as follows:
$ sudo mv -v /usr/bin/rpm.backup /usr/bin/rpm
Running Autodesk Maya 2019:
Now, you can run Autodesk Maya 2019 as follows:
$ /usr/autodesk/maya2019/bin/maya.bin
Click on I Agree.

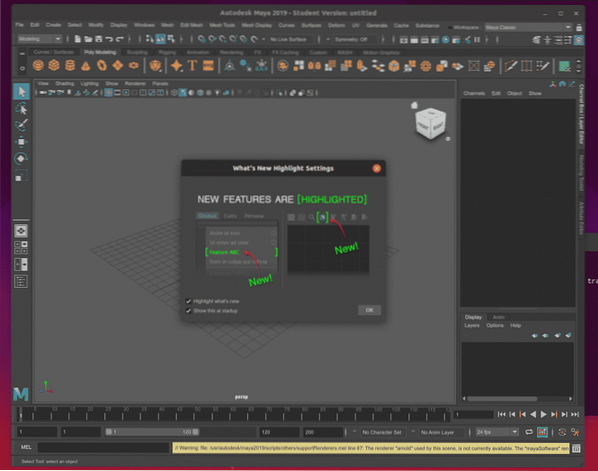
Autodesk Maya 2019 splash screen.

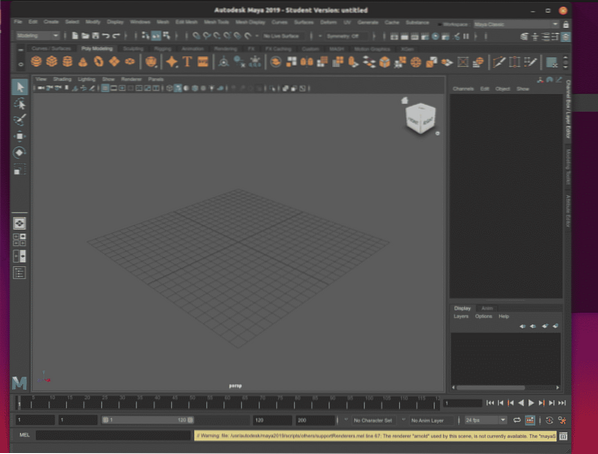
As you can see, Autodesk Maya 2019 is running.
Problems and Solution:
If you don't have an Autodesk Maya 2019 compatible NVIDIA graphics card and NVIDIA drivers installed on your Ubuntu 19.04 machine, you will see the following color management error.
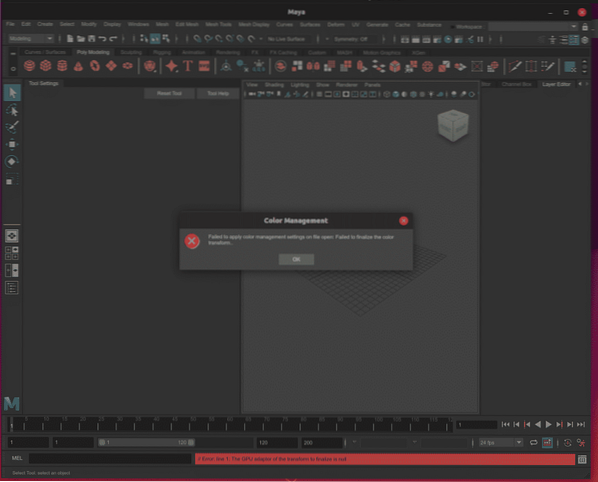
For the same reason, you won't be able to use the arnold render.
The following error messages pop up due to the same reason as well.

The solution is to install a Autodesk Maya 2019 compatible NVIDIA graphics card on your computer. It should work just fine. Currently, I don't have any Autodesk Maya 2019 compatible NVIDIA graphics card installed on my computer. So, I can't test whether it will work or not. But, It should. Let me know whether it does or not.
So, that's how you install Autodesk Maya 2019 on Ubuntu 19.04. Thanks for reading this article.


