
Apache Tomcat is a web server and servlet container developed by the Apache Software Foundation. It implements several Java EE technologies including Java Servlet, JavaServer Pages, Java WebSocket, and Java Expression language.
In today's tutorial, we are going to show you how to install and configure Apache Tomcat 9 with Oracle Java 8.
Step 1) Install Oracle Java
Enter the following commands one at a time in the Terminal to add the Java repository, update the system and install Java.
sudo add-apt-repository ppa:webupd8team/java
sudo apt-get update
sudo apt-get install oracle-java8-set-default
Select “yes” for the agreement and installation will continue. After installation is complete, you can check the Java Version and Java Home after installation as follows:
sudo java -version
sudo echo $JAVA_HOME
Step 2) Create a User for Tomcat
Typically, we don't recommend you to run Tomcat under the root user for security purpose. Rather, we advise you to create a new user and group. Additionally, we are going to install tomcat to “/opt/tomcat” folder to use as a Tomcat user home directory.
Start with creating a group and user.
sudo groupadd tomcat
sudo useradd -s /bin/false -g tomcat -d /opt/tomcat tomcat
Step 3) Download and install Tomcat
Tomcat 9 binary release can be downloaded from official download page. You can download “zip” or “tar.gz” file from under the binary distribution in the “core” section.
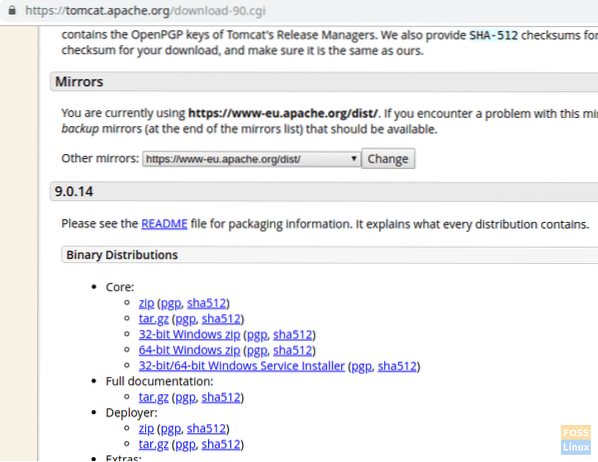
We are going to install Tomcat to “/opt”directory. So we will download package to that location.
Change directory to /opt
cd /opt
Copy the download URL and paste it in the below wget command to download Tomcat Package:
sudo wget https://www-eu.apache.org/dist/tomcat/tomcat-9/v9.0.14/bin/apache-tomcat-9.0.14.tar.gz
Extract the tar package.
sudo tar -xvzf apache-tomcat-9.0.14.tar.gz
Rename the extracted file as tomcat.
sudo mv apache-tomcat-9.0.14 tomcat
Modify ownership and permissions of Tomcat folder.
sudo chown -R tomcat: tomcat
Give executed permission to “bin” directory.
sudo chmod o+x /opt/tomcat/bin/
Step 4) Create a “systemd” file for Tomcat service management
To start and stop Tomcat service we will create a file called “tomcat.service” in the “/etc/systemd/system”.
sudo vim /etc/systemd/system/tomcat.service
Add the following content to the file.
[Unit] Description=Tomcat 9 Server After=network.target [Service] Type=forking User=tomcat Group=tomcat Environment="JAVA_HOME=/usr/lib/jvm/java-8-oracle" Environment="JAVA_OPTS=-Xms512m -Xmx512m" Environment="CATALINA_BASE=/opt/tomcat" Environment="CATALINA_HOME=/opt/tomcat" Environment="CATALINA_PID=/opt/tomcat/temp/tomcat.pid" Environment="CATALINA_OPTS=-Xms512M -Xmx1024M -server -XX:+UseParallelGC" ExecStart=/opt/tomcat/bin/startup.sh ExecStop=/opt/tomcat/bin/shutdown.sh UMask=0007 RestartSec=10 Restart=always [Install] WantedBy=multi-user.target
Then save and the exit file.
Restart “systemctl deamon”.
sudo systemctl daemon-reload
Start Tomcat service.
sudo systemctl start tomcat
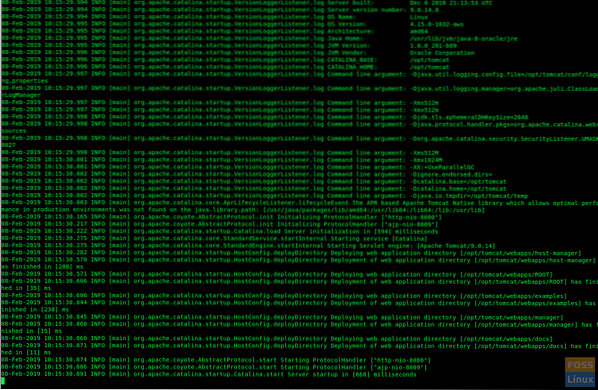
Monitor Tomcat logfile.
tail -f /opt/tomcat/logs/catalina.out
If there is no error you will get similar to below output:
Check the Tomcat service status.
sudo systemctl status tomcat

Enable Tomcat service on system boot:
sudo systemctl enable tomcat
Default Tomcat port is “8080” So need to allow that port on Ubuntu firewall.
sudo ufw allow 8080/tcp
Check firewall status:
sudo ufw status
Step 5) Configure Tomcat Web Management Interface
Edit the tomcat-users file as follows to add the following line to before “”. Obviously, you will have to replace the role name, username and password as desired in the following command:
sudo vim /opt/tomcat/conf/tomcat-users.xml
Restart Tomcat for the new configuration to take into effect.
sudo systemctl restart tomcat
Step 6) Test Tomcat
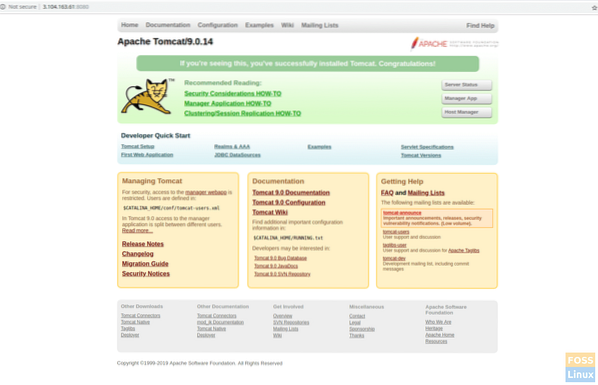
If you made this far successfully, you should be able to browse the Tomcat server. Launch the following URL in the browser.
http://serverIp:8080
You should see the page as follows:
Click on the manager app or host Manager. You should see a prompt for the user name and password. Enter tomcat username and password that was created on “tomcat-users.xml” file in step 5.
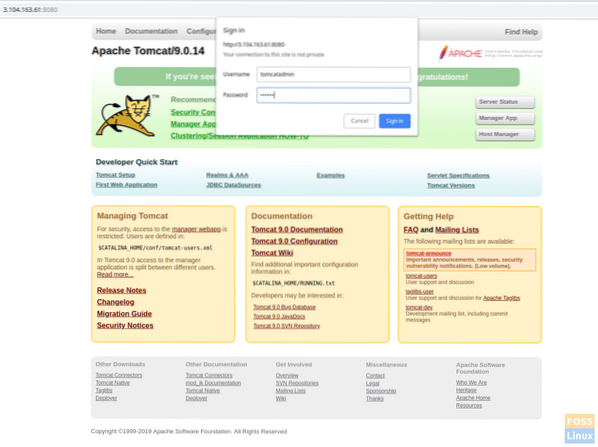
If everything went well, you should get an “Access Denied” error. This is completely normal.
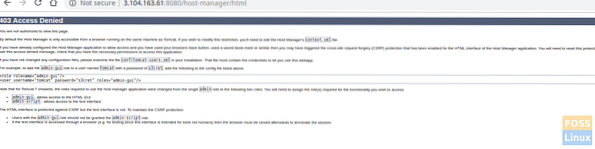
The reasoning behind this error is that the Tomcat web management interface is configured to restrict access to the apps Manager and Host Manager only from the localhost. Therefore remote IP access should be enabled. This is not recommended for production environments.
However, here is how to remove those restrictions and enable our public IP.
Open the following file for Manage App settings:
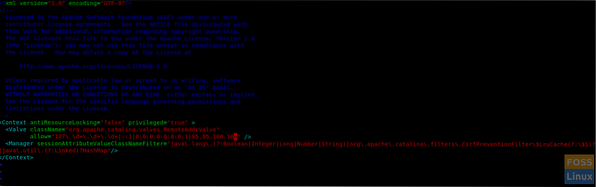
sudo vim /opt/tomcat/webapps/manager/META-INF/context.xml
For the Host Manager configurations:
sudo vim /opt/tomcat/webapps/host-manager/META-INF/context.xml
Modify the following section in both files. Replace your public IP with “yourIP” in the command below.
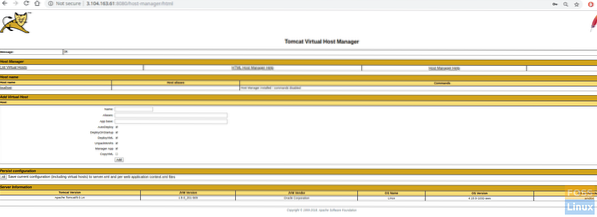
Restart Tomcat and then browse Tomcat again, following by clicking on Manager App or Host Manager. You should see no problems now.
sudo systemctl restart tomcat
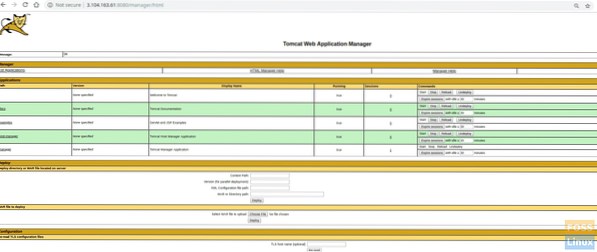
App ManagerHost Manager
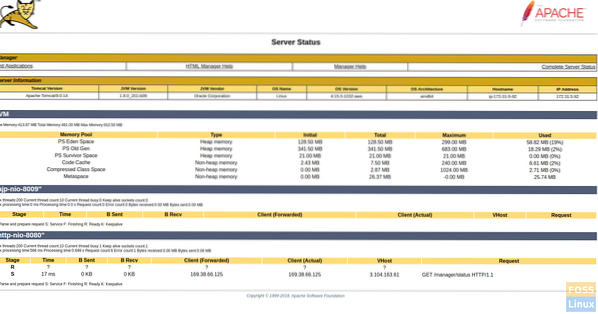
Server Status
Congratulations! You have now successfully installed and configured Tomcat 9. How did the instructions work for you? Let us know your feedback in the comments below and don't forget to share the tutorial with your friends!


