Installing GParted on Linux Mint
GParted is a well-known tool and is available in the standard repositories of Linux Mint.
You need to open up a terminal and type in:
$ sudo apt update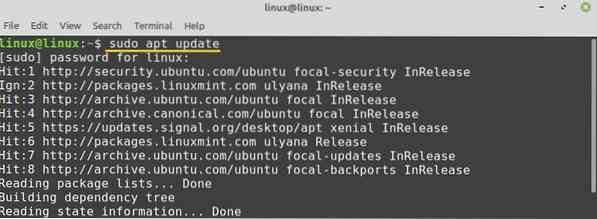
It's about time now two installs gparted and the way to do that is:
$ sudo apt install gparted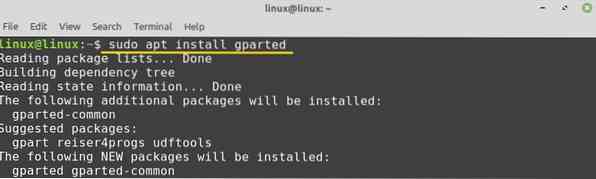
Hit 'y' on your computer keyboard for the installation of GParted.

GParted will be installed successfully on Linux Mint.
Getting started with GParted
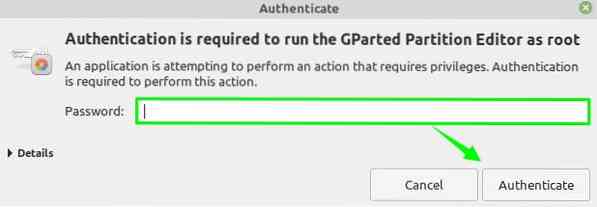
Once the GParted application is installed, open the Application Menu and search for 'GParted'.

Click on 'GParted' to open it. Authentication is required to run the GParted application. Put in your password and hit the 'Authenticate' button.
GParted would open up, and you can see its interface.

On the right corner, select the drop-down menu and choose the disk if you have multiple disks. I selected the size of the hard drive to be 30GB.
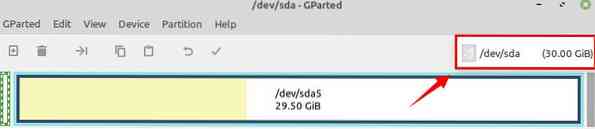
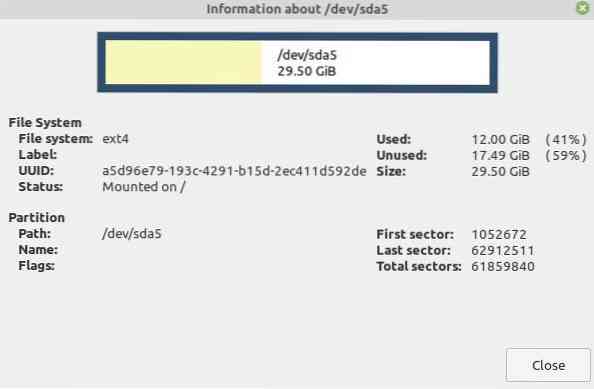
/dev/sda5 is my main hard disk which stores all the files and applications on the Linux Mint system.

Get device information
If you want to see the information of the disk, select the disk and right-click on it.
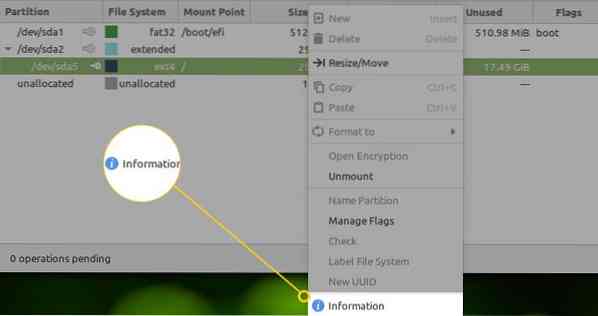
Select the 'Information' option. The disk-related information will be displayed on a new screen.
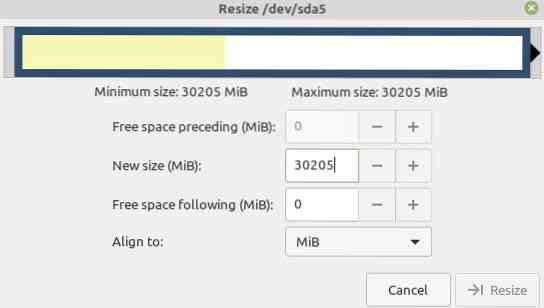
Using GParted, you can easily resize or move your partitions. To do so, select the partition and right-click on it. Now select the 'Resize/Move' option.

Enter the disk's new size in Megabytes for resizing the partition, and click 'Resize'.
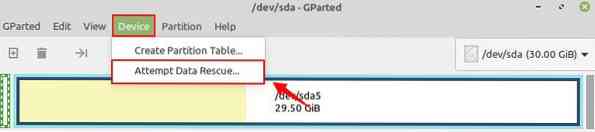
Attempt Data Rescue
We can recover our lost data on Linux using GParted. To recover the lost data, first, we need to install the gpart command. Fire up the terminal and install gpart with the command:
$ sudo apt install gpart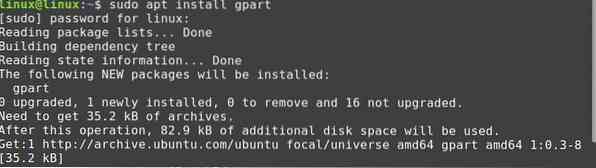
Click 'Device' from the top menu and select the 'Attempt Data Rescue' option.
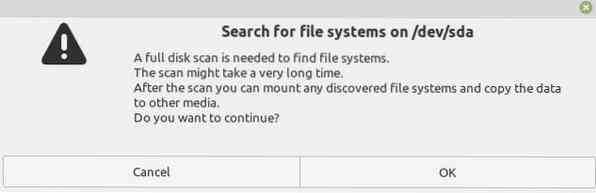
A full disk scan will be performed to find the file systems. It could be a time-consuming process. Once you find the file system, you can easily mount it and copy it to other media.
Create a new partition table
You can create a new partition table using Gparted. Click on 'Device' and select the 'Create Partition Table' option. While creating the partition table, you will be able to select the type of partition as well.
Create new partition
For creating a new partition, click on 'Partition' and select the 'new' option.

You must have free space for creating the new partition. Enter the appropriate data in all the required fields and click 'Add'.

Conclusion
GParted is a free and open-source disk management and partition tool. Using the GParted tool, we can check the disk information, recover lost data, and create the new partition table and new partitions. This article explains the installation and use of GParted on Linux Mint.


