
The Gnome Tweak Tool is a utility used to customize the overall look and behavior of elements on the Gnome Desktop Environment. In simple terms, you can use Gnome Tweaks to modify the look and feel of your entire Ubuntu system.
In this post, we will show you how to install Gnome Tweaks on Ubuntu and show you how to get started with it. Our distribution of choice, in this case, is Ubuntu 20.04 LTS.
Installing Gnome Tweaks on Ubuntu 20.04 LTS
Step 1. Open the Ubuntu Terminal.
You can do this by navigating the applications menu or using the keyboard shortcut Ctrl + Alt + T.
Step 2. Update your system with the command below:
sudo apt update
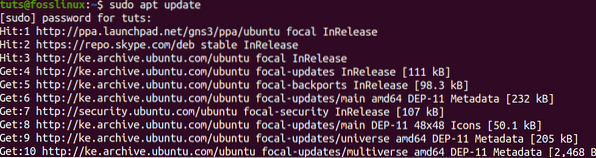
That ensures all system packages are up-to-date, the core operating system, the Kernel, and applications installed via apt or software center.
Step 3. Make sure you have the universe repository enabled on your system. You can easily do that with the command below:
sudo add-apt-repository universe

If you get an output like that shown on the image above, then, Universe repository is already enabled on your system.
Step 4. Now you can proceed to install the Gnome Tweak Tool. Execute the command below on the Terminal.
sudo apt install gnome-tweak-tool
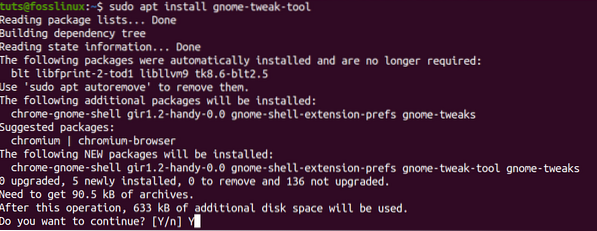
The installation process shouldn't take a long time, but that depends entirely on your Internet speed.
Step 5. Once the installation process completes successfully, you can launch Gnome Tweaks from the applications menu.

Alternatively, you can open Gnome Tweaks via the Terminal with the command gnome-tweaks.

Step 6. Install additional Gnome Tweaks extensions.
The Gnome Tweaks itself has enough options to customize your Ubuntu system as you wish. However, if you need to modify further, you can install additional Gnome Tweaks extensions. To get started, you first have to search for all available extensions with the command below:
sudo apt search gnome-shell-extension

Upon completing the command execution, you will see a list of all available extensions, as shown in the image above.
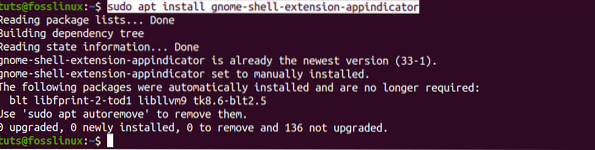
Step 7. Installing a single extension.
To install a single extension is quite easy. Use the apt install command with the extension name, as shown on the Terminal. For example, to install the first extension listed on the Image above, we will execute the command below:
sudo apt install gnome-shell-extension-appindicator
Step 8. Install all available extensions.
If you want to install all of the extensions listed by the search command, execute the command below on your Terminal.
sudo apt install $(apt search gnome-shell-extension | grep ^gnome | cut -d / -f1)
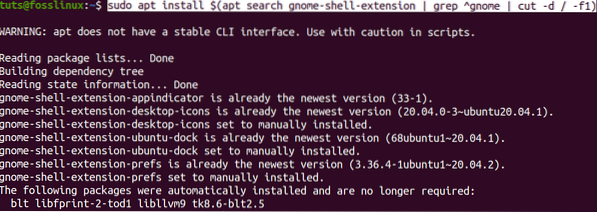
It might take quite a while to execute as it finds and installs all available extensions for the Gnome Tweak Tool.
Getting Started with Gnome Tweaks
Launch Gnome Tweaks by searching for Tweaks on the applications menu or executing the command gnome-tweaks on the Terminal.
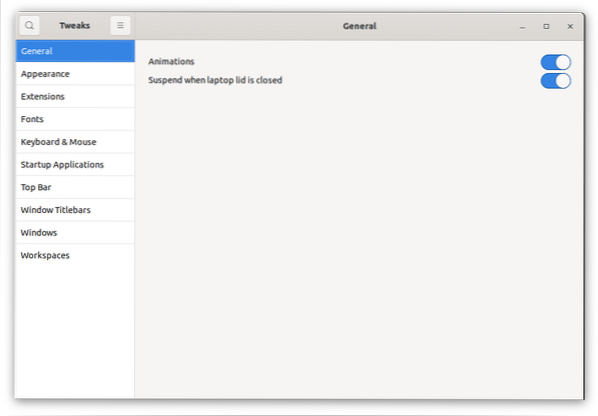
On the left, you will see a panel listing all the available options you can use to customize and manage your Gnome Desktop Environment. We will tweak our applications and files' overall look by switching to a dark theme for this post.
Click on the Appearance menu located on the left panel. Under the Themes section, click on the dropdown box next to the Applications name. Select the option Adawaita-dark or Yaru-dark to set a dark theme. You will immediately see the Gnome Tweaks app switch to a dark mode. That's' so cool! If you don't want a dark theme, there are many other options you can choose from.
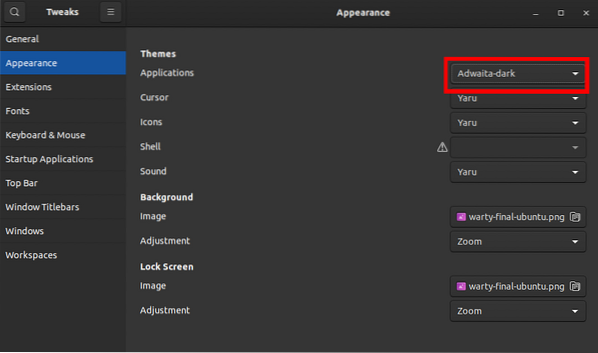
From the image above, you can see the Gnome Tweaks application has switched to a dark theme. That has also applied to all the applications installed in your system. That's just one of the ways you can use the Gnome Tweaks to customize your Ubuntu Desktop. You can also try the other options available, like managing Startup applications, Windows Title bars, Windows, Fonts, and much more.
Conclusion
The Gnome Tweaks is a must-have application for any user running a Linux Distribution using the Gnome Desktop Environment like Ubuntu. I hope this post has given you a step by step guide to installing and getting started with Gnome Tweaks.
Do you feel there is something we haven't tackled regarding the Gnome Tweaks tool? Please feel free to share it with our readers in the comments below.


