We know that a file in a computer system can be as small as a few Bytes or as large as a thousand Gigabytes. When you want to transmit a file from one end to another, its size plays a very important role in deciding whether you want to send it as it is or compress it. The .gz file format is a very commonly used compressed file format for the Linux operating system. Today, we will explore the methods of extracting and opening a .gz file in Linux.
Note: The flavor of Linux that has been used to demonstrate these methods is Linux Mint 20.
Methods of extracting and opening a .gz File in Linux Command
There are multiple different methods in which we can extract and open a .gz file in Linux. We have listed down all those methods below:
Method # 1: Using the “gzip” Command with “-d” Flag:
This method is helpful when you wish to extract the actual file while deleting the .gz file. For using the “gzip” command with the “-d” flag, you will have to perform the following steps:
For demonstrating the first three methods, we will first create a .gz file in our Home directory by running the following command in our terminal:
$ gzip FileName.txtIn our example, we already had a text file named gzFile.txt in our Home directory. We decided to create its .gz file with the above-mentioned command.

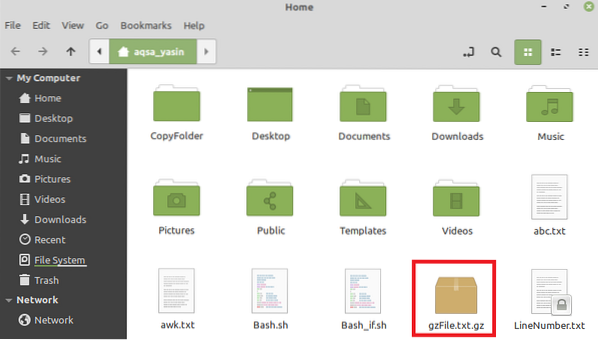
Once you run this command, you can visit your Home directory to verify if a .gz file has been created or not. Our .gz file is highlighted in the image shown below:
After creating this file, we will try to extract it by running the following command in our terminal:
Here, you can replace FileName with the name of your .gz file, which in our case was gzFile.txt.

When you will visit your Home directory after running this command, you will notice that your actual file has been extracted as highlighted in the image shown below. However, your .gz file has been removed because of running the above-mentioned command.
Method # 2: Using the “gzip” Command with “-dk” Flag:
This method is helpful when you want to extract the actual file while keeping the .gz file as well for future usage. For using the “gzip” command with the “-dk” flag, you will have to perform the following steps:
We will try to extract the same .gz file that we created above by running the command shown below:
$ gzip -dk FileName.gzHere, you can replace FileName with the name of your .gz file, which, in our case, was gzFile.txt.

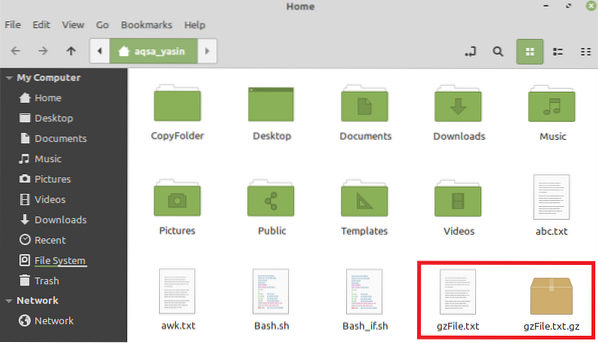
When you visit your Home directory after running this command, you will notice that your actual file has been extracted as highlighted in the image shown below. However, your .gz file has also been retained because of running the above-mentioned command.
Method # 3: Using the “gunzip” Command:
This method is an exact alternative to our Method # 1, which means that once you extract the actual file, the .gz file will not be kept any further. For using the “gunzip” command to extract and open a .gz file, you will have to perform the following steps:
We will try to extract the same .gz file that we created above by running the command shown below:
$ gunzip FileName.gzHere, you can replace FileName with the name of your .gz file, which in our case was gzFile.txt.

In our case, since we already had an extracted file with the same name in our Home directory because of running the command shown in Method # 2, our terminal prompted us if we want to overwrite this file or not, therefore, we proceed by entering a “y” as shown in the following image. However, if you have not performed any other extraction methods on the same file before, then running this command will not display any such message.

When you visit your Home directory after running this command, you will notice that your actual file has been extracted as highlighted in the image shown below. However, your .gz file has been removed because of running the above-mentioned command.
Once you have your .gz file extracted by following any of the three methods shown above, you can open it simply by double-clicking on it.
Method # 4: Using the “tar” Command:
At times, instead of having a simple .gz file, you have a .tar.gz or a .tgz file, which can be extracted and opened with the help of the “tar” command in the following manner:
For demonstrating this method, we will first create a .tgz file in our Home directory by running the following command in our terminal:
$ tar -czvf NameOftgzFile.tgz NameOfActualFile.txtIn our example, we already had a text file named targzFile.txt in our Home directory. We decided to create its .tgz file with the above-mentioned command.

When you run this command, the name of your actual file will appear on the terminal, which will indicate that its .tgz file has been created as shown in the image below:

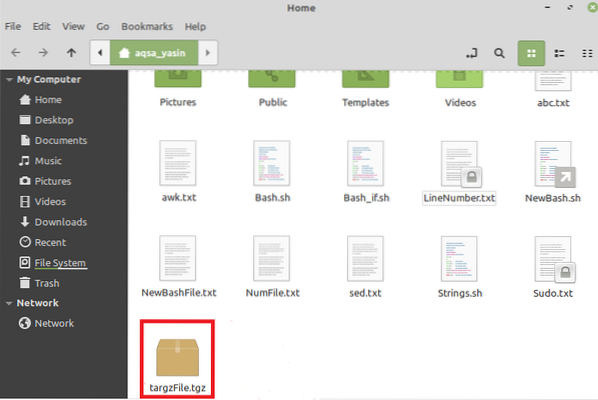
Once you run this command, you can also visit your Home directory to verify if a .tgz file has been created or not. Our .tgz file is highlighted in the image shown below:
After creating this file, we will try to extract it by running the following command in our terminal:
Here, you can replace FileName with the name of your .tgz file, which in our case was targzFile.txt.

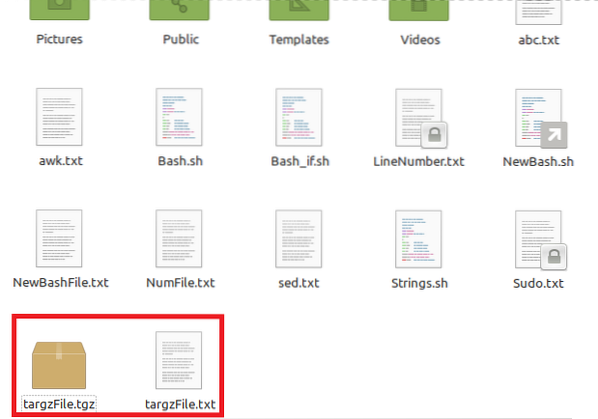
When you visit your Home directory after running this command, you will notice that your actual file has been extracted as highlighted in the image shown below. However, your .tgz file has also been retained because of running the above-mentioned command.
Once you have your .tgz file extracted, you can open it simply by double-clicking on it.
Conclusion:
The four methods discussed in this article provide you with great solutions for extracting and opening the .gz as well as the .tgz files in Linux. You can choose to follow any of these methods according to your liking.


