Once you fix the issues with your network configurations, you can gain back access to your Internet connection. That is why network configurations are considered extremely useful in any operating system. Today, we will be learning the method through which you can easily do network configuration on your Oracle Linux 8 system which is a relatively newer flavor of the Linux operating system.
Method of doing Network Configuration on Oracle Linux 8:
For configuring a network on Oracle Linux 8, we should perform all the steps stated below:
Step # 1: Access the Network Settings of your Oracle Linux 8 System:
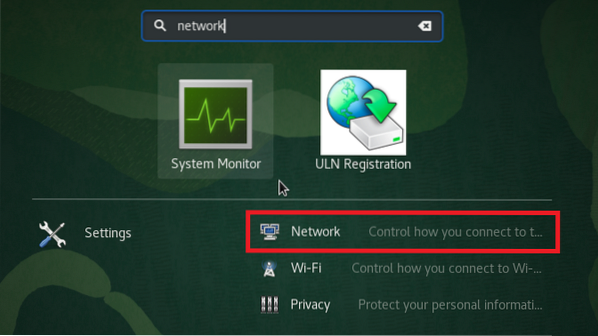
In the first place, you need to access your system's network settings. This can be done by searching for a network in your Activities search bar of Oracle Linux 8 and clicking on the Network search result as highlighted in the following image:
Step # 2: Add a New Network to your Oracle Linux 8 System:
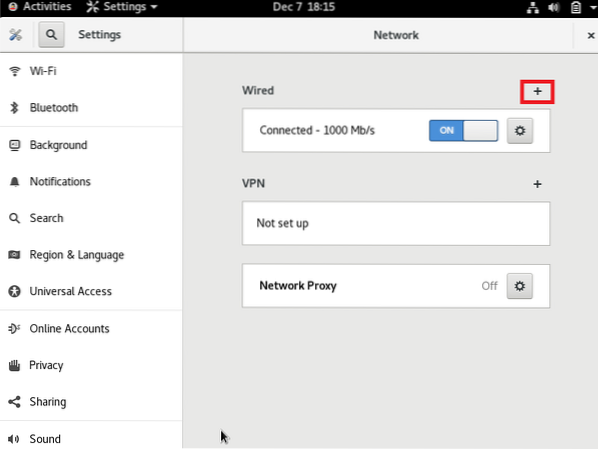
Once you have managed to access the Network Settings of your Oracle Linux 8 system, you need to add a new network to your system. For that, you have to click on the “+” icon highlighted in the image shown below:
Step # 3: Set up the Identity of your Network:
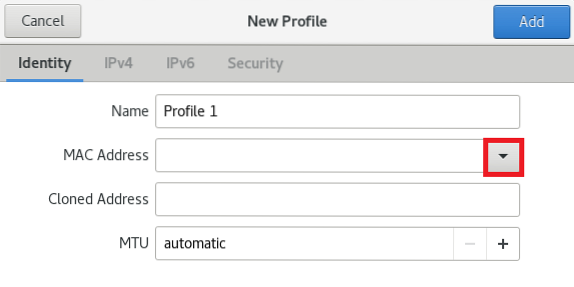
When you will click on the “+” icon to set up the desired network, you will be able to set up its identity. You can have any name of your choice for this new network. By default, it is set up as “Profile 1”. We have kept the default name for our network. Then you can choose the MAC Address for your network by clicking on the dropdown list that you can see with the MAC Address field as highlighted in the following image:
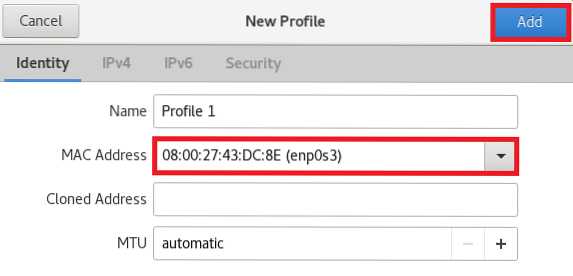
Now choose the available MAC Address from this dropdown list. You can even add a Cloned Address but that is optional. You can even set up a manual Maximum Transmission Unit (MTU) by clicking on the “+” icon located beside this field. Though, if you wish to go with the default MTU, then you can keep the “automatic” option selected. Finally, when you have set up the identity of your new network, you can click on the “Add” button as highlighted in the image shown below to save these settings.
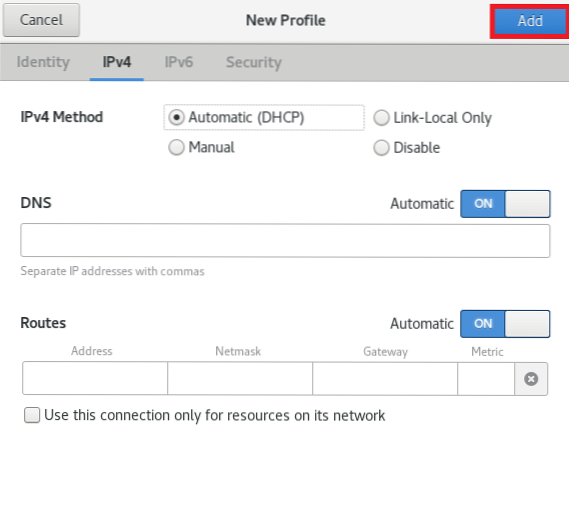
Step # 4: Configure the IPv4 Settings:
After configuring the identity of your new network, the next thing that you can do is to configure the IPv4 settings for which you will have to switch to the IPv4 tab. In the following tab, you will be permitted to choose your IPv4 method. We will be going with the Automatic (DHCP) method which is also the default IPv4 method. Additionally, you can even provide specific IP addresses in the DNS field and can even define the Netmask and Gateway fields. You can also restrict the access of the specified connection to the resources of your particular network by checking the checkbox provided before this field. When you are satisfied with your IPv4 settings, then you can simply click on the “Add” button to save these settings.
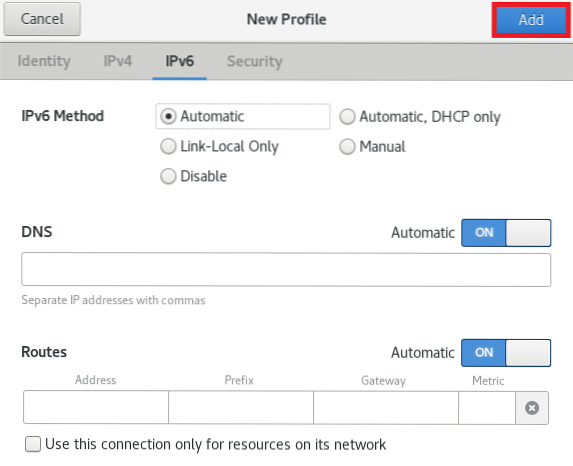
Step # 5: Configure the IPv6 Settings:
After configuring the IPv4 settings of your new network, the next thing that you can do is to configure the IPv6 settings for which you will have to switch to the IPv6 tab. In the following tab, you will be permitted to choose your IPv6 method. We will be going with the Automatic method which is also the default IPv6 method. Additionally, you can even provide specific IP addresses in the DNS field and can even define the Prefix and Gateway fields. You can also restrict the access of the specified connection to the resources of your particular network by checking the checkbox provided before this field. When you are satisfied with your IPv6 settings, then you can simply click on the “Add” button to save these settings.
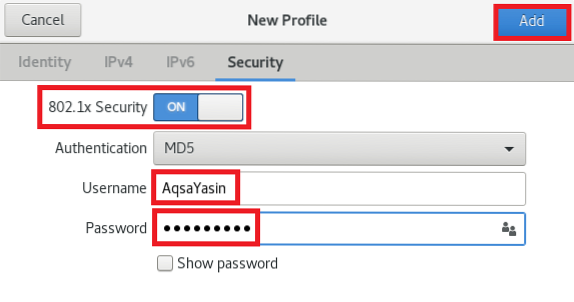
Step # 6: Configure the Security Settings of your Network:
Finally, the last step that we can perform in a network configuration is to set up its security settings. For that, we will switch to the Security tab. You can enable the 802.1x network authentication protocol by turning on the toggle button located beside the 802.1x Security field as highlighted in the following image. Enabling this network authentication protocol will allow you to set up your authentication credentials. You can even choose your desired authentication algorithm by clicking on the respective dropdown list. By default, it is set up to the MD5 algorithm. In the Username and Password field, you can provide any name and password of your choice. Finally, you can click on the “Add” button to save your settings.
Conclusion:
This article provides you with a detailed guide on doing network configurations on Oracle Linux 8 system. Once you set up your network connection according to your choice, hopefully, you will not be facing any troubles while using the Internet on your computer system. Moreover, if at any stage you feel like any configuration gets messed up, you can always look back at your network settings and can instantly fix that issue in the same manner as we have described in this article. By going through this whole procedure, you will not only be able to enhance your networking knowledge but you will also be able to fix most of your network-related issues on your own.

