I am a big fan of Kaspersky Internet Security and has been using the same on all my PCs for the past three years. Like many other antivirus solutions, Kaspersky also offers a free Rescue Disk to clean an infected PC without booting into Windows.

If you are new to Rescue Disk, it's a bootable CD containing a set of tools for efficiently detecting and eliminating computer infections. It can be used when a computer operating system or antivirus fails to launch properly.
While it's possible to download and burn a bootable Rescue CD/DVD, you can also create a Rescue USB drive if you have KIS on your machine. The Rescue Disk Creation Wizard present in Kaspersky Internet Security allows you create a bootable Rescue USB with a few mouse clicks.
In this guide we will show you how to create a bootable Kaspersky rescue USB using KIS 2012:
Step 1: Double-click on the Kaspersky icon in the system notification area of the taskbar to launch the main window of Kaspersky Internet Security.

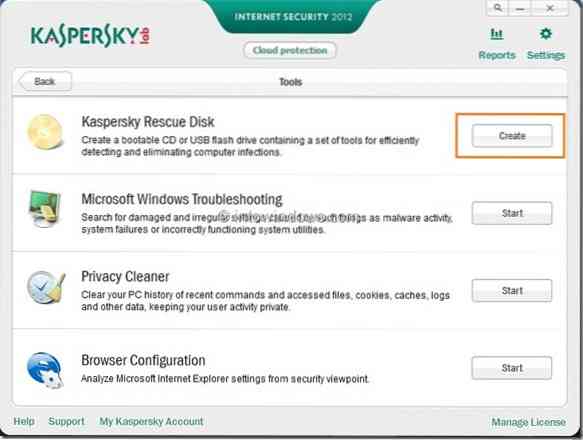
Step 2: In the main window, click Tools to see Kaspersky Rescue Disk tool along with other available tools in KIS 2012.

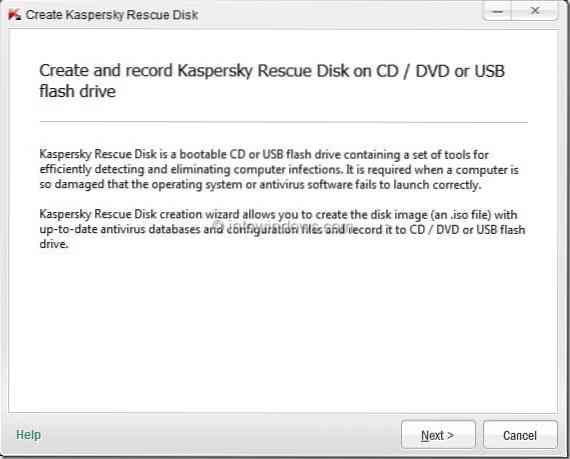
Step 3: Click Create button next to Kaspersky Rescue Disk to launch Create Kaspersky Rescue Disk wizard. Click Next button to continue.
Step 4: In this step, you need to select Kaspersky Rescue Disk image source. That is, if you have already downloaded the Rescue ISO image file, select Copy ISO image from local or network drive to avoid downloading the ISO from Kaspersky server.
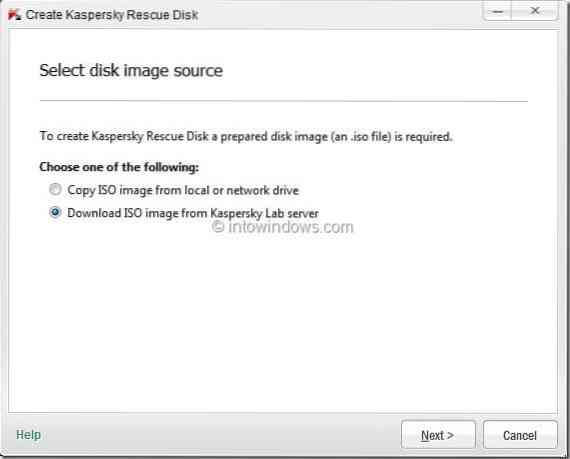
Since you are creating a Rescue Disk for the first time, select the second option, Download ISO image from Kaspersky Lab server option and click Next button to start downloading the image file.
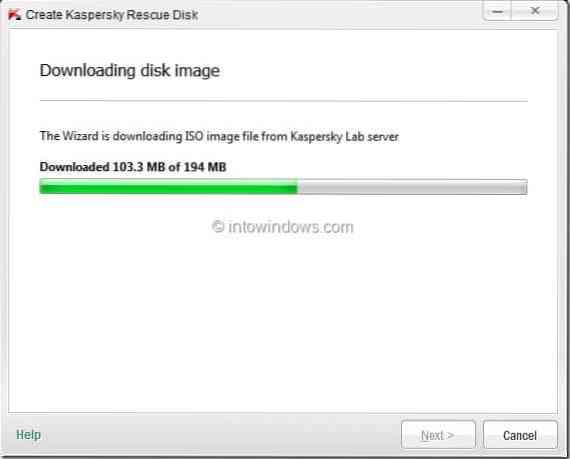
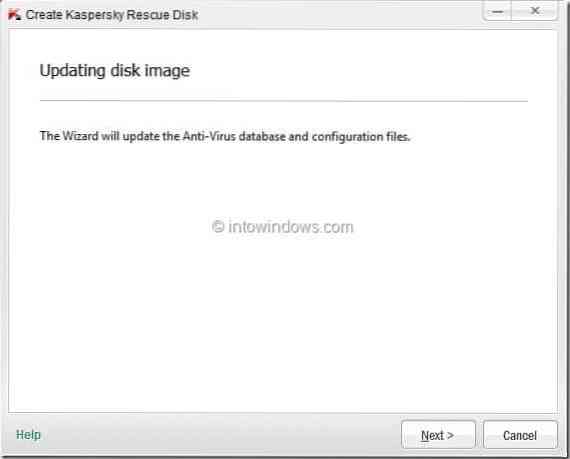
Step 5: Once the download is done, the wizard will update your Kaspersky antivirus database. Please click Next to continue. The process may take a few minutes.
Step 6: Now you will asked to select the type of rescue disk you would like to create. As we are creating Kaspersky Rescue Disk USB, select Record to USB flash drive option.
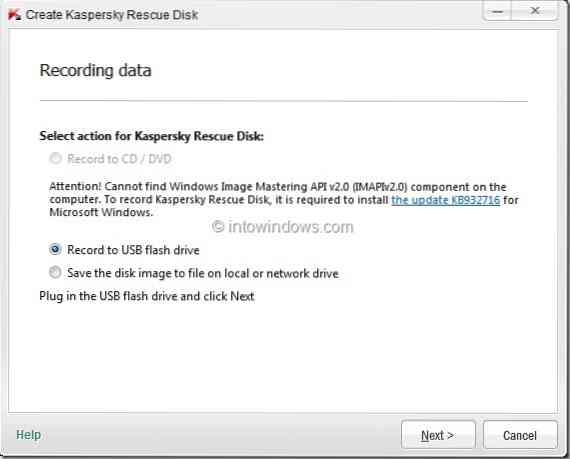
As you can see in the above snapshot, the Rescue Disk wizard asks to install an update (KB932716) before proceeding to the next step. The update is required for XP and Vista OSs only. So, if you are running Windows 7 and later, simply ignore and it.
Please connect an empty USB flash drive (1GB+) before clicking the Next button.
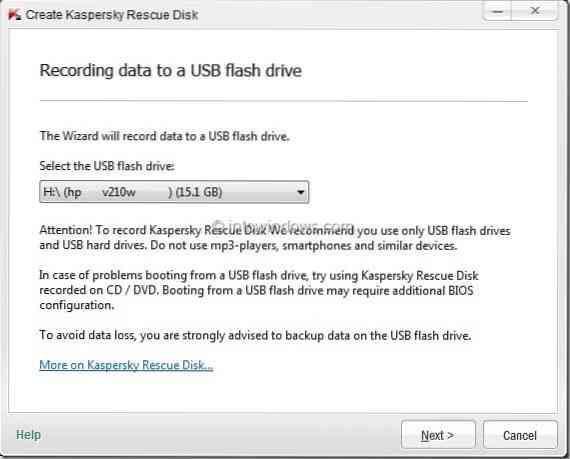
Step 7: In this step, select your USB flash drive that you want to use for Rescue USB from the drop down list and click Next button.
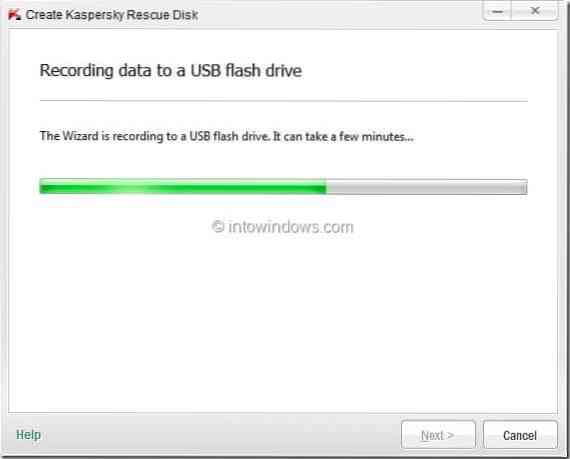
Step 8: The process may take a few minutes to complete. Once completed, click Finish button to exit the wizard.
Step 9: Your Kaspersky Rescue USB is ready now.
NOTE: Please note that you need to enable USB boot in BIOS to be able to boot from USB. We have used Kaspersky Internet Security 2012 to create this bootable rescue USB. The procedure might be different in other versions of Kaspersky Internet Security.