Configuring SSH for Git Server:
In order to set up a Git server to work over SSH, you have to make sure SSH is installed and is running correctly.
First, update the CentOS 8 package repository cache with the following command:
$ sudo dnf makecache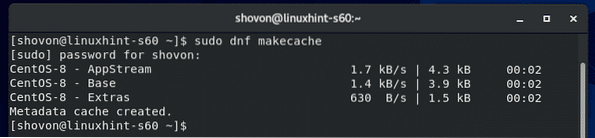
Now, install SSH server with the following command:
$ sudo dnf install -y openssh
It should be installed. In my case, it was already installed.

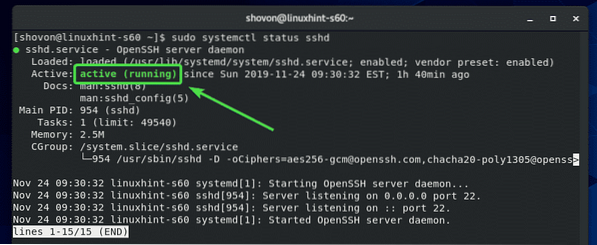
Now, check whether the SSH service is running with the following command:
$ sudo systemctl status sshd
The SSH service should be running as shown in the screenshot below.
If for some reason, the SSH service is not running for you, you can start it with the following command:
$ sudo systemctl start sshdNow, allow access to the SSH ports through the firewall with the following command:
$ sudo firewall-cmd --add-service=ssh --permanent
Finally, run the following command for the firewall configuration changes to take effect:
$ sudo firewall-cmd --reload
Installing Git:
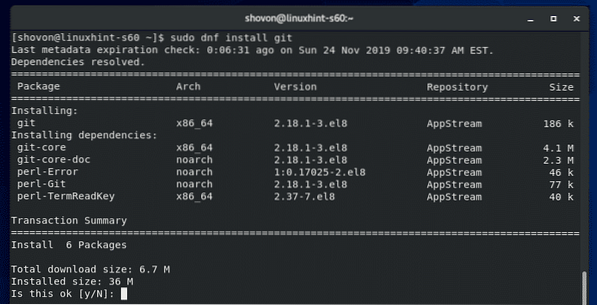
Now, you can install Git with the following command:
$ sudo dnf install git
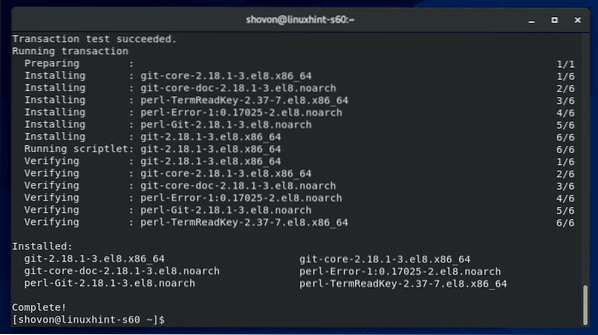
To confirm the installation, press Y and then press
Git should be installed.
Creating a Dedicated User for Hosting Git Repositories:
Now, create a dedicated user git with the following command:
$ sudo useradd --create-home --shell /bin/bash git
Now, login as the git user with the following command:
$ sudo su - git
Now, create a new directory ~/.ssh as follows:
$ mkdir ~/.ssh
Only the git user should have read, write and execute permission to the ~/.ssh directory.
To do that, run the following command:
$ chmod 700 ~/.ssh/
As you can see, now only the user git has read, write and execute permission to the directory.
$ ls -ld ~/.ssh/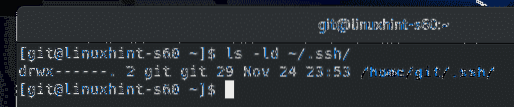
Now, create a new file ~/.ssh/authorized_keys as follows:
$ touch ~/.ssh/authorized_keys
Only the git user should have read and write permission to the ~/.ssh/authorized_keys file.
To do that, run the following command:
$ chmod 600 ~/.ssh/authorized_keys
As you can see, now only the user git has read, and write permission to the ~/.ssh/authorized_keys file.
$ ls -lh ~/.ssh/authorized_keys
Adding Client public Key to the Git Server:
To access the git repositories on the Git server, the users of the repository must add their public keys to the Git server.
The users can generate their SSH keys with the following command:
$ ssh-keygen
Press

Press

Press
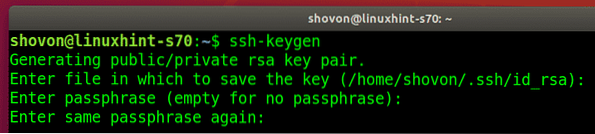
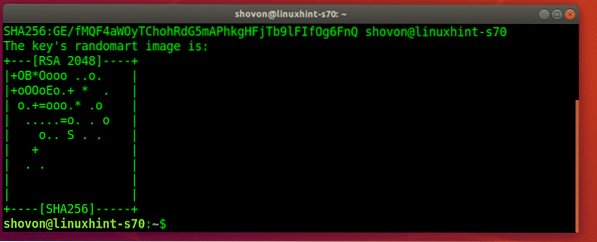
The SSH key should be generated.
Now, the users can find their public key in the ~/.ssh/id_rsa.pub file.
$ cat ~/.ssh/id_rsa.pub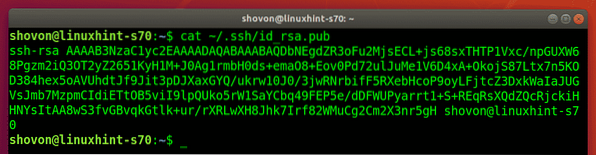
Now, the users should send their public keys to the Git server administrator and the server administrator can add these keys to the Git server.
Let's say, the server administrator has uploaded the public key file to the Git server. The file is in the path /tmp/shovon-key.pub.
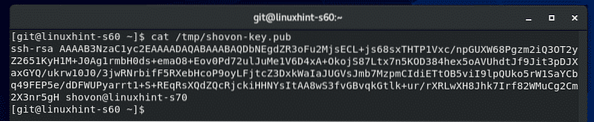
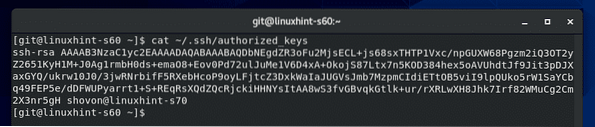
Now, the server administrator can add the contents of the public key to the ~/.ssh/authorized_keys file as follows:
$ cat /tmp/shovon-key.pub >> ~/.ssh/authorized_keys
The public key should be appended to the end of the ~/.ssh/authorized_keys file.
Creating an Empty Git Repository on the Git Server:
In the home directory of the git user, we will keep all our Git repositories that authorized people can access.
To create an empty Git repository test on the Git server, run the following command:
$ git init --bare test.git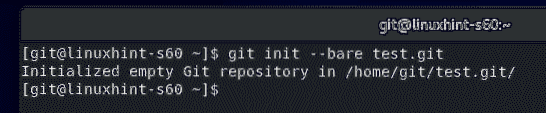
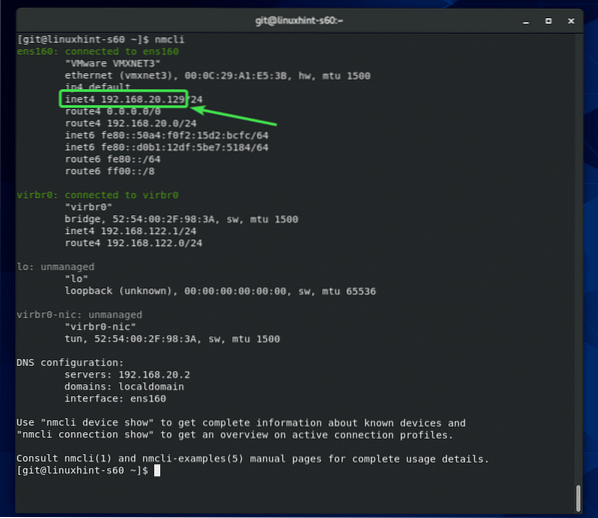
If an authorized user wants to access the Git repository from the Git server, all he needs is the name of the Git repository and the IP address of the Git server.
To find the IP address of the Git server, run the following command:
$ nmcliThe IP address in my case is 192.168.20.129. It will be different for you. So, make sure to replace it from now on.
A new directory test.git should be created on the Git server.
Accessing Git Repositories from Git Server:
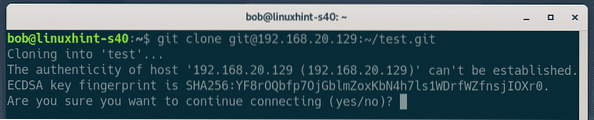
Now, an authorized user can access the test Git repository we've created earlier as follows:
$ git clone [email protected]:~/test.git
If the user is connecting to the Git server for the first time, he/she will have to type in yes and press

The Git repository test should be cloned.
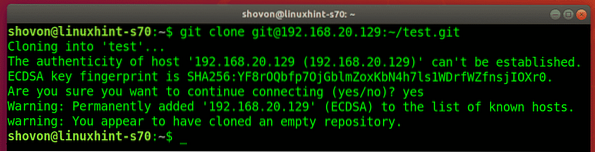
A new directory test/ should be created in the users current working directory.
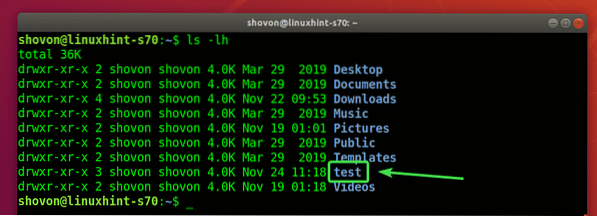
The user will have to navigate to the test/ directory as follows:
$ cd test/
Let's say, the user created a new file.
$ echo "Hello world" > message.txt
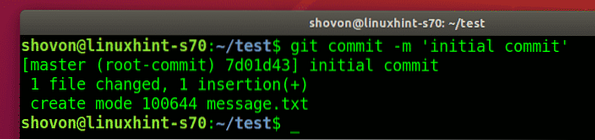
Committed the changes.
$ git add .
$ git commit -m 'initial commit'

Then, the user pushed the changes to the Git server.
$ git push origin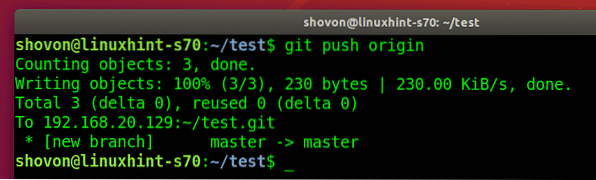
Adding Another Team Member:
If another user wants to access the Git repository test, he will have to generate an SSH key and send the public key to the Git server administrator. Once the Git server administrator adds his/her public key to the ~/.ssh/authorized_keys file, the user can access the Git repositories on the server as well.
Let's say, bob also wants to work on the test Git repository.
He clones the test Git repository on his computer.
$ git clone [email protected]:~/test.git
bob types in yes and presses
The test Git repository is cloned.

bob navigates to the test/ directory.

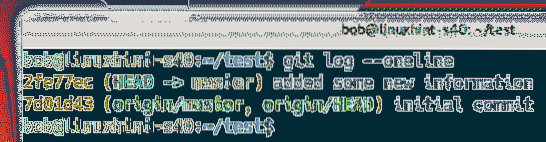
Finds the commit that the person working on this Git repository made.
$ git log --oneline
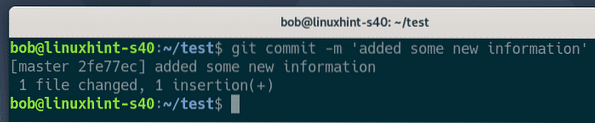
He makes some changes to the project.
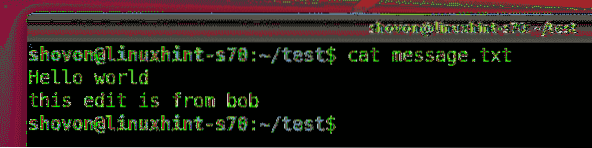
$ echo "this edit is from bob" >> message.txt
Commits the changes.
$ git add .
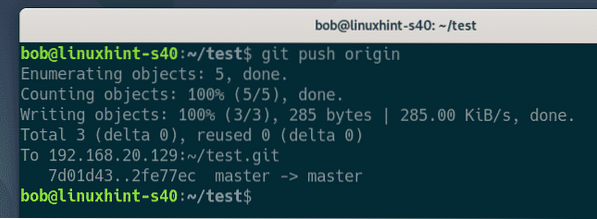
bob pushes the changes to the Git server.
Now, the other user shovon pulls the changes (if any) to Git repository from the Git server.
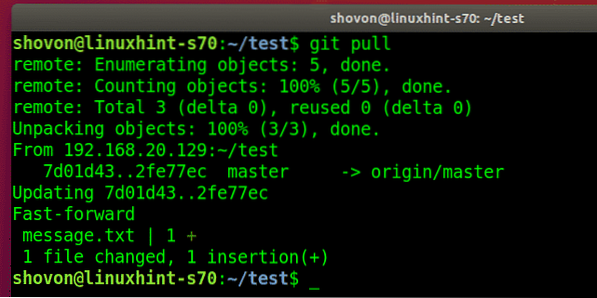
shovon finds the new commit that bob made.

So, that's how you configure a Git server with SSH on CentOS 8 and use it. Thanks for reading this article.


