I will assume my Ubuntu SSH server has the hostname ssh-server and IP address 192.168.10.66. I will be accessing it from another Ubuntu desktop which has the hostname linuxhint.
Let's get started.
Installing SSH Utilities
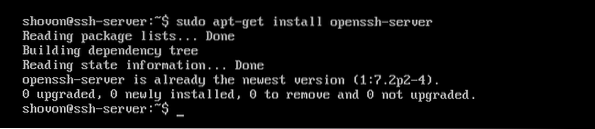
Before you can do any type of SSH configuration, you must have SSH server installed on the machine that you wish to access using SSH. In my case it is the ssh-server machine.
You must also have SSH client software installed on the machine from which you want to connect to the SSH server. In my case it is the linuxhint machine.
You can install SSH server on the machine you want to act as SSH server with the following commands:
$ sudo apt-get update

Now press y and then press
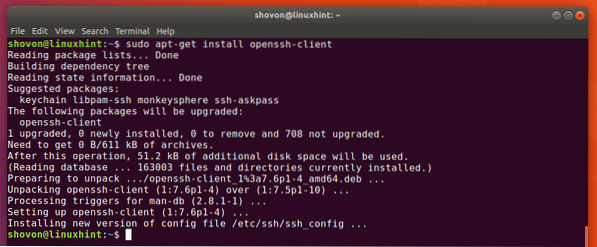
On Ubuntu, SSH client software should be installed by default. In case it is not installed on your Ubuntu operating system, you can run the following commands to install it:
$ sudo apt-get update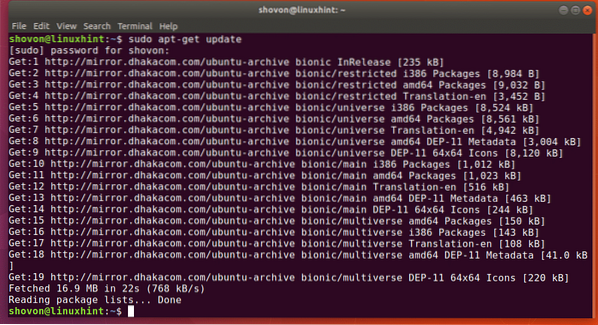

Configuring X11 Forwarding
With this option, you can forward the GUI applications of your SSH server to another Linux desktop machine. The GUI application will run on the SSH server and consume resources from the SSH server, not from the desktop or client machine that you will use it from.
You may wish to disable or enable this feature depending on your need.
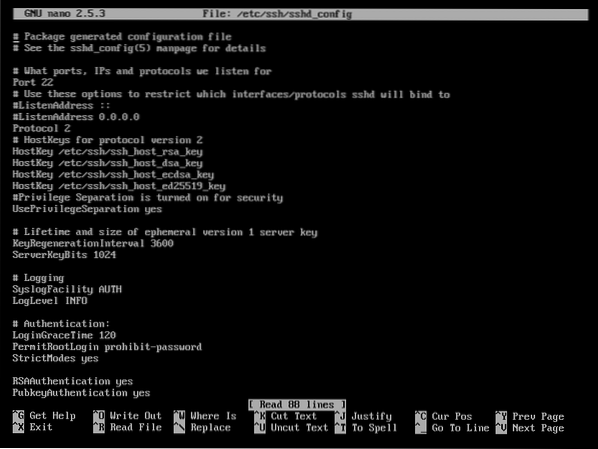
To enable or disable X11 Forwarding, open the SSH server configuration file with the following command:
$ sudo nano /etc/ssh/sshd_config
You should see the following window.
Now scroll down and you should find a line that starts with X11Forwarding as you can see in the marked section of the screenshot below.
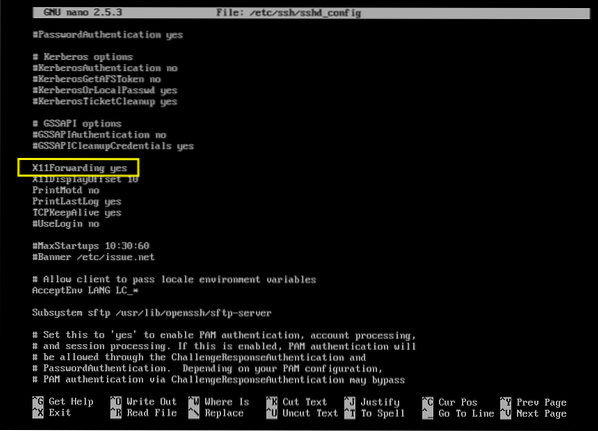
In my case it is set to yes, which means X11Forwarding is enabled. If you wish to disable it, set it to no and save the file. I am setting it to yes to show you how X11 Forwarding works.
Now restart SSH server with the following command:
$ sudo systemctl restart sshd
Now from your client machine, in my case linuxhint machine, you can connect to the SSH server for X11 Forwarding with the following command:
$ ssh -X USERNAME@HOSTNAME_OR_IPNOTE: In my case, 192.168.10.66 is the IP address of my ssh-server machine.

Now type in yes and press

Now type in your SSH server's password and press

You should be connected.

Now you can install a GUI application on your SSH server and run it from here. Let's install FileZilla on our SSH server.
$ sudo apt-get install filezilla
Now press y and then press
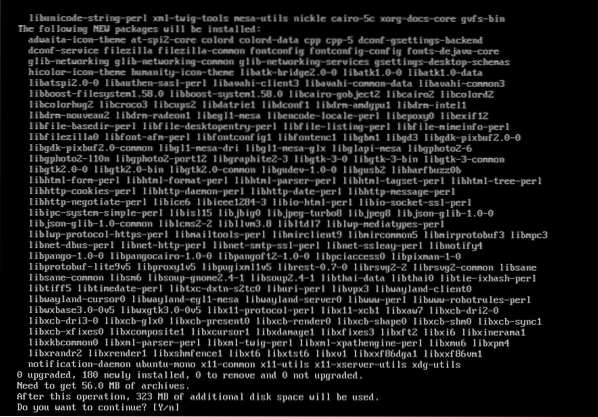
FileZilla should be installed.
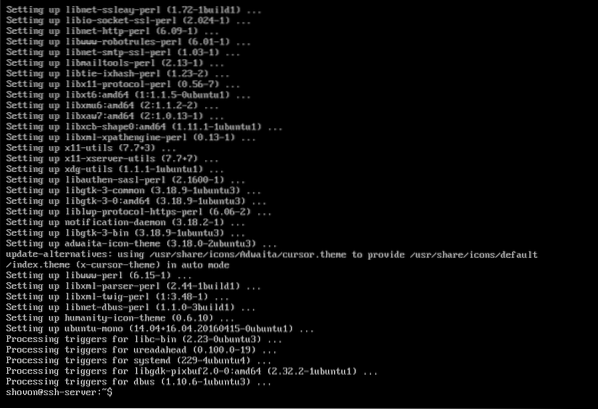
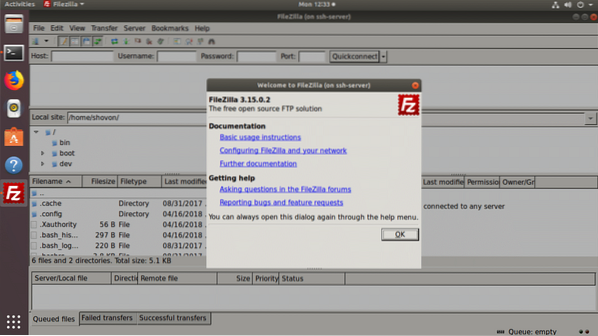
Now you can run FileZilla from your SSH client machine with the following command while you're connected to the SSH server:
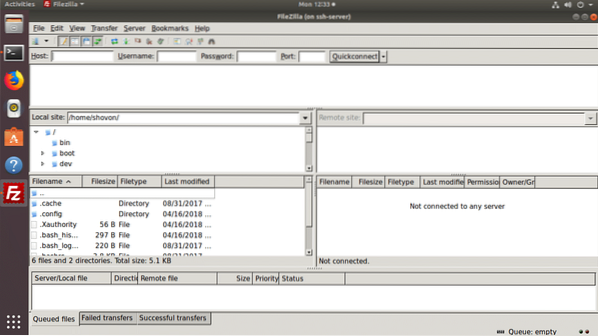
$ filezilla
As you can see, FileZilla is running on my client machine linuxhint.
Changing Port of your SSH Server
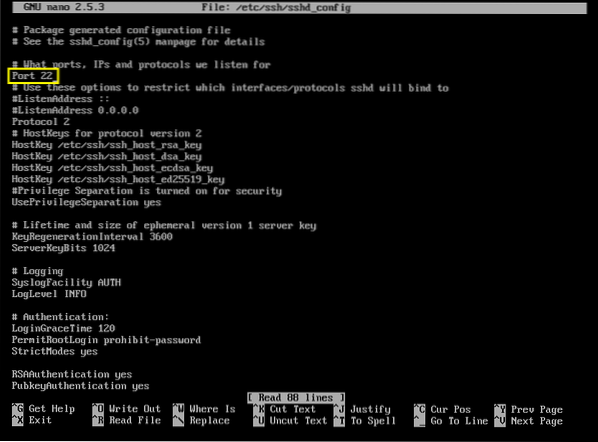
You can change the default SSH server port 22 to something else. Open your /etc/ssh/sshd_config file as I've shown you before and change Port from 22 to something else as marked in the screenshot below.
Now save the /etc/ssh/sshd_config file and restart your SSH server with the following command:
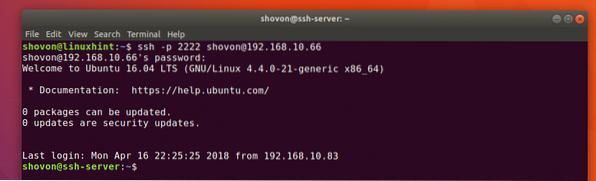
$ sudo systemctl restart sshdNow you can access your SSH server with the following command:
$ ssh -p PORT USERNAME@HOSTNAME_OR_IP
As you can see I am connected.
Enable/Disable Root Login
By default, SSH server won't allow you to login as root on Ubuntu. You will have to login as a sudo privileged user or login as root using su command after login in as an ordinary user. If you want, you can enable direct root login. I advise you not to do that, but if you really need to you can.
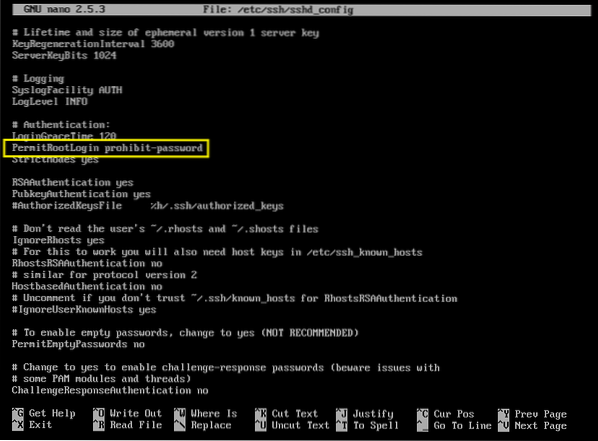
To enable direct root login, set PermitRootLogin in the /etc/ssh/sshd_config to yes.
To completely disable root login, set it to no.
The default option is prohibit-password, that would allow root login without password using SSH public key authentication.
Allowing and Denying Users
You can allow or deny users using AllowUsers and DenyUsers keyword in the /etc/ssh/sshd_config file.
If you want to deny let's say user test, you can add the following line to the /etc/ssh/sshd_config file:
DenyUsers test

Now save the file and restart your SSH server.
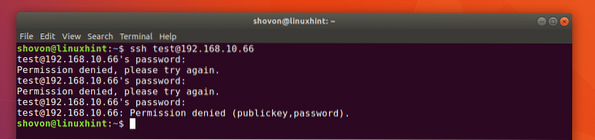
Now if you try to connect as user test, you should see an error.
You can add more users followed by spaces as follows:
DenyUsers test shovon
You can also allow specific users using AllowUsers.
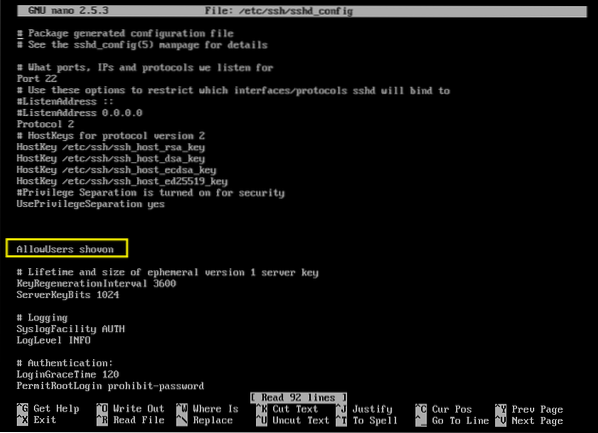
Add the following line to only allow user shovon to connect to the server and deny all the other users:
AllowUsers shovon
Now save the file and restart your SSH server.
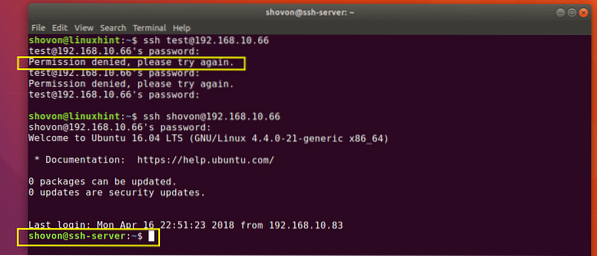
As you can see, I am only allowed to login as user shovon and not user test.
These are some of the most common SSH configuration on Ubuntu. Thanks for reading this article.


